CHOOSING A YARN FOR YOUR PROJECT PART 1: Gauge and Swatching
As you become more comfortable with knitting you learn a great deal about your own personal gauge, the kind of fabric you like to make, and the types of construction you prefer, and eventually the concept of “getting gauge” becomes more intuitive and the process more automatic and comfortable. The information here is aimed at newer knitters, or knitters who are new to garment knitting in particular, where achieving the pattern gauge is most critical for getting a good fit. The important thing to remember is that gauge is a tool in our toolbox; it’s our common language. I like to think of gauge as the social compact of knitting; the designer swatches to make the instructions accurate for the knitter, and the knitter in turn swatches in order to achieve the results stipulated in the pattern. Gauge is the way we convey how wide and tall a piece of knitting will be as well as the density and drape of the fabric. Don’t let yourself be overwhelmed, just keep knitting and observing and in time the utility of gauge will reveal itself to you.
Understanding the Importance of Gauge
Gauge is the number of stitches and rows it takes to make an inch of fabric using a specific set of needles. It is different in every yarn and for every knitter. Gauge is the building block of a pattern. Without an accurate gauge measurement there is no guarantee that what you knit is going to fit you or the intended recipient.
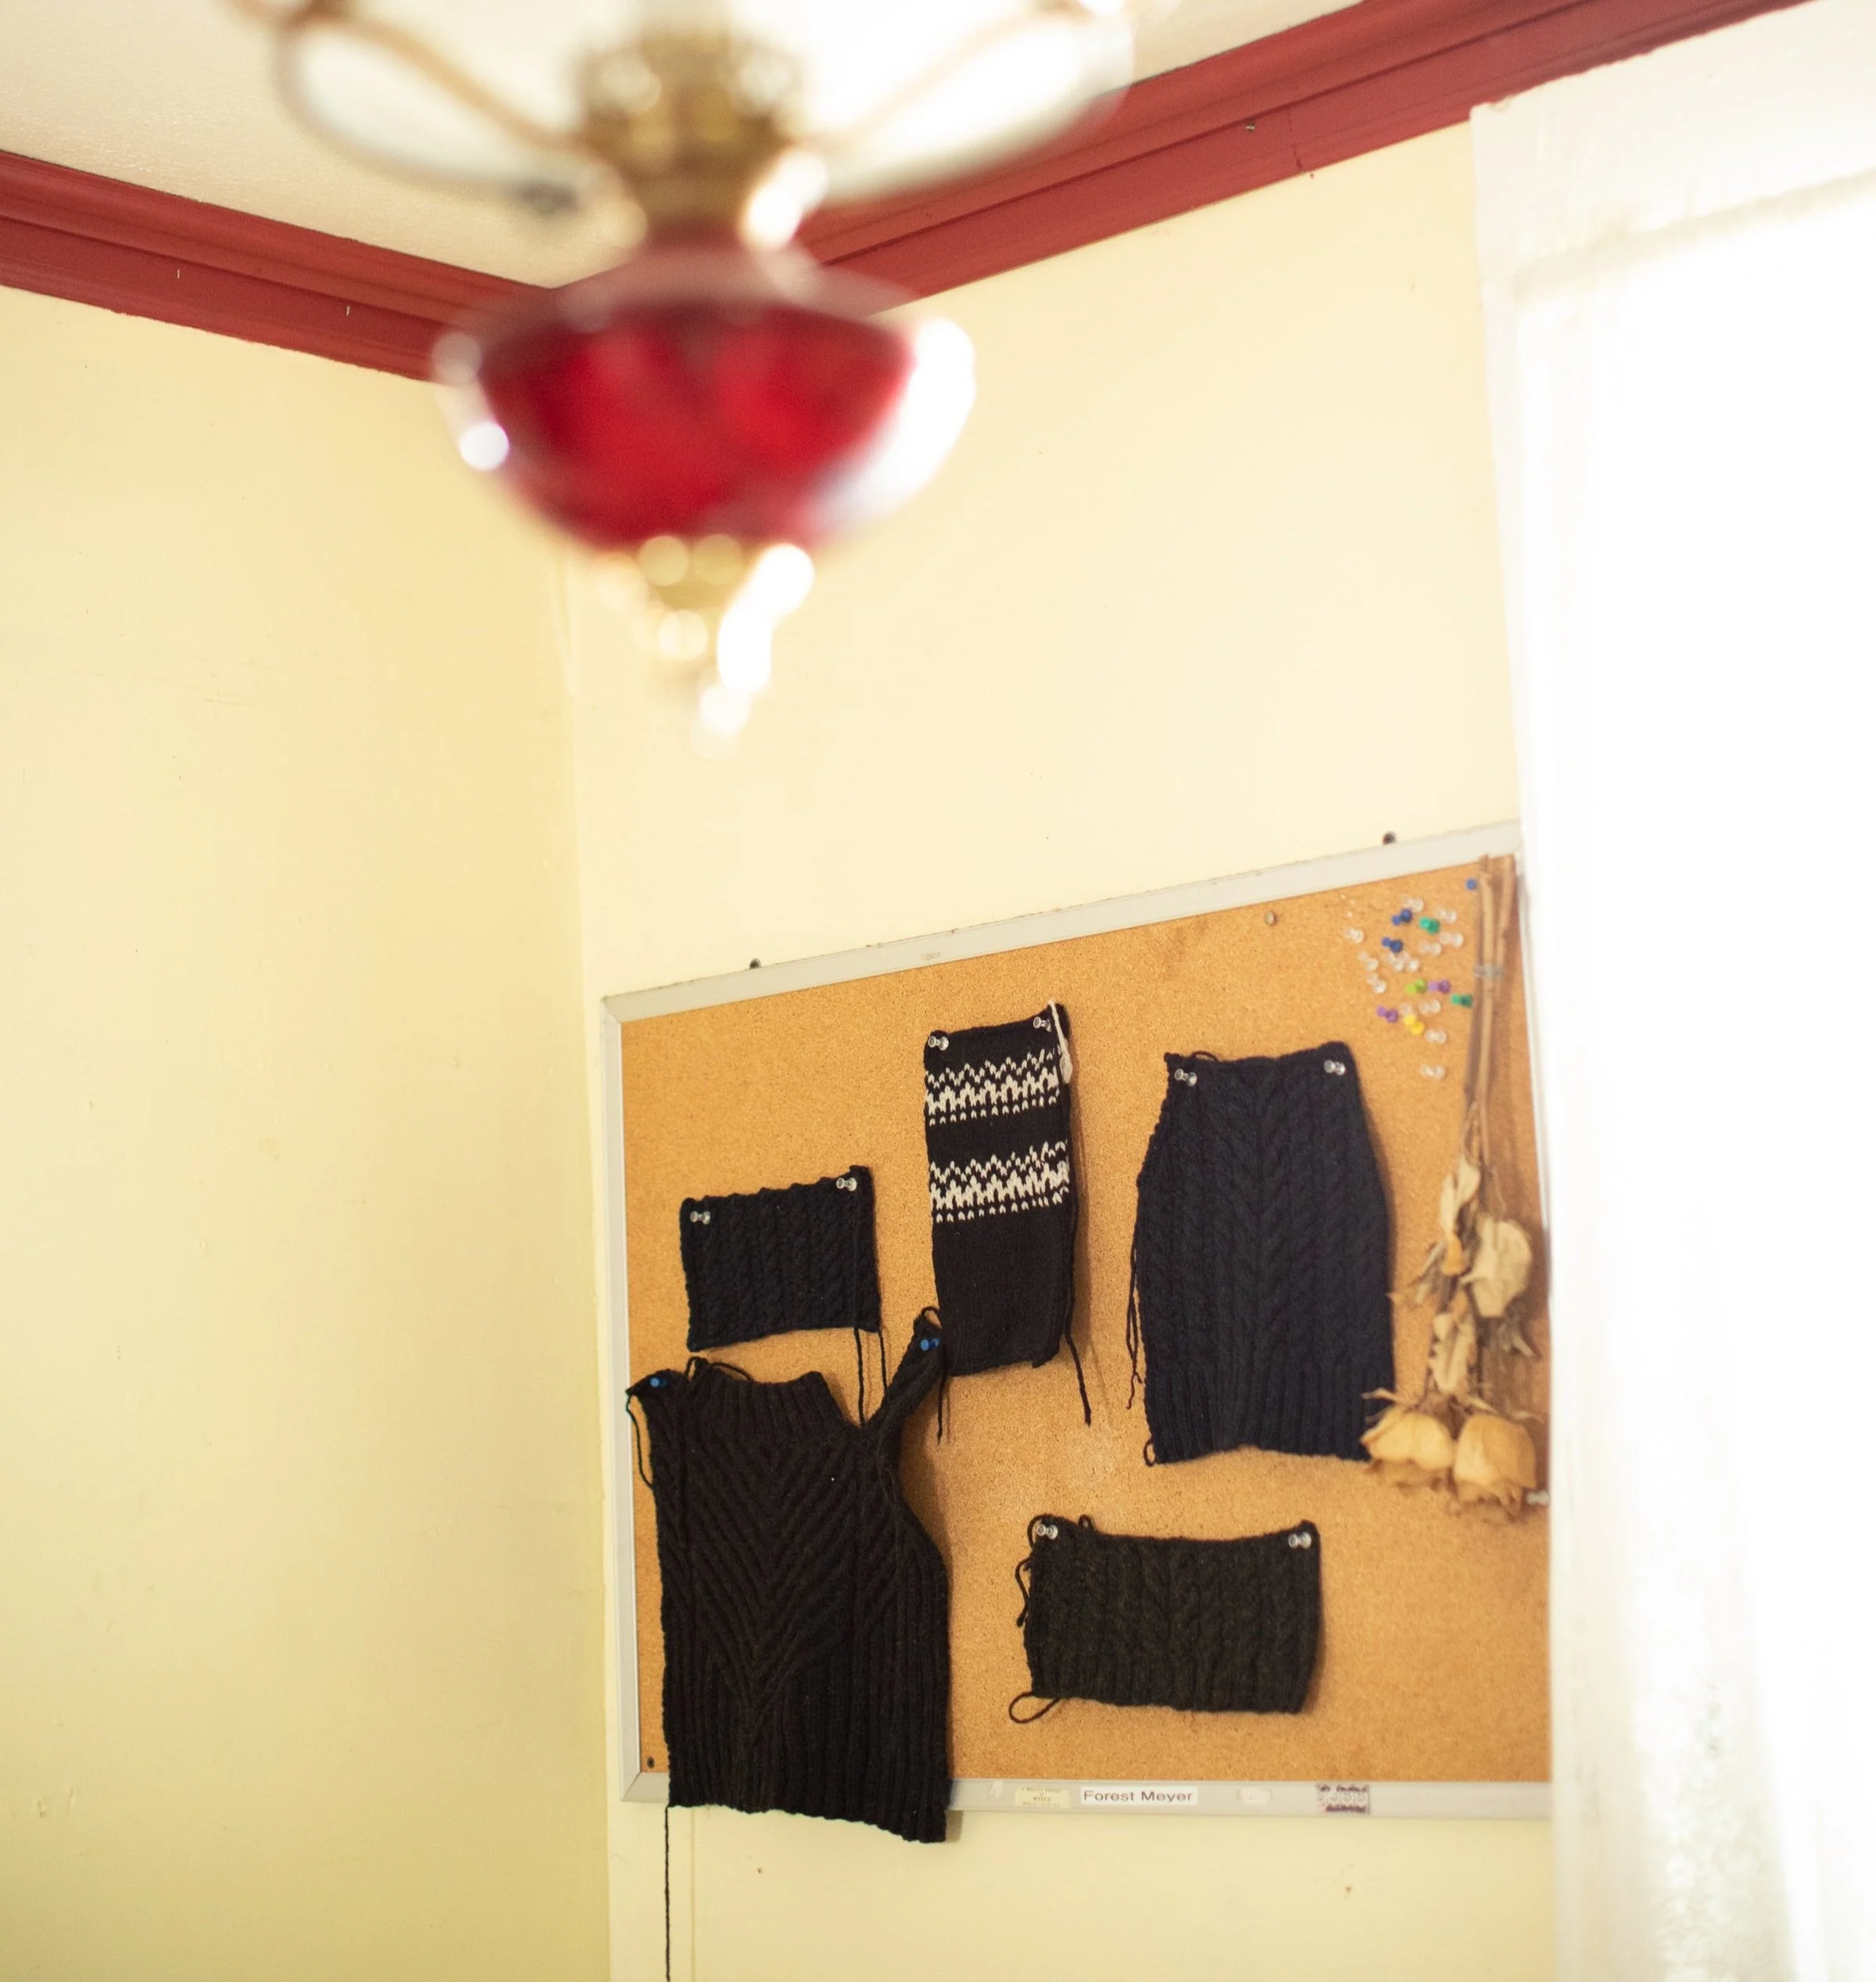
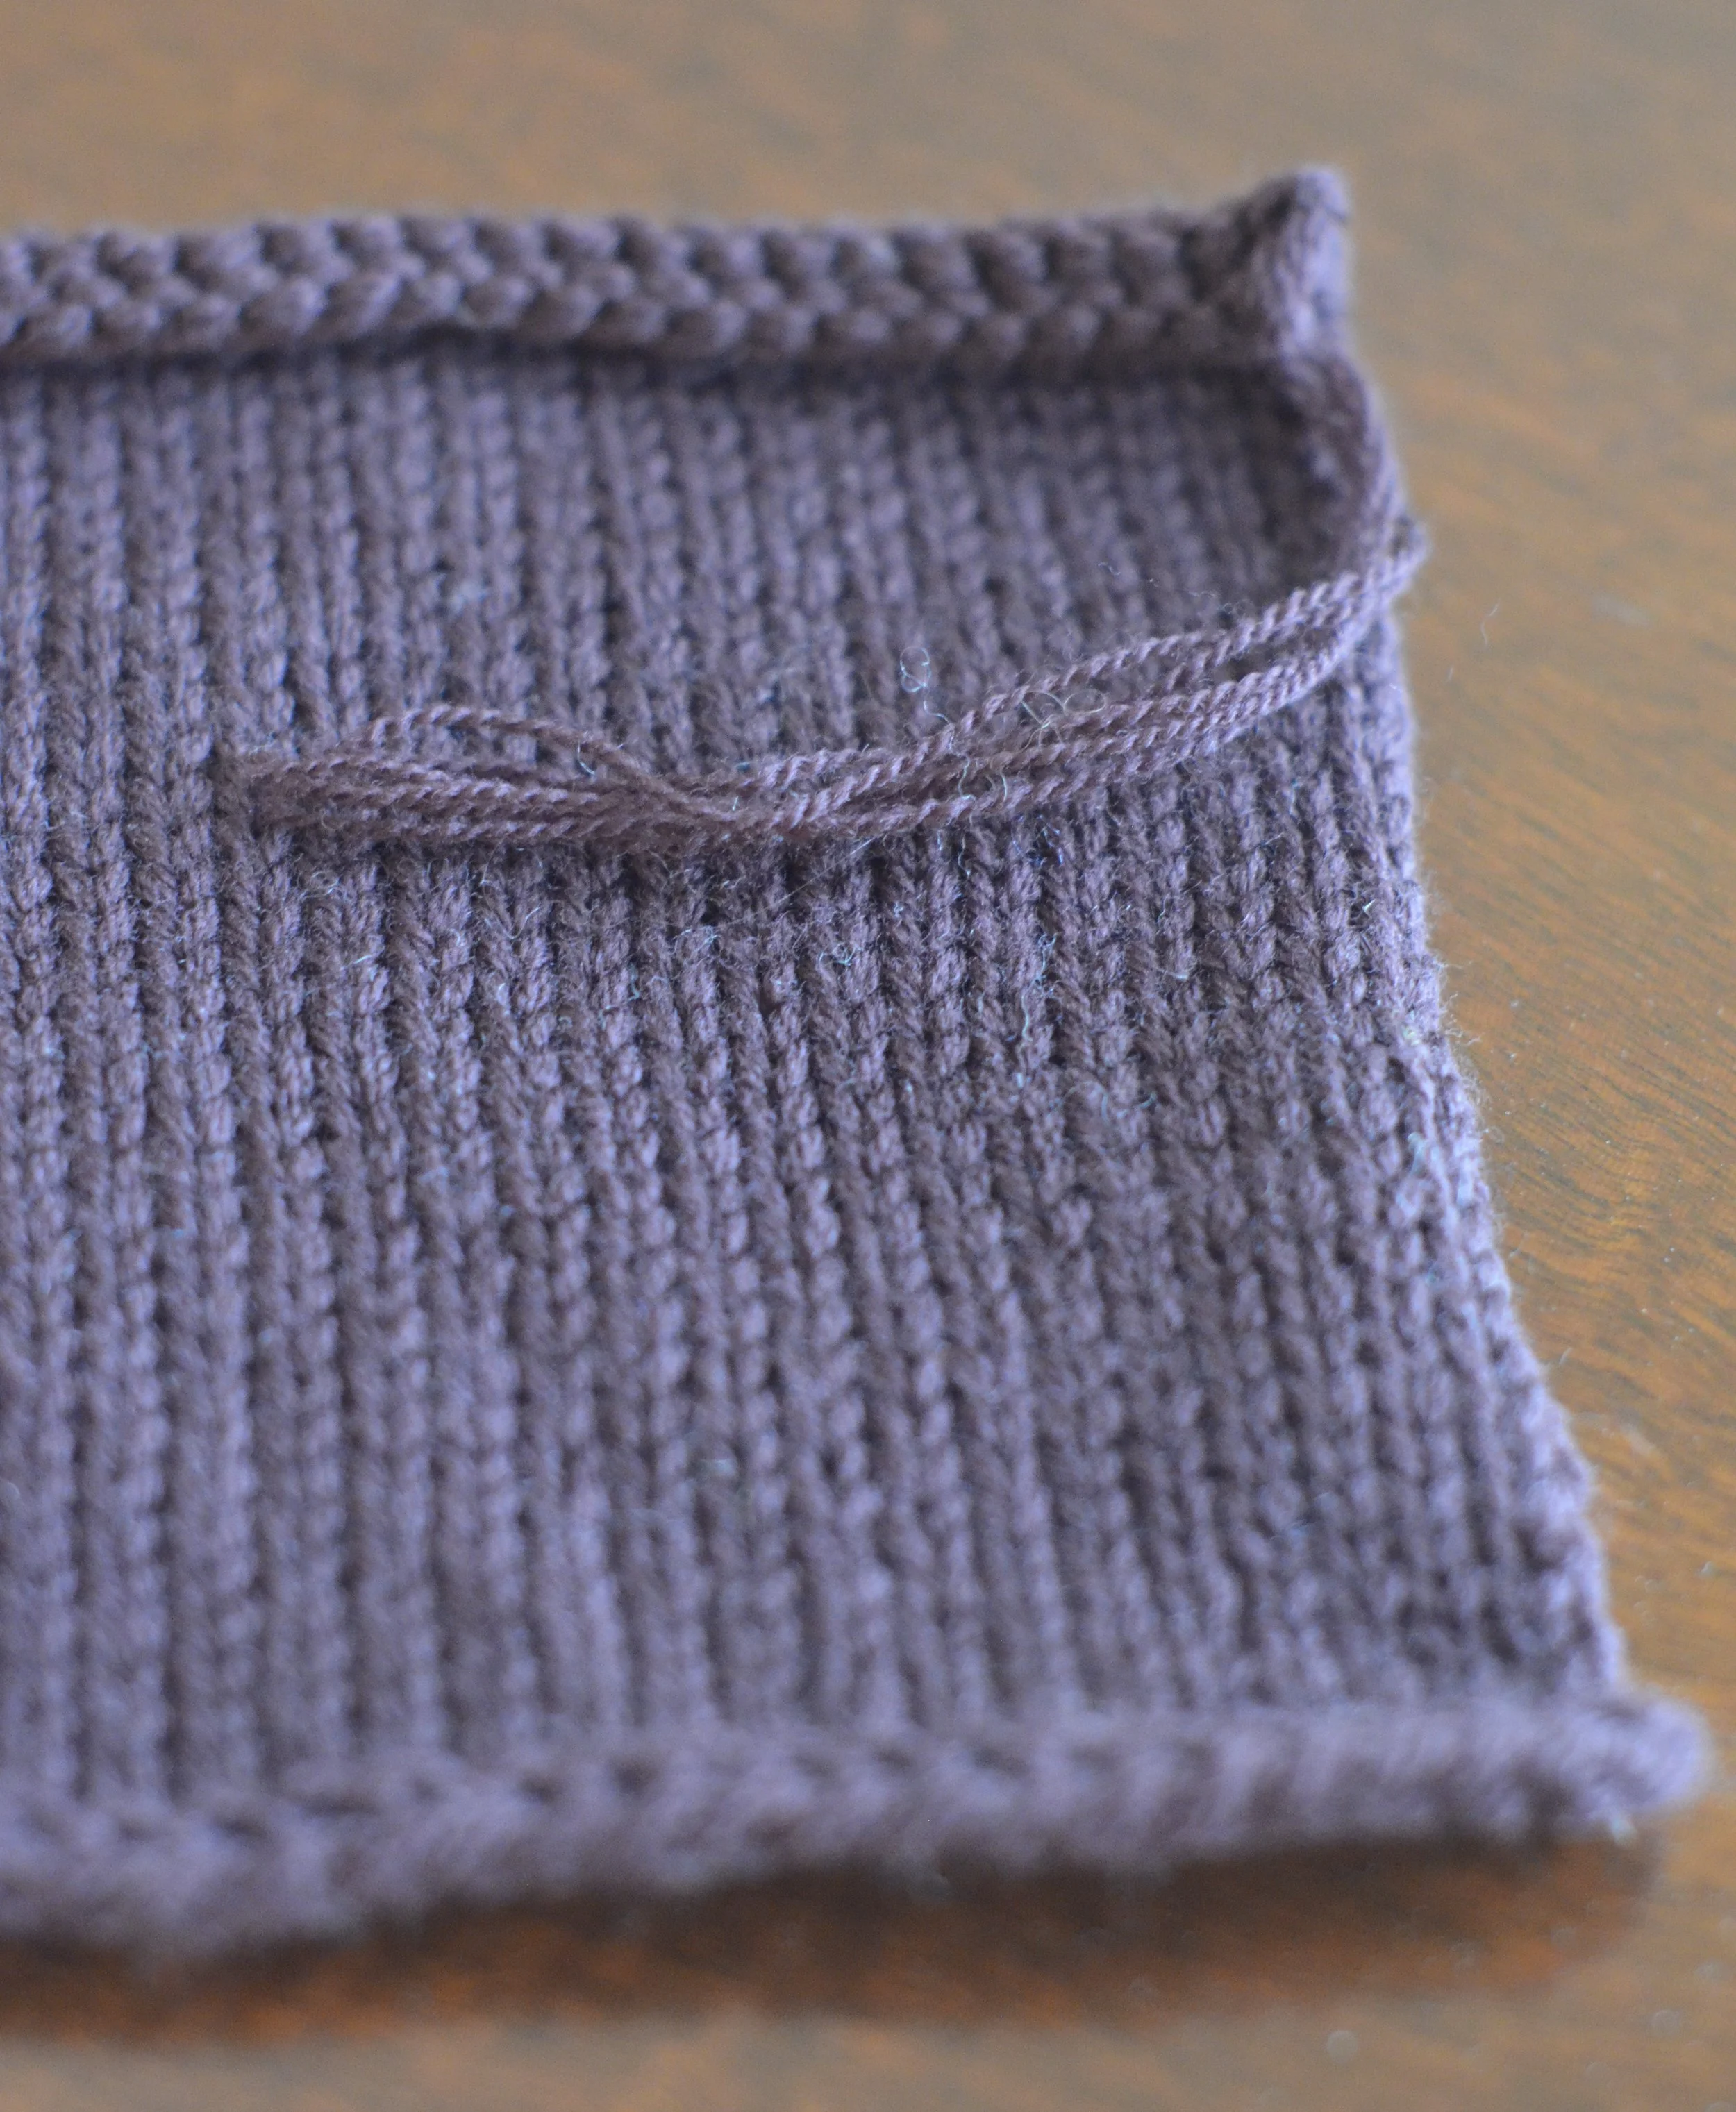
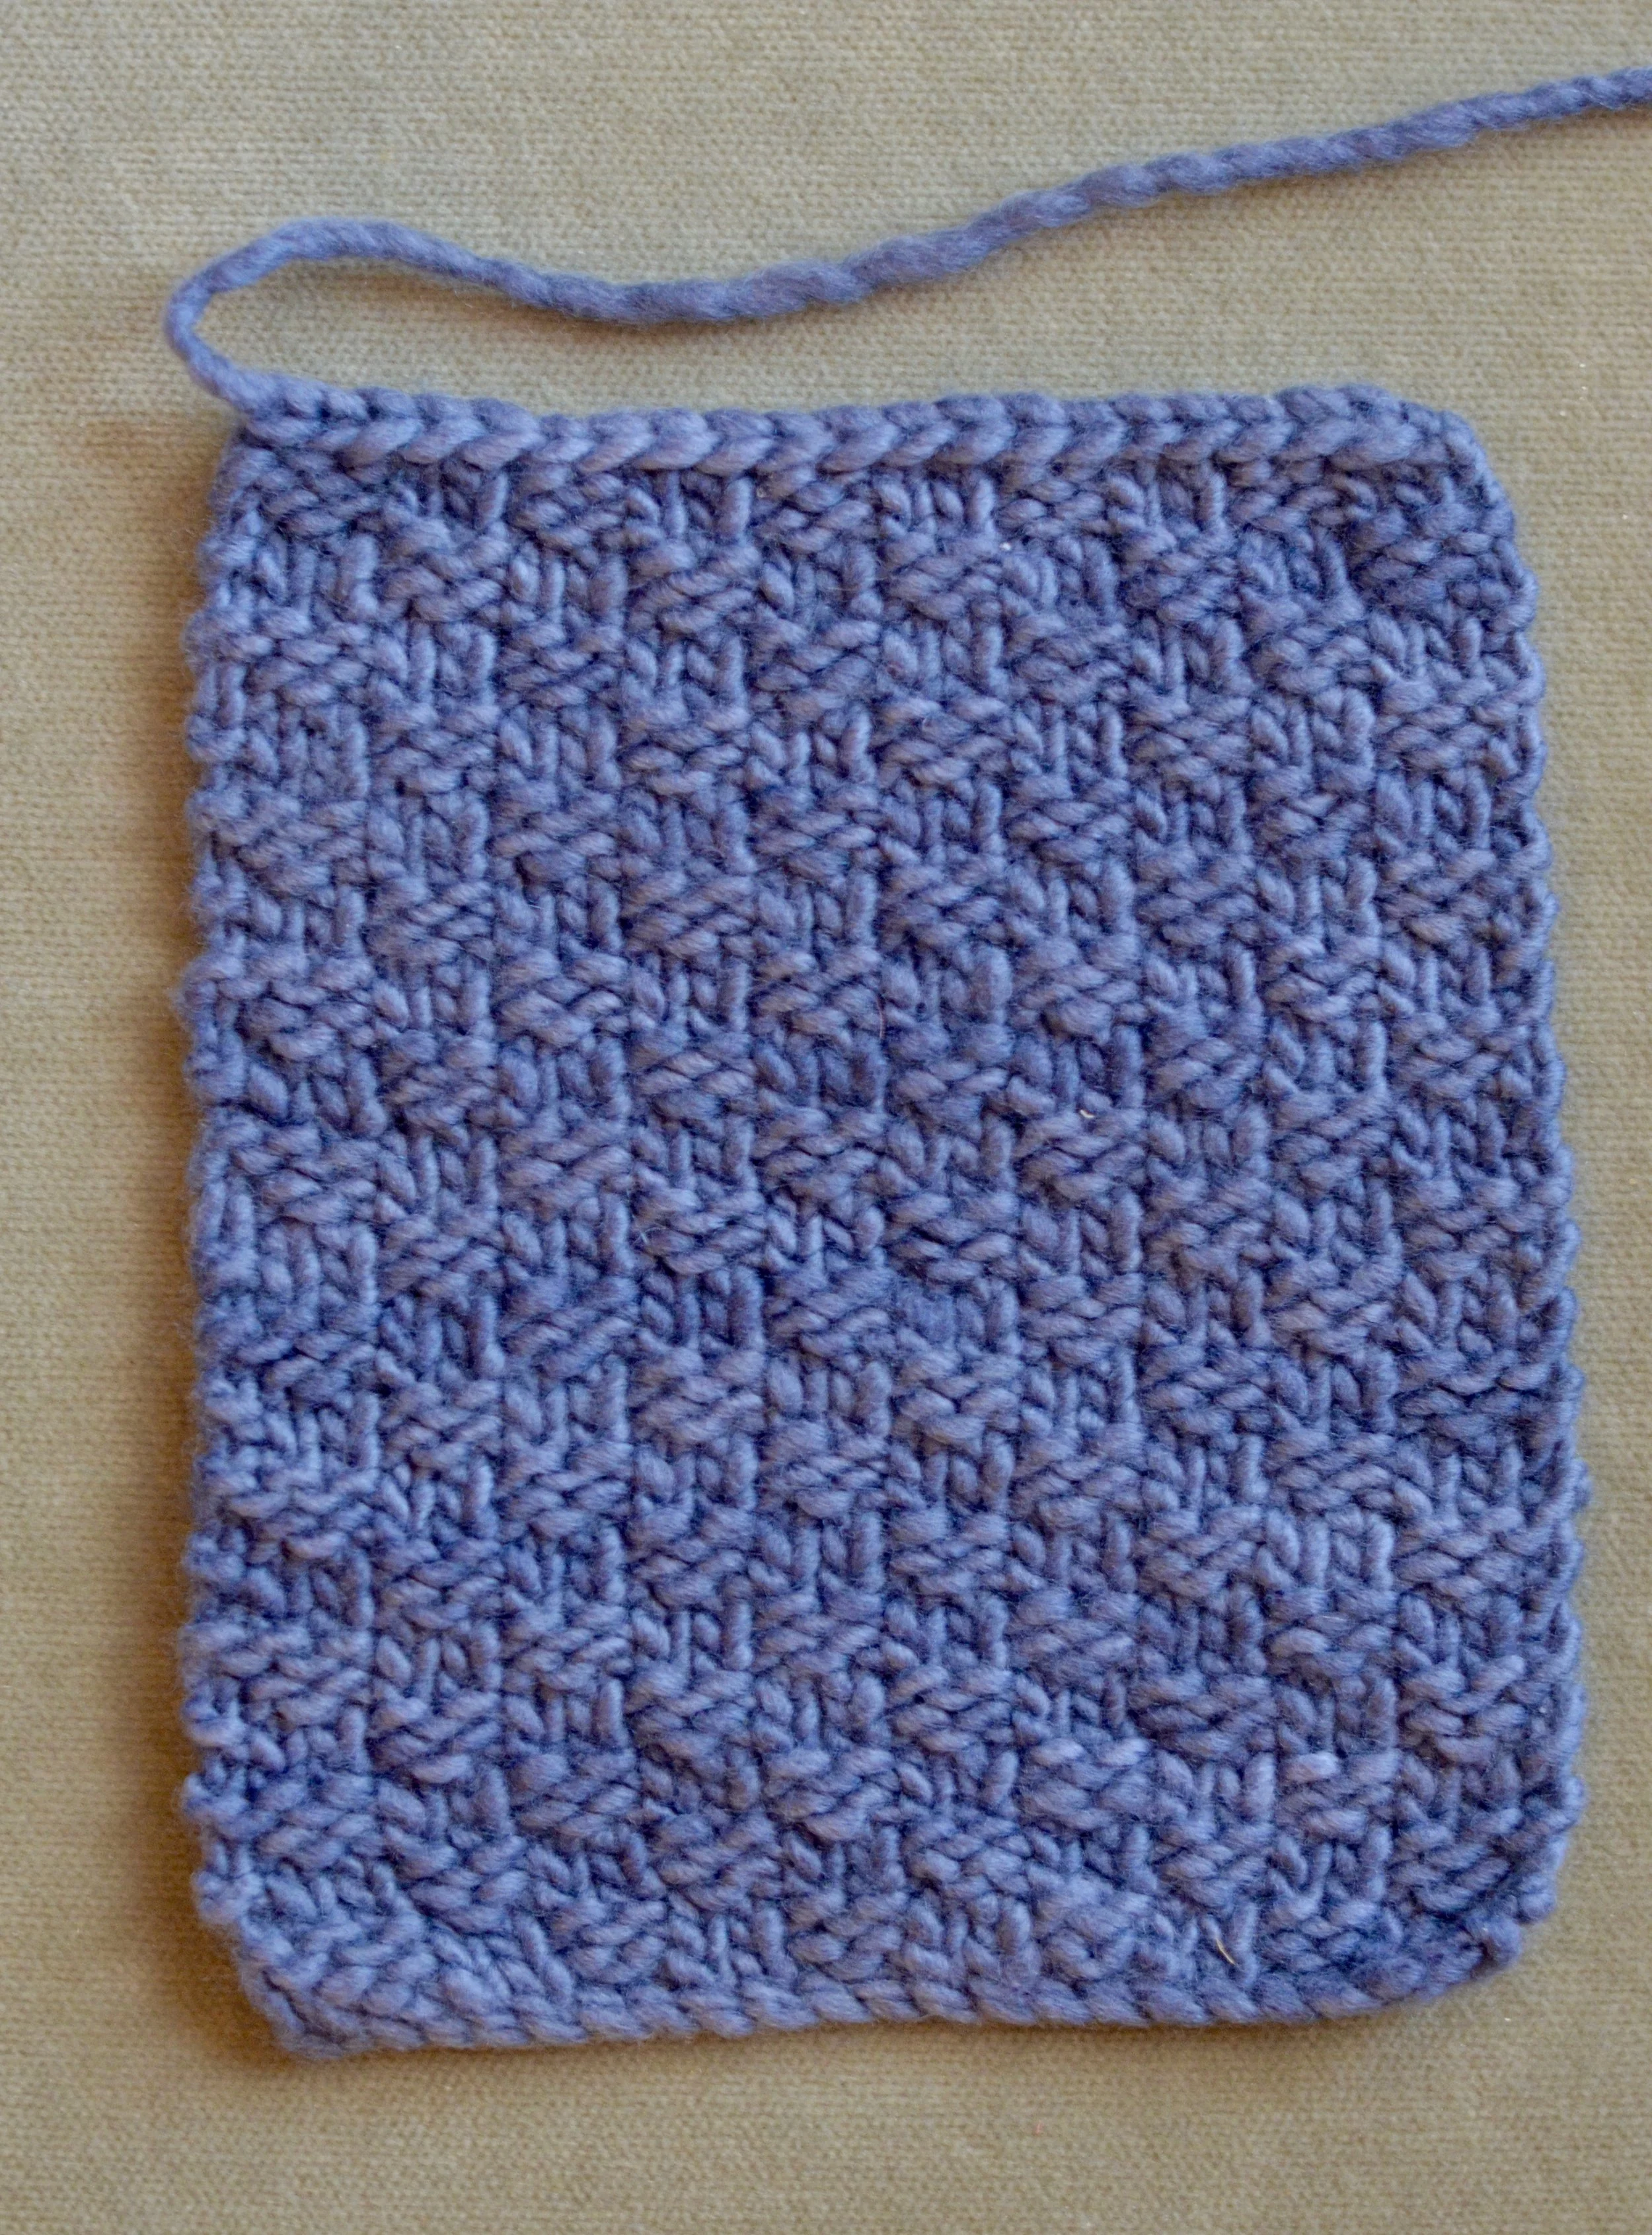
A gauge swatch is a square of fabric knit in the main stitch pattern called for in your pattern. Patterns will give a suggested size for the needle to achieve this gauge so it’s usually best to make a swatch using the suggested size. If you know that you tend to be a tight or loose knitter, adjust the needle size for your swatch accordingly. Suggested needle size is a suggestion only; the gauge is the vital thing to achieve, with whatever needles allow you to do so.
Equally important to the number of stitches and rows per inch is what the fabric feels like whether you enjoy the process of making it. For a piece that you will enjoy both knitting and wearing, all of these things are equally important.
For garments in particular, you need to knit a big enough piece so that you relax into your default knitting style which will be a more accurate indication of how you will knit on the actual sweater.
The type of needle used (straight, circular, dpn) can affect gauge as can the material the needle is made from (wood, metal, plastic etc.).
Patterns generally give stitch and row gauge measurements over 4 inches of fabric therefore an accurate measurement is best taken from a piece of fabric that is at least 6 inches square. To find the number of stitches to cast on, first divide the pattern’s stitch gauge by 4 to see how many stitches it takes to make an inch of fabric.
Example: Pattern Gauge : 24 sts = 4" in stockinette stitch
24 ÷ 4 = 6 sts/in
Therefore to make a 6" swatch you would cast on 6" x 6 sts/in=36 sts. Then knit 5–6" of length and bind off the swatch.
In general you can cast on 35–50 sts to get a good gauge reading.
There is no need to put an edging or border around your swatch, unless they are called for in the pattern, as these can affect your gauge.
If you have no idea whether you will like the yarn or the stitch pattern or you can’t even tell that you will come close to the desired gauge, start with a smaller swatch of 2–3 inches to investigate whether you want to invest more time on the yarn/stitch pattern.
Treat your swatch as you will treat your sweater. If you plan to wash your sweater, it is essential to wash and dry your swatch in the same manner. For more on Washing and Blocking your knits please read on below and you can find further information in this post.
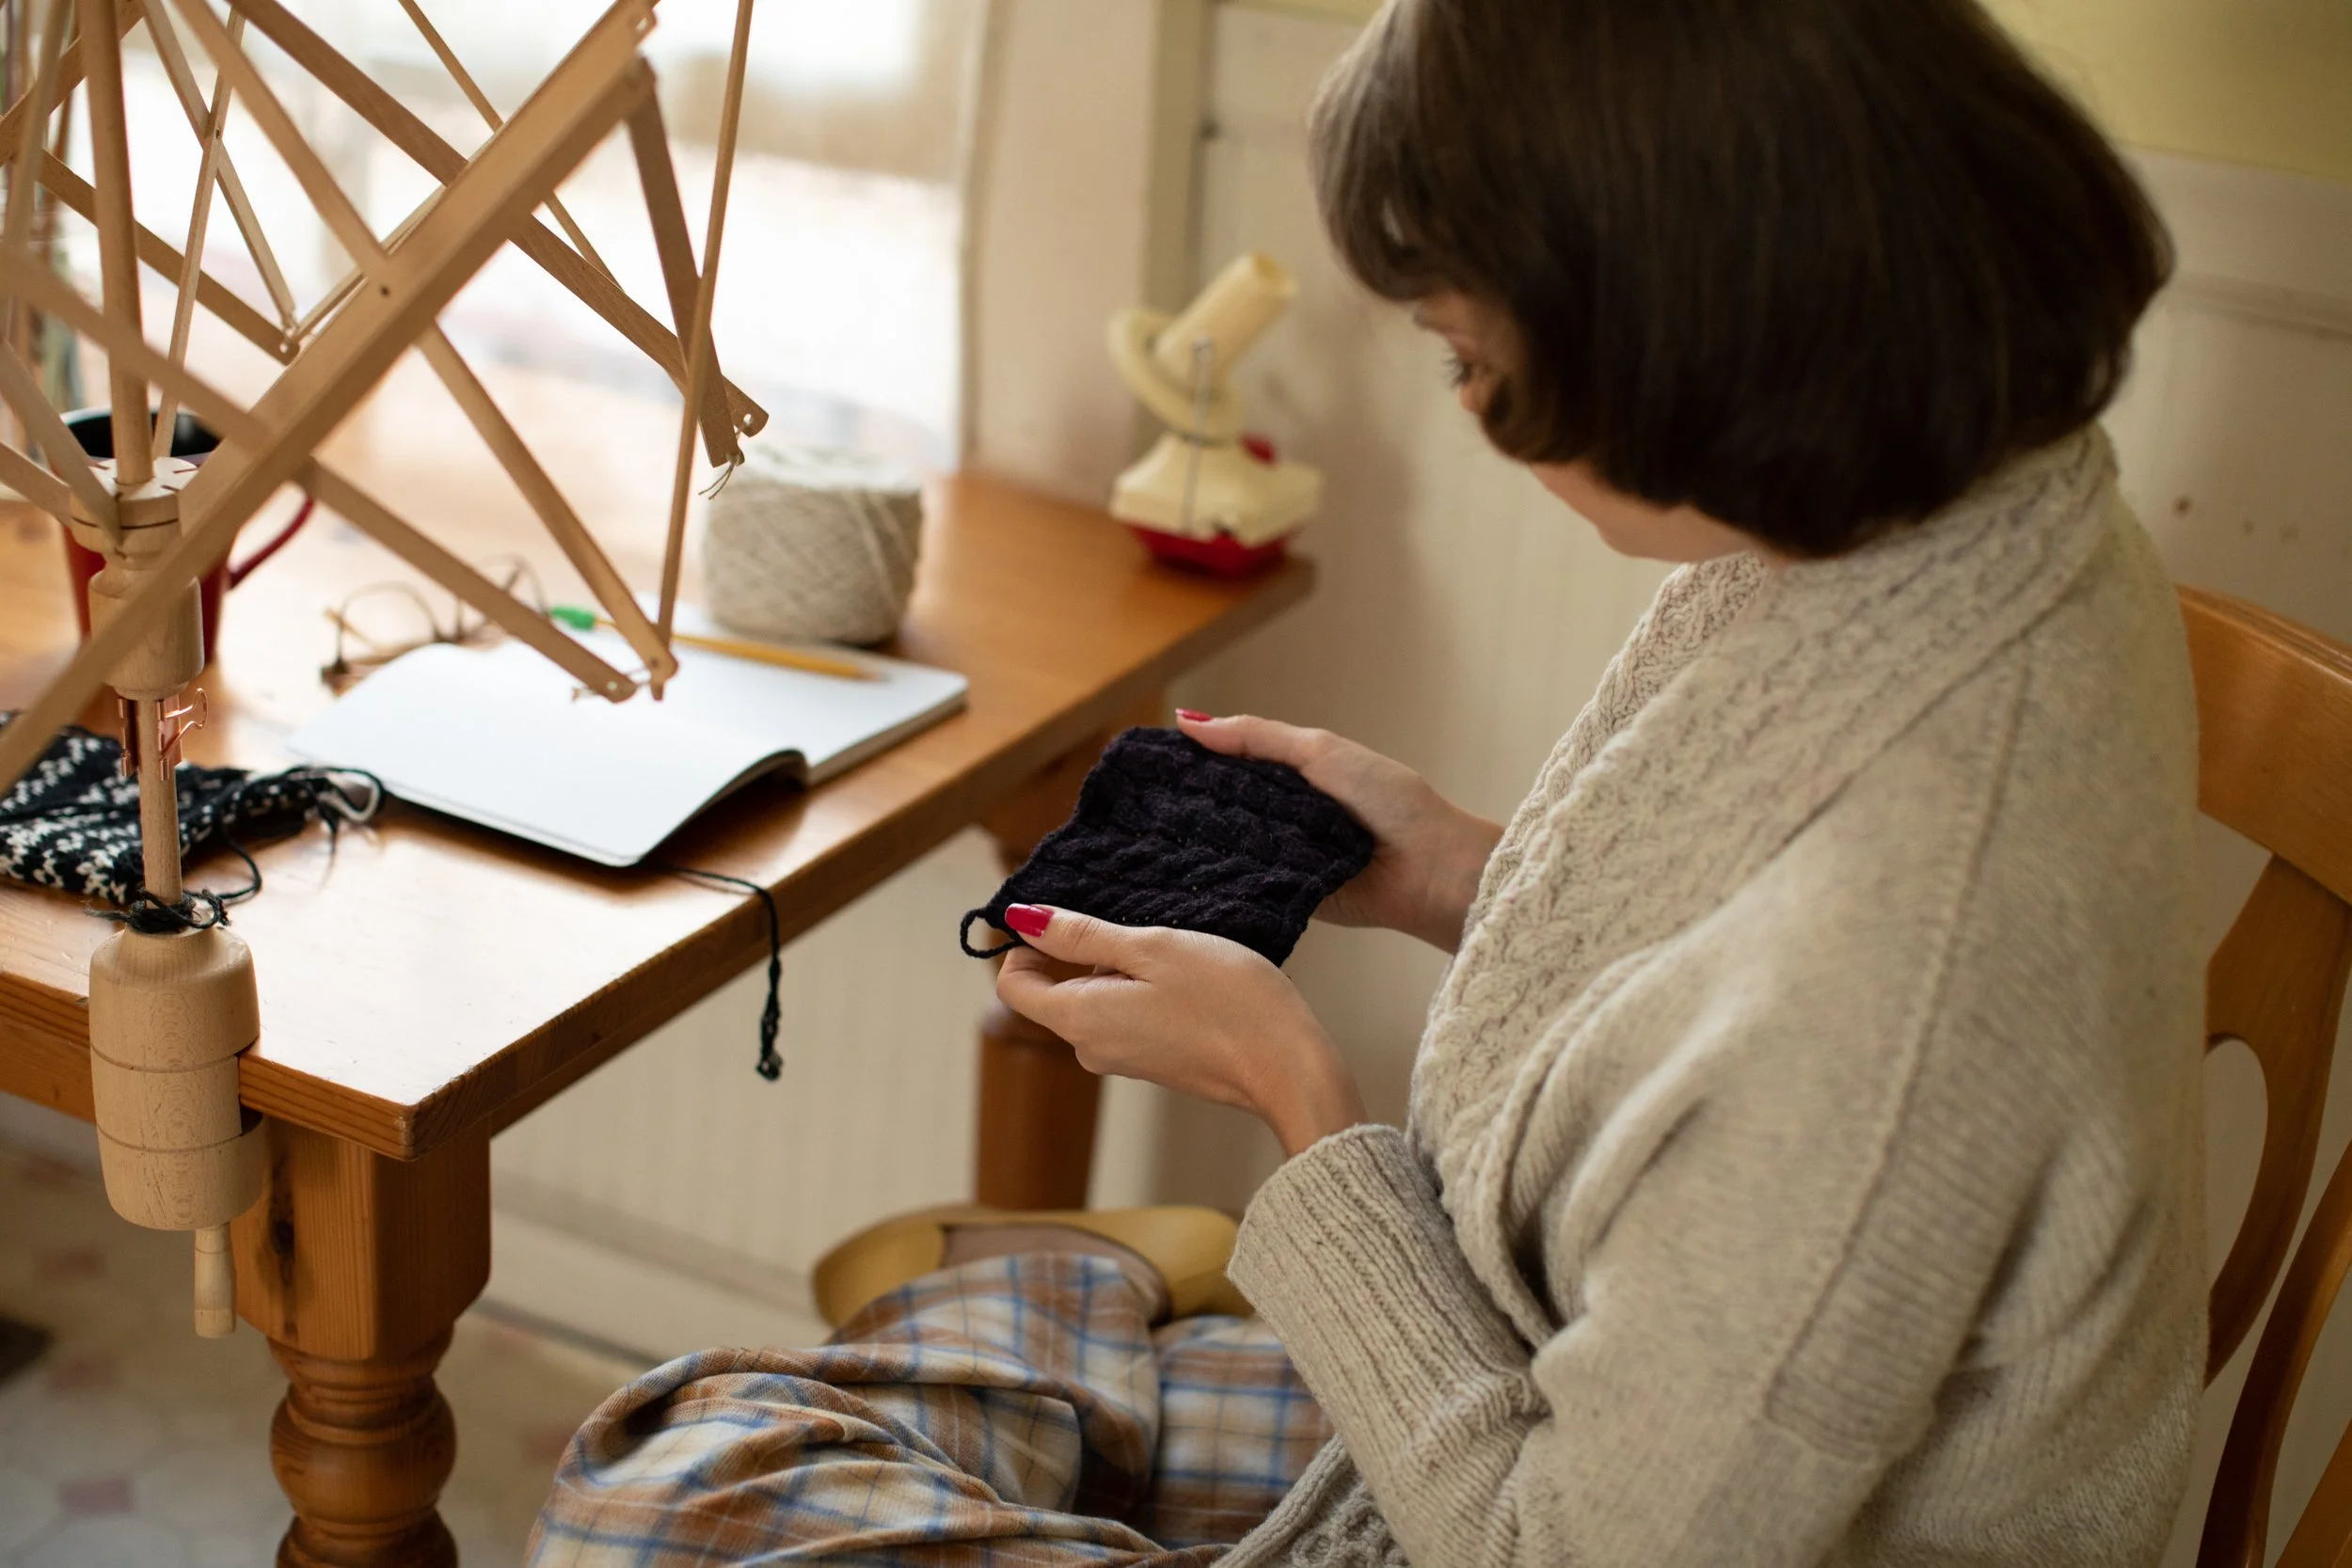
Tips for Success: I find it is better not to take gauge from granted simply because it was achieved in a swatch. Knitting a small piece of fabric is very different from knitting a large piece. Gauge can also change as the garment gets bigger and heavier (especially true in seamless pieces). Always pay attention while you’re knitting. Measure frequently and if something doesn’t seem right, it’s better to know as soon as possible. You can always slip your stitches to a long circular needle and block at any time to re-check your gauge. Midway up the back of a sweater or the sleeve can be a good place to check. I do this on every project and I have never regretted it.
Be Prepared: Swatching is a necessary part of the process of sweater making so always buy enough yarn to allow for generous swatching.
Washing and Blocking Your Swatch
• Gauge isn’t truly accurate until you wash and dry your swatch in the same way that you intend to wash and dry your sweater. Most fibers are hand washed cold in a rinseless wool wash or mild soap (like Eucalan or Soak or a mild dish liquid) then allowed to air dry flat. I personally like to use Dr. Bronner’s soap for my first wash on most of my knits (this really gets out dirt and spinning oil) and the I use Eucalan for cleaning the piece thereafter.
• Yarns can shrink or expand when washed and it’s best to know what a given yarn will do before you make a whole sweater out of it.
• All hand knitting fibers have been processed, dyed and handled. They are coated with oils to aid the spinning process and sometimes other finishing agents are used. You won’t know how truly beautiful your yarn is or how it will really behave until these agents have been removed.
• Blocking is the process of setting the stitches once they have been knit. Wet blocking smooths and relaxes the fibers and pinning them into the dimensions called for in the pattern insures both that you get the size you want and that the garment will hold its shape. You are training the yarn to be a sweater that will fit you.
• Directions for wet blocking a garment or swatch. Fill a basin with cool water and a small amount of rinseless wool wash or delicate dish soap. Immerse the knitting and allow to soak for at least 20 minutes. Remove the knitting, refill the basin with fresh water and rinse. Squeeze as much excess water from the piece(s) as possible then wrap in a towel and press on it firmly to remove remaining water.
• For a swatch, smooth the fabric on a blocking board or towel and pin with t-pins or blocking wires and pins. Allow to air dry completely.
• For a sweater you will reshape pieces on a blocking board or towel and pin to schematic dimensions using T-pins, or blocking wires and pins. Allow to air dry completely.
Measuring Your Swatch
Use a ruler (clear plastic is best) rather than a tape measure. Lay the ruler horizontally over your swatch and count the number of stitches in 4 inches. Turn the ruler to a vertical position and count the number of rows in 4 inches. It can be helpful to count back from 4” to the end of the ruler. Compare these counts to those given in your pattern.
If you have MORE stitches in 4” than the pattern calls for, go UP a needle size
If you have LESS stitches in 4" than the pattern calls for, go DOWN a needle size
Comparing your gauge to the pattern for a deeper understanding
• Your Gauge: 24 stitches and 32 rows = 4”
• Pattern Gauge: 28 stitches and 34 rows = 4”
Understanding what these differences mean for the sweater.
First, determine how many stitches and rows it takes to make one inch of fabric. To do this, divide your stitch and row counts by 4. Be sure to include partial stitches.
Your gauge is: 24 stitches and 32 rows = 4”
24 ÷ 4 = 6 stitches in 1”
32 ÷ 4 = 8 rows in 1”
Pattern gauge: 28 stitches and 34 rows = 4”
28 ÷ 4 = 7 stitches in 1”
34 ÷ 4 = 8.5 rows in 1”
It is most helpful to do a test calculation to see how your gauge will affect the finished dimensions of the pattern.
Your Gauge: 6 sts // 8 rows | Pattern Gauge: 7 sts // 8.5 rows
• To compare how the different gauges affect the actual sweater, use the number of stitches at the chest/bust
140 sts at chest/bust in pattern
# of sts ÷ stitch gauge = # of inches of fabric width you will get
140 sts ÷ 7 sts/in = 20”
140 sts ÷ 6.5 sts/in =21.53”
140 sts ÷ 6 sts/in = 23.3”
• If you follow the pattern using your current gauge your sweater will be 3.3” bigger in circumference than the intended size.
• If your gauge is not the same as the pattern, using the method above you can check the bust measurement on another size to see if your gauge, using those numbers, will give you the finished dimensions you want.
• If your gauge is tighter than the pattern (more sts per inch) check the # of sts for the bust on the next size up and see what it will yield.
• If your gauge is looser than the pattern (less sts per inch) check the # of sts for the bust on the next size down and see what it will yield.
When gauge gets chunkier (less sts per inch) these differences can be magnified.
Let’s look what those same 140 sts will yield with some larger gauges in play.
140 sts at chest/bust in pattern
# of sts ÷ stitch gauge = # of inches of width
140 sts ÷ 3 sts/in = 46.6”
140 sts ÷ 3.5 sts/in =40”
140 sts ÷ 4 sts/in = 35”
Here, just 1/2 a stitch per inch difference can mean 6.6 inches difference in the finished fabric yield. Just something to remember. So many things in knitting are finessable but it’s good to have an idea whether a stitch or two more means a 1/4” fabric or a whole 1” or more as this will affect your results dramatically.
How Gauge and Yarn Weight Are Related
When following a pattern, you have the best chance of making a successful garment if you use the yarn called for in the pattern as that is what is has specifically been tested for. If you wish to use a different yarn, match the substitute yarn as closely as possible to the original in terms of its general thickness and properties (more on this below) and mentally prepare for the unexpected. This is not meant to frighten you off! Knitters substitute yarn all the time; it just means that if you choose a yarn that has not been tested for the pattern then you need to keep your eyes open and observational skills in gear to make sure you are getting a gauge and a fabric that will give you a good result. This is a valuable skill to gain and really puts you in control of your knitting. You can either try to achieve similar results to the original project or different results, based on your own preferences.
Gauge is the real determining factor of whether a yarn is a suitable substitute but before you even swatch and determine whether you can get gauge you need to narrow down your field of choices.
Yarn labels contain lots of useful information but be aware that designations like “sport”, dk”, “worsted” etc can be misleading, as these categories encompass enormous variations. Generally going to these categories as your local yarn store or at any online shop is a fine place to start, it’s just good to be aware that the grouping are loose.
If the yarn label suggests that the yarn will knit up at 5 stitches to the inch, use that a place to start but it is only a suggestion. Your gauge is the only one that matters. You can use any needle that yields the desired gauge. No two people knit alike so getting to know your own personal gauge (whether you tend to be looser or tighter than average) is a useful thing to do. Keeping a notebook of your projects and recording the pattern gauge and your personal swatching gauge for different yarns and stitch patterns can be a good way to get a handle on this.