Let's Get Some Perspective
A few months back I posted about my patterns in the Spring/Summer issue of knit.wear. Today I thought it might be interesting to have a look at those same pieces on a different model. In fact I'm hoping that this might become a little series here on the blog. When we make clothes for ourselves we are trying to make something that will flatter us. But in most cases we end up choosing what we'll make based on how it looks on the model.
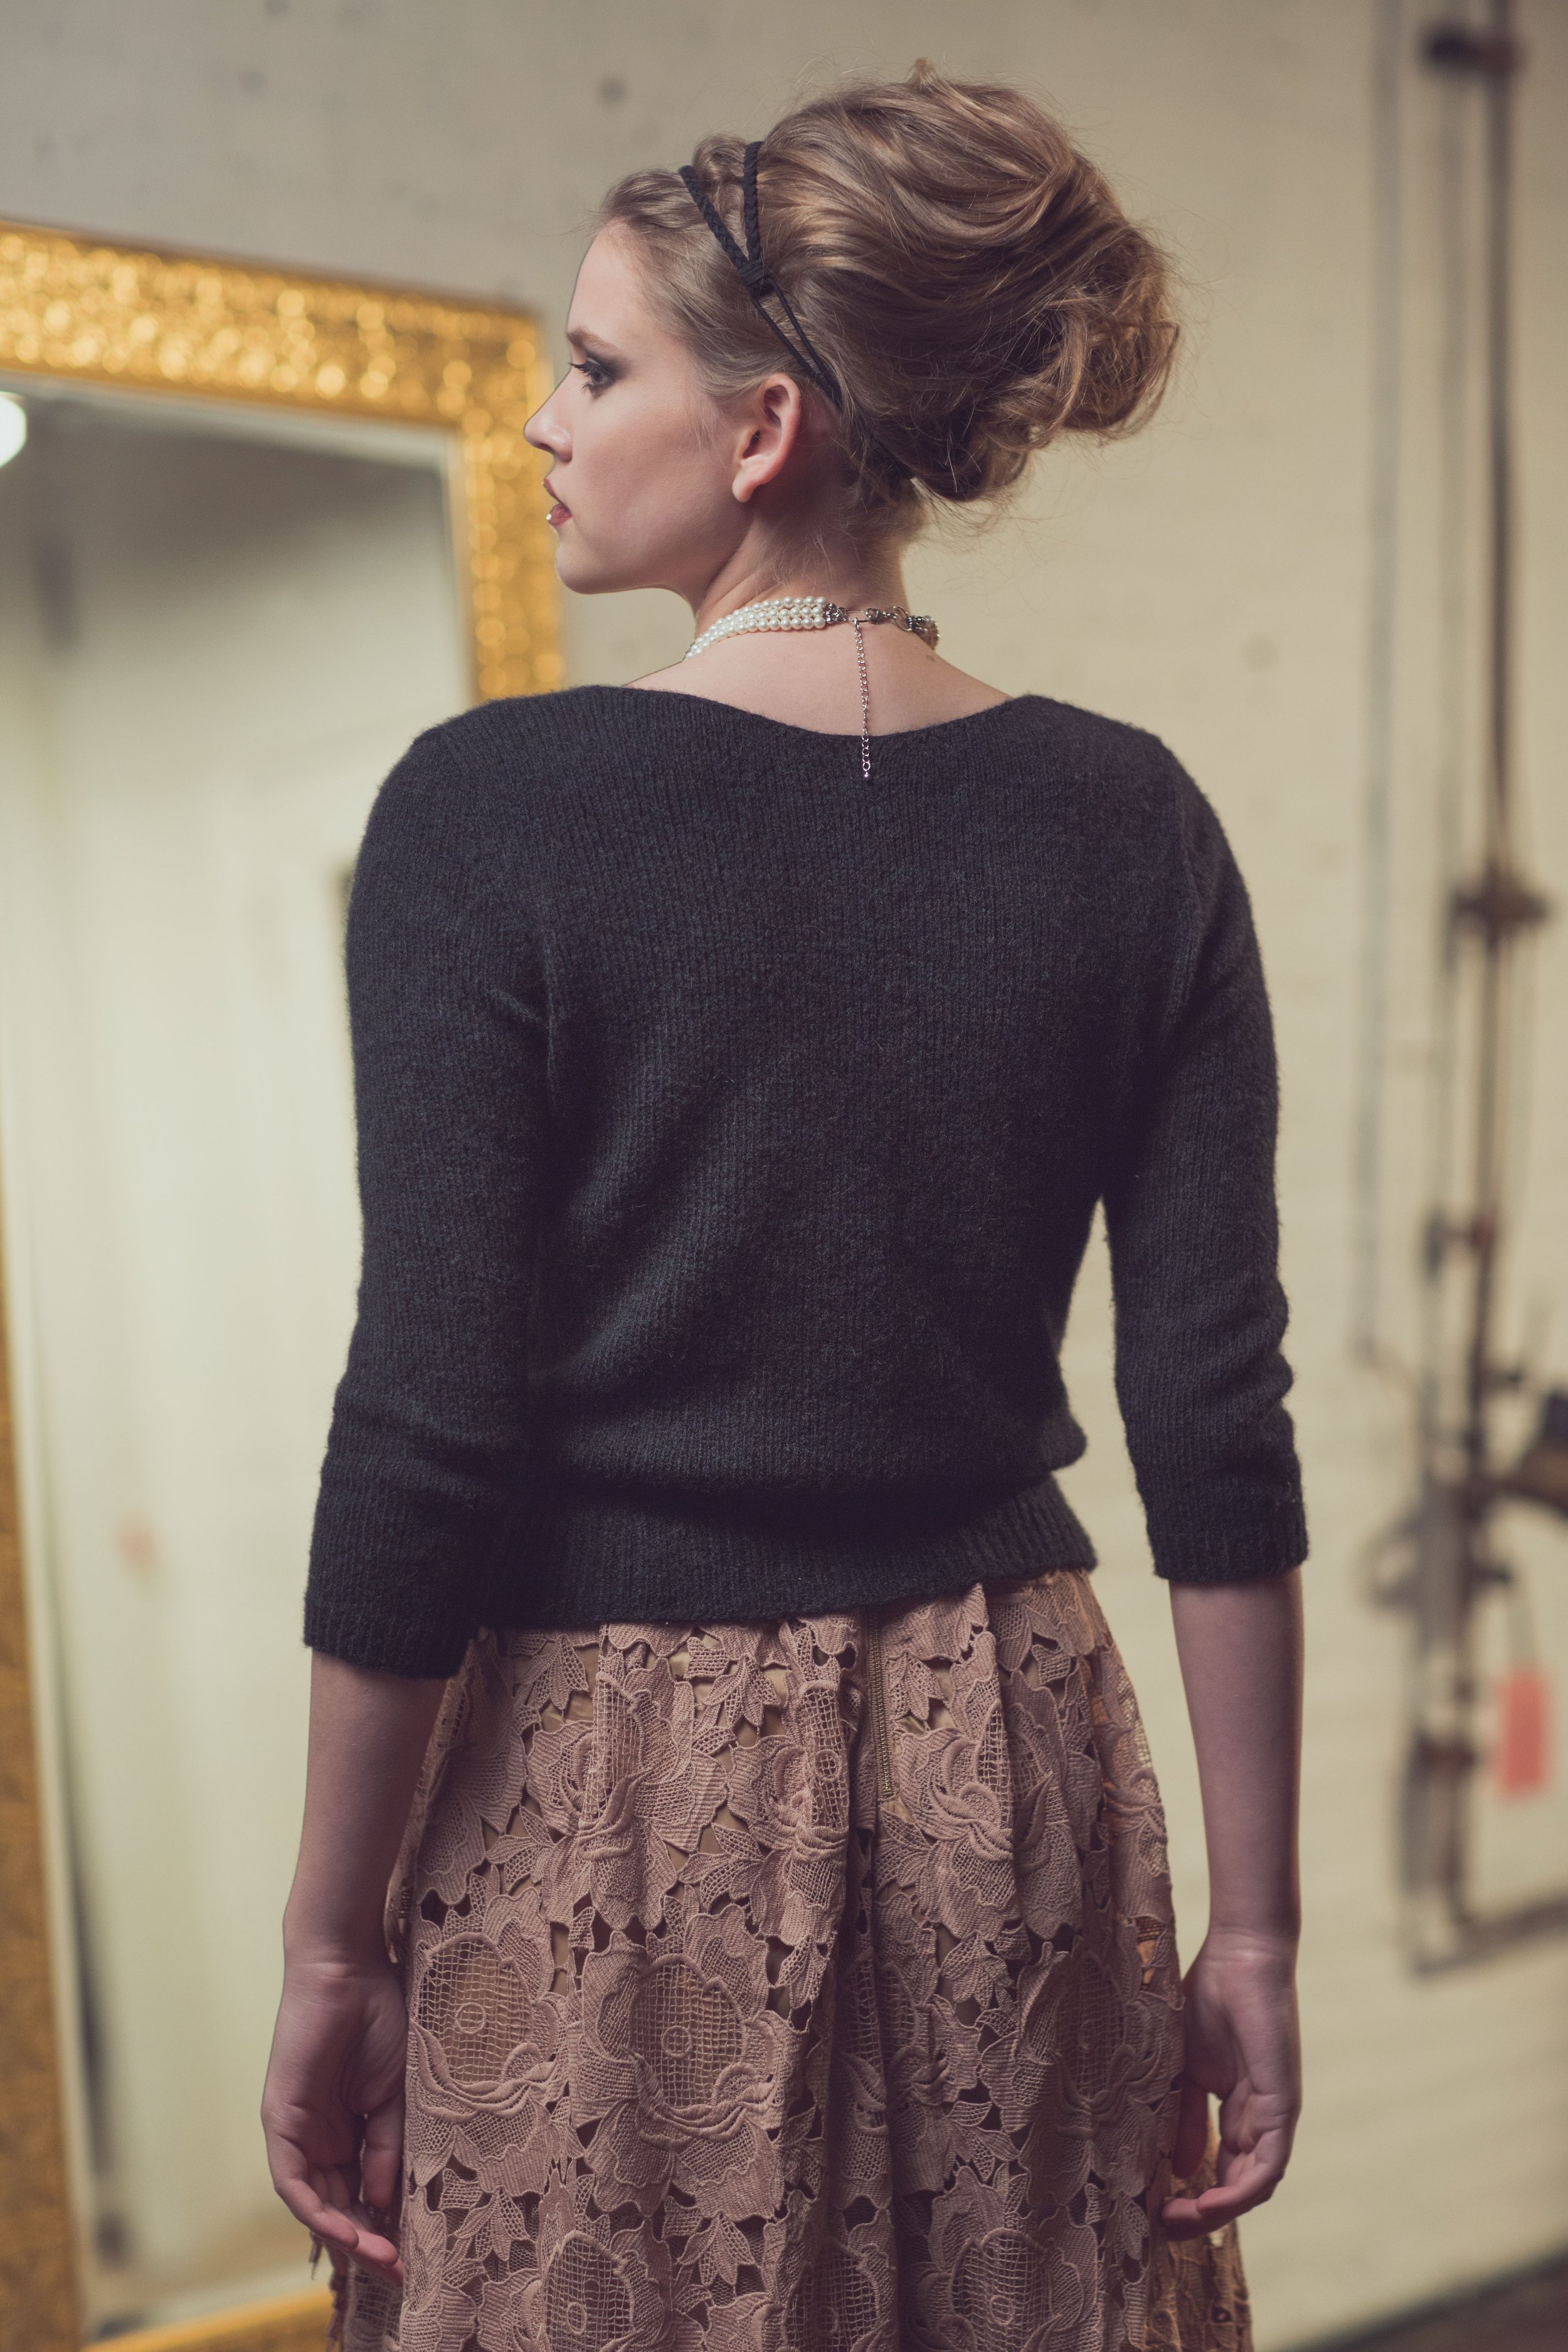
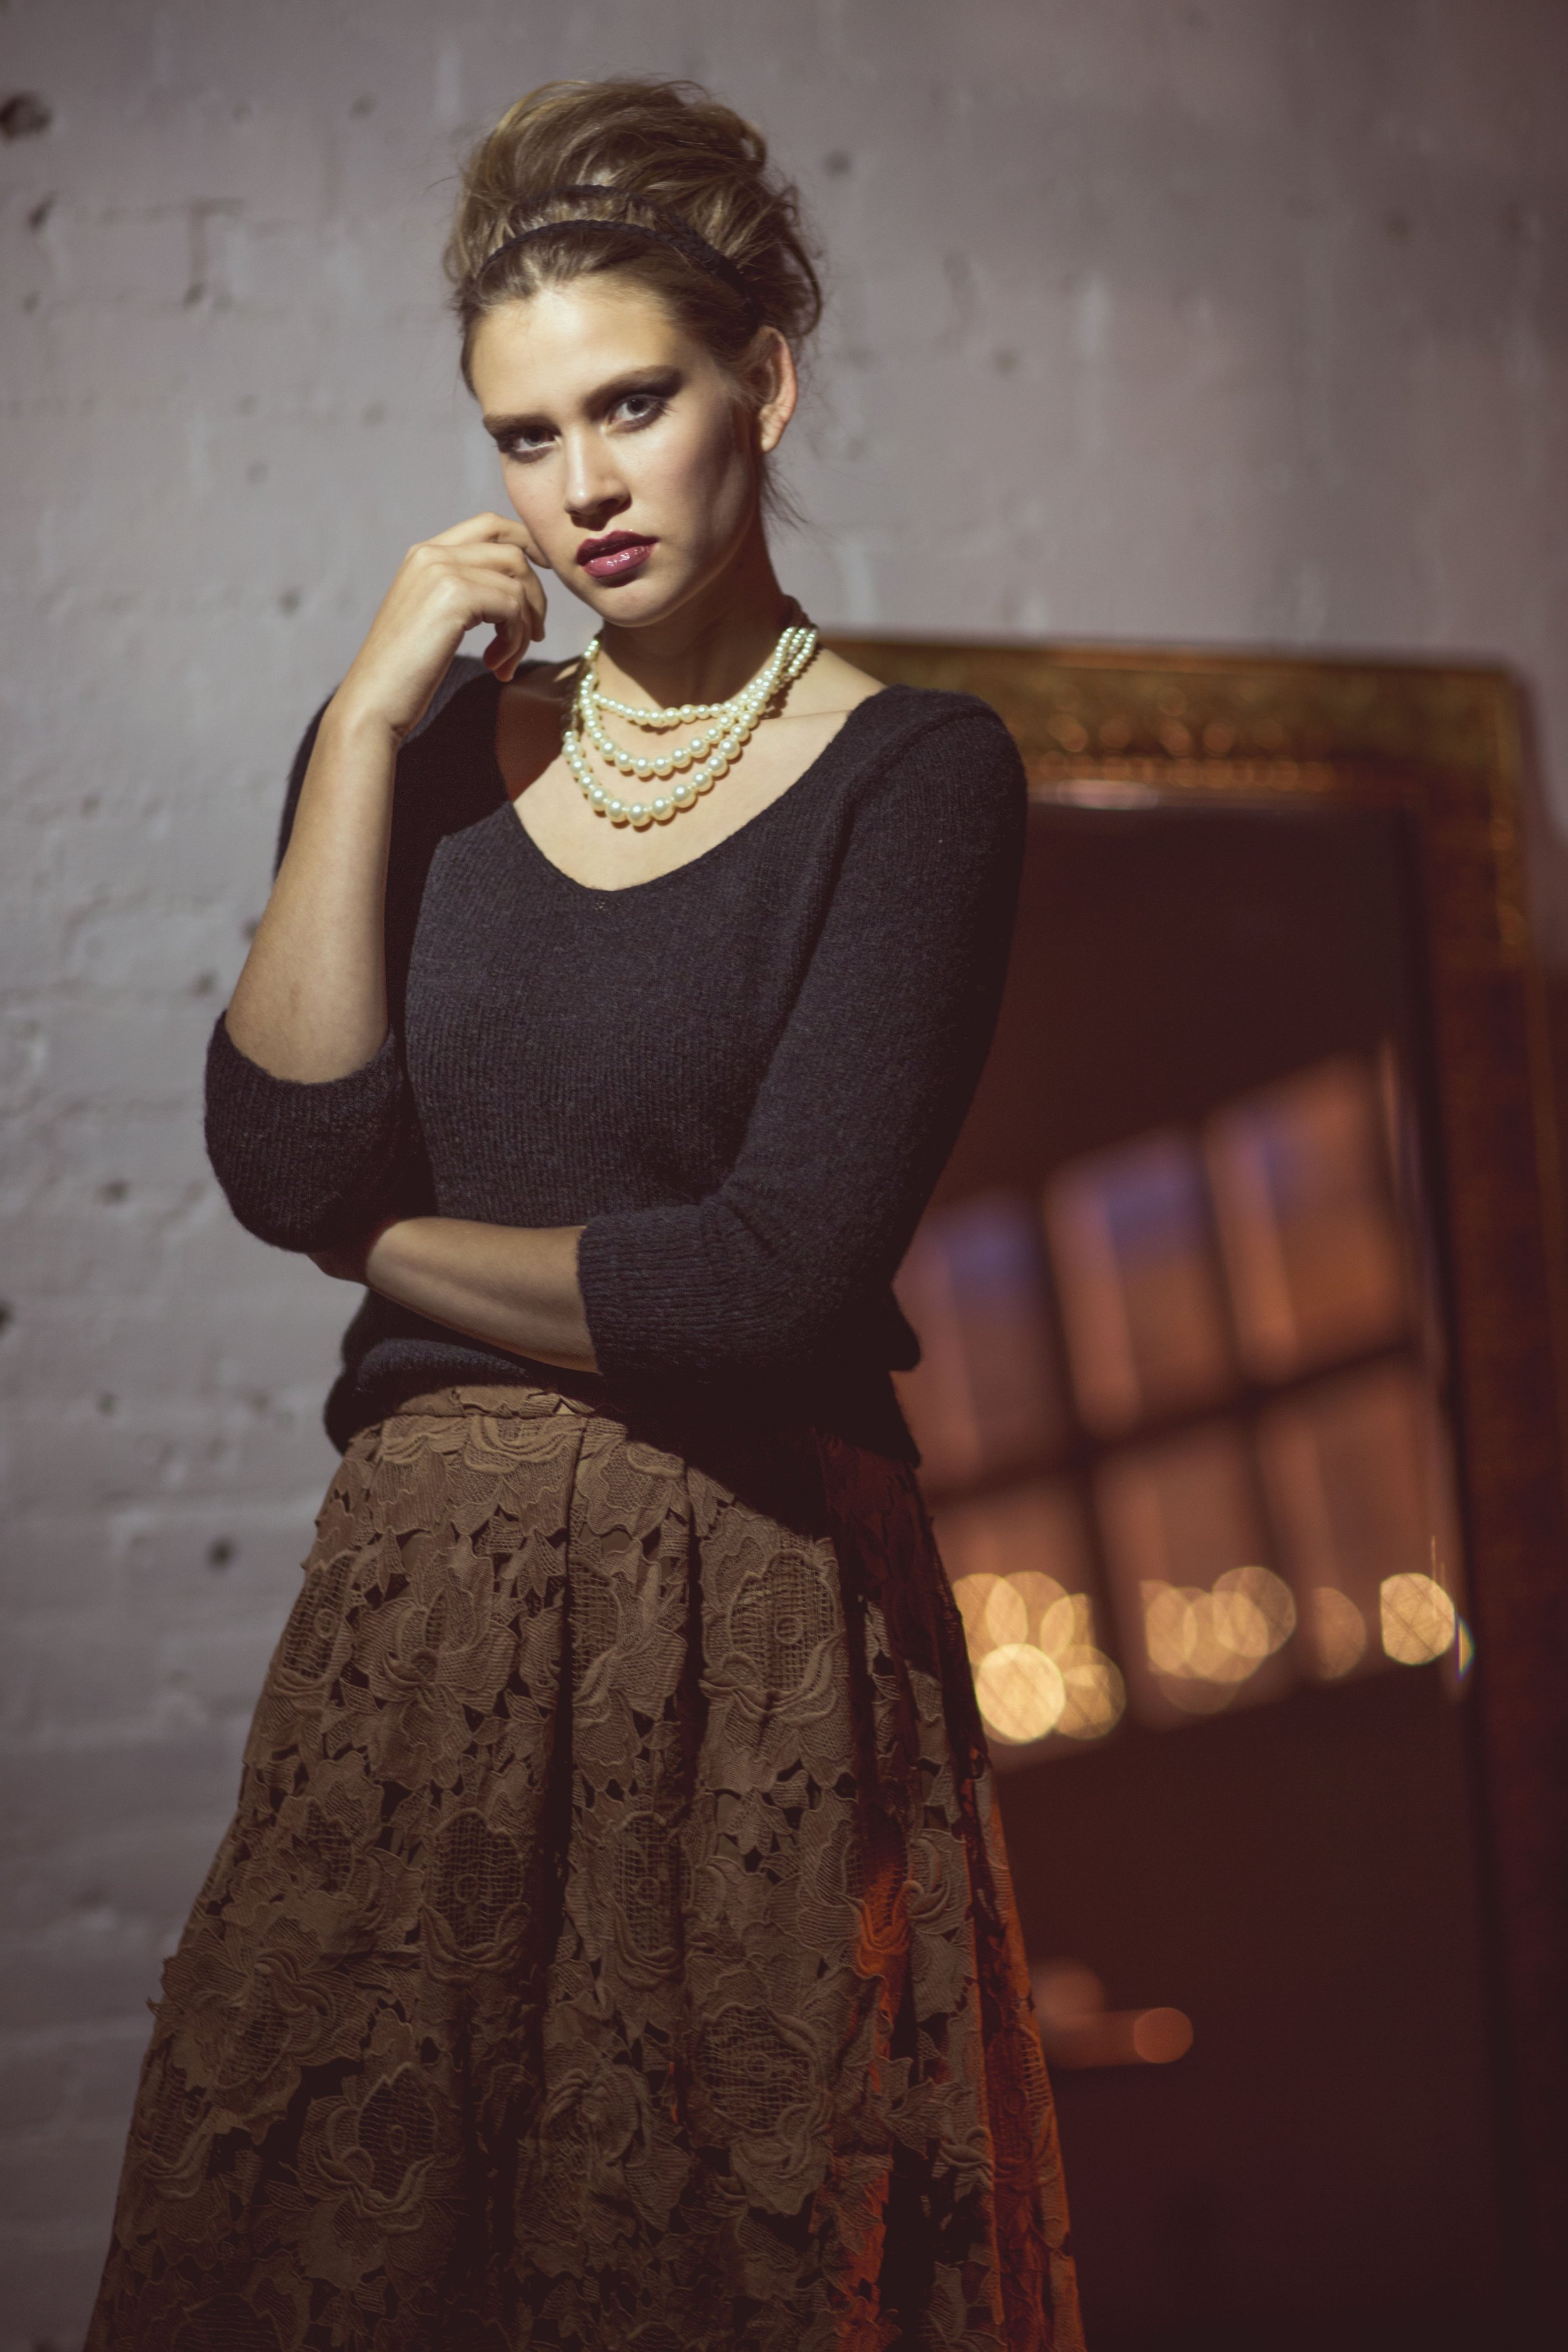
Here's the Day for Night Sweater as seen in knit.wear.
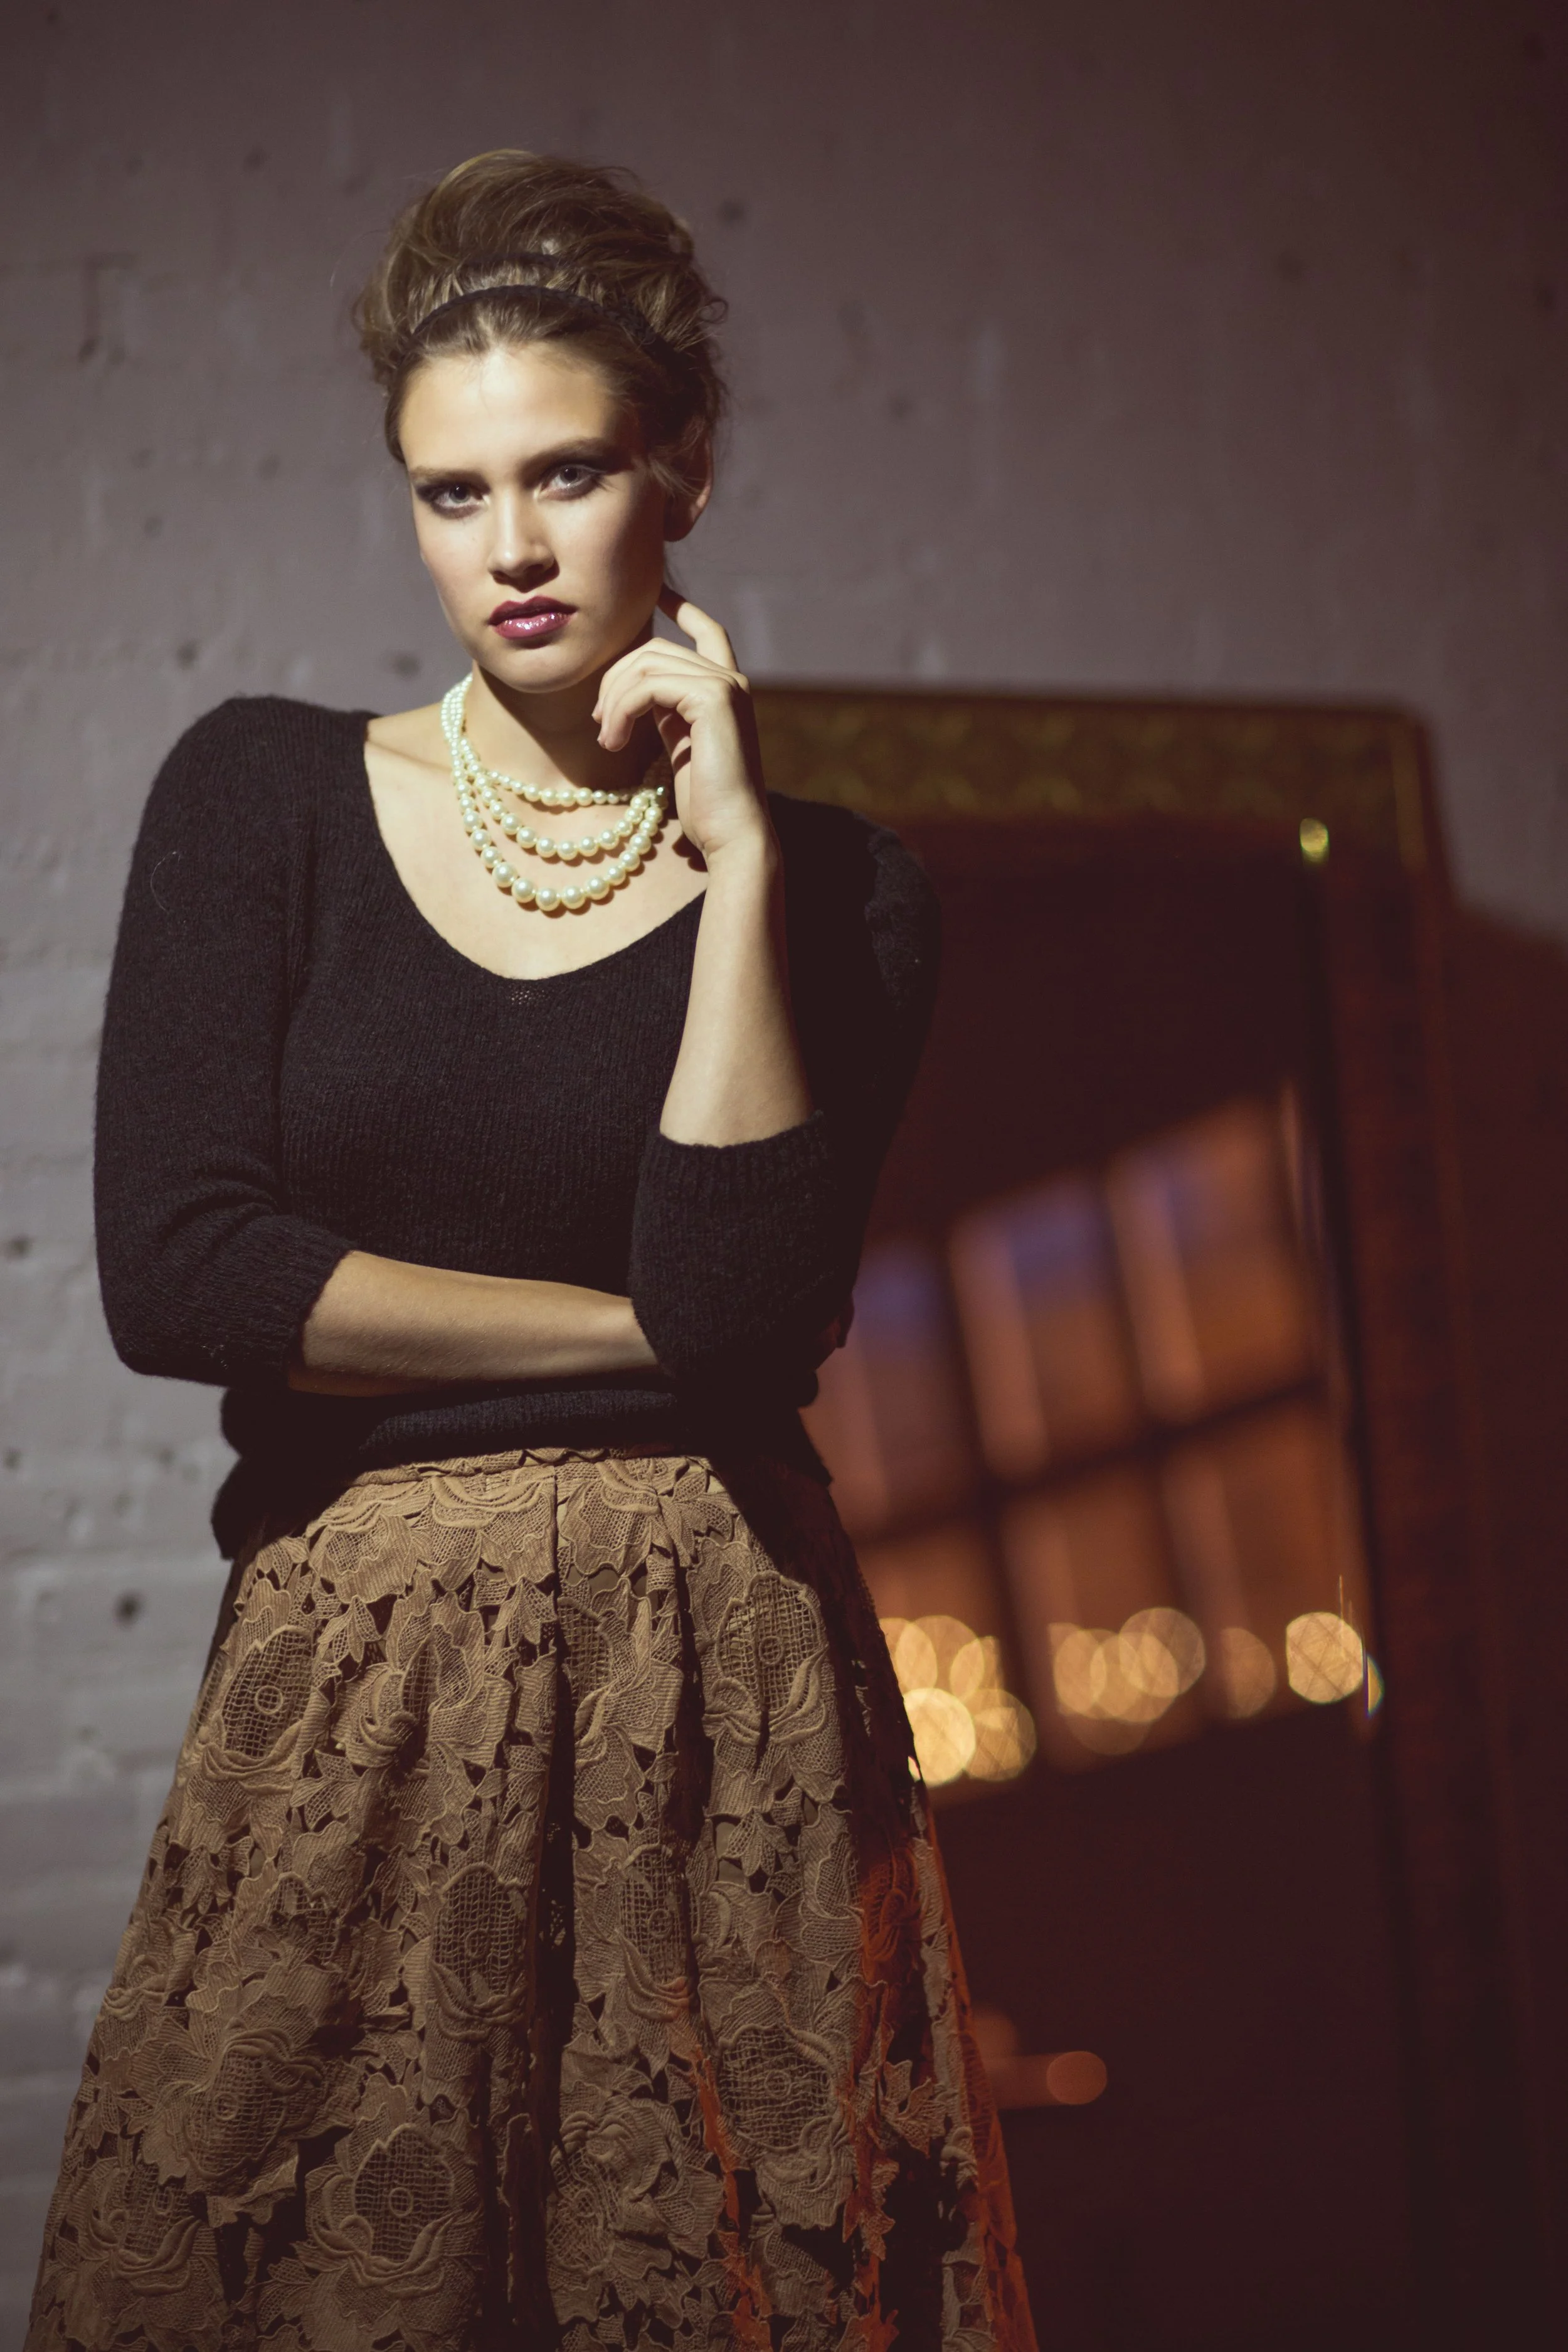
Day for Night Top–Photo Credit: Harper Point Photography
I think this photo is gorgeous and dramatic. As a designer, getting to see how your piece will show up in the photo shoot is part of the fun, but it's also a complete unknown. You are asked to create a sample for a certain bust circumference, you send it off to the magazine and then it gets put on a model, styled with other garments and photographed in the context of a story, so the end result is a total surprise. Part of that surprise is how the garment will actually fit the model. The sample might be knit to a common bust size but we all know how different individual proportions are.
When I designed this garment I envisioned the fit being somewhere in between relaxed and fitted –– that middle ground where the garment follows the lines of the body but skims over them. The idea being to create a sweater that was nonchalant, chic and attractive. A subtle garment that brings the focus to the person inside the sweater.
Here is the same sample being modeled by a very obliging friend, styled as she would wear it, caught on the fly, no fancy hair, no makeup, just her and the sweater.
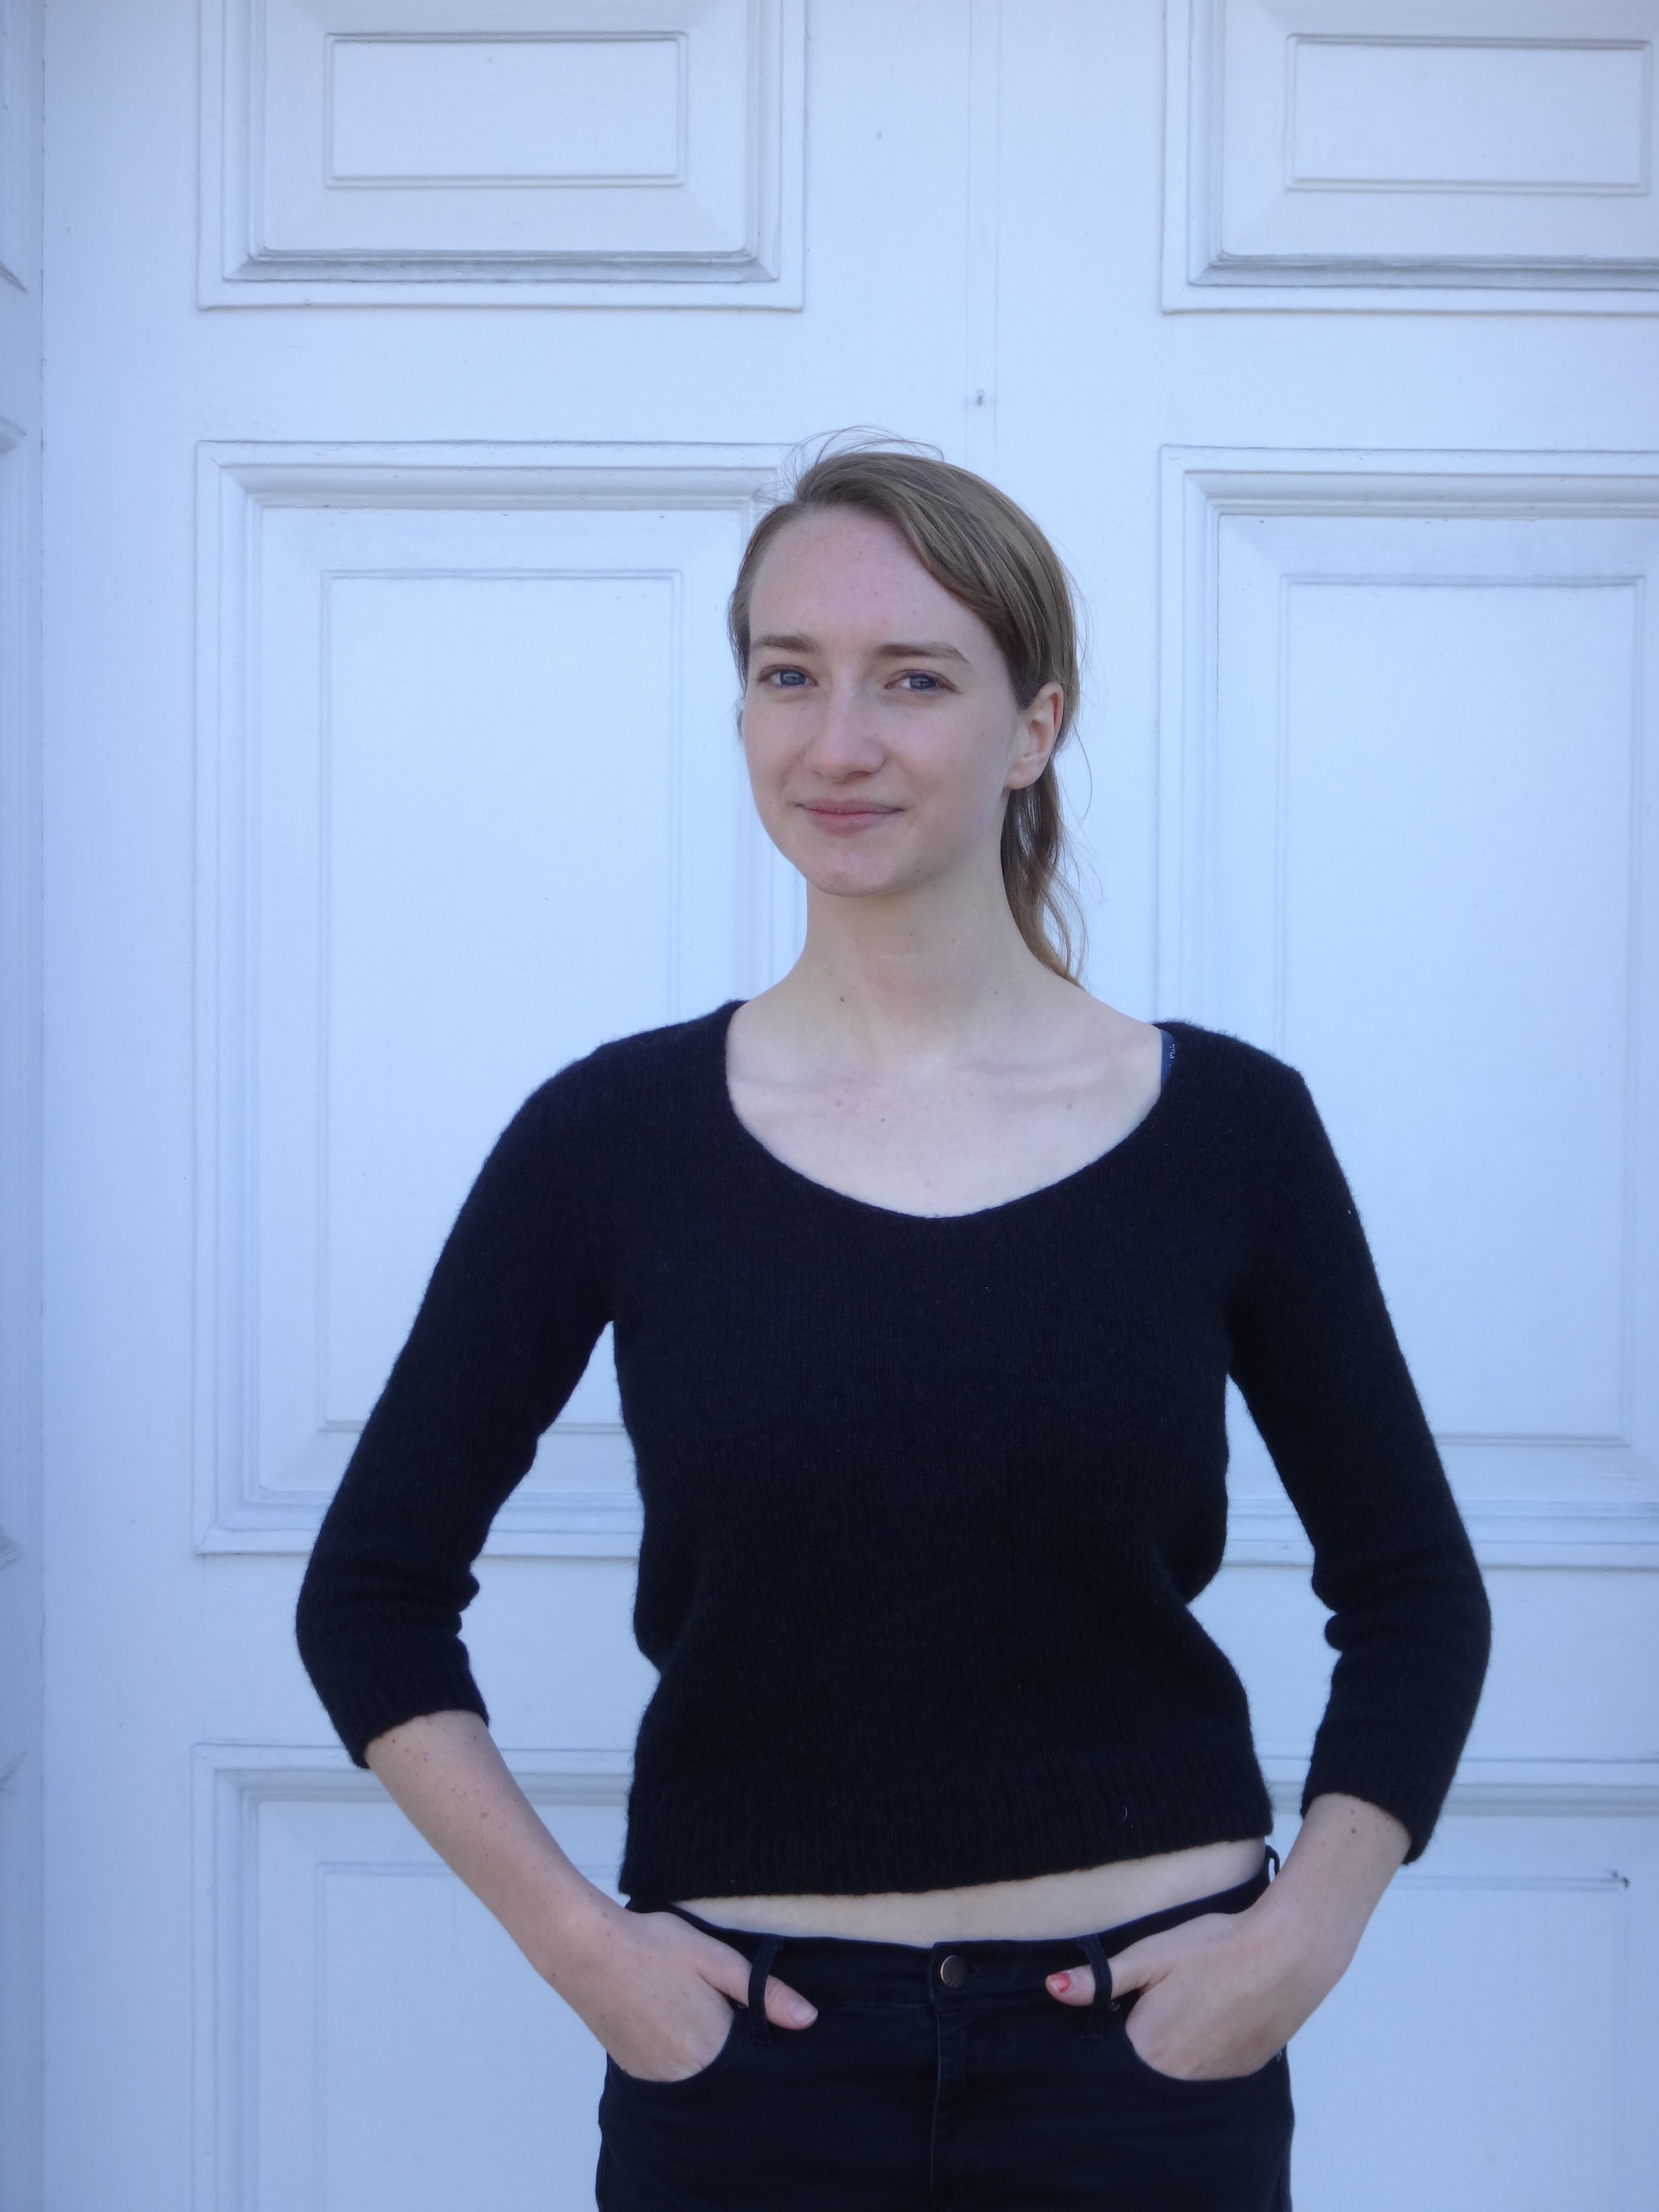
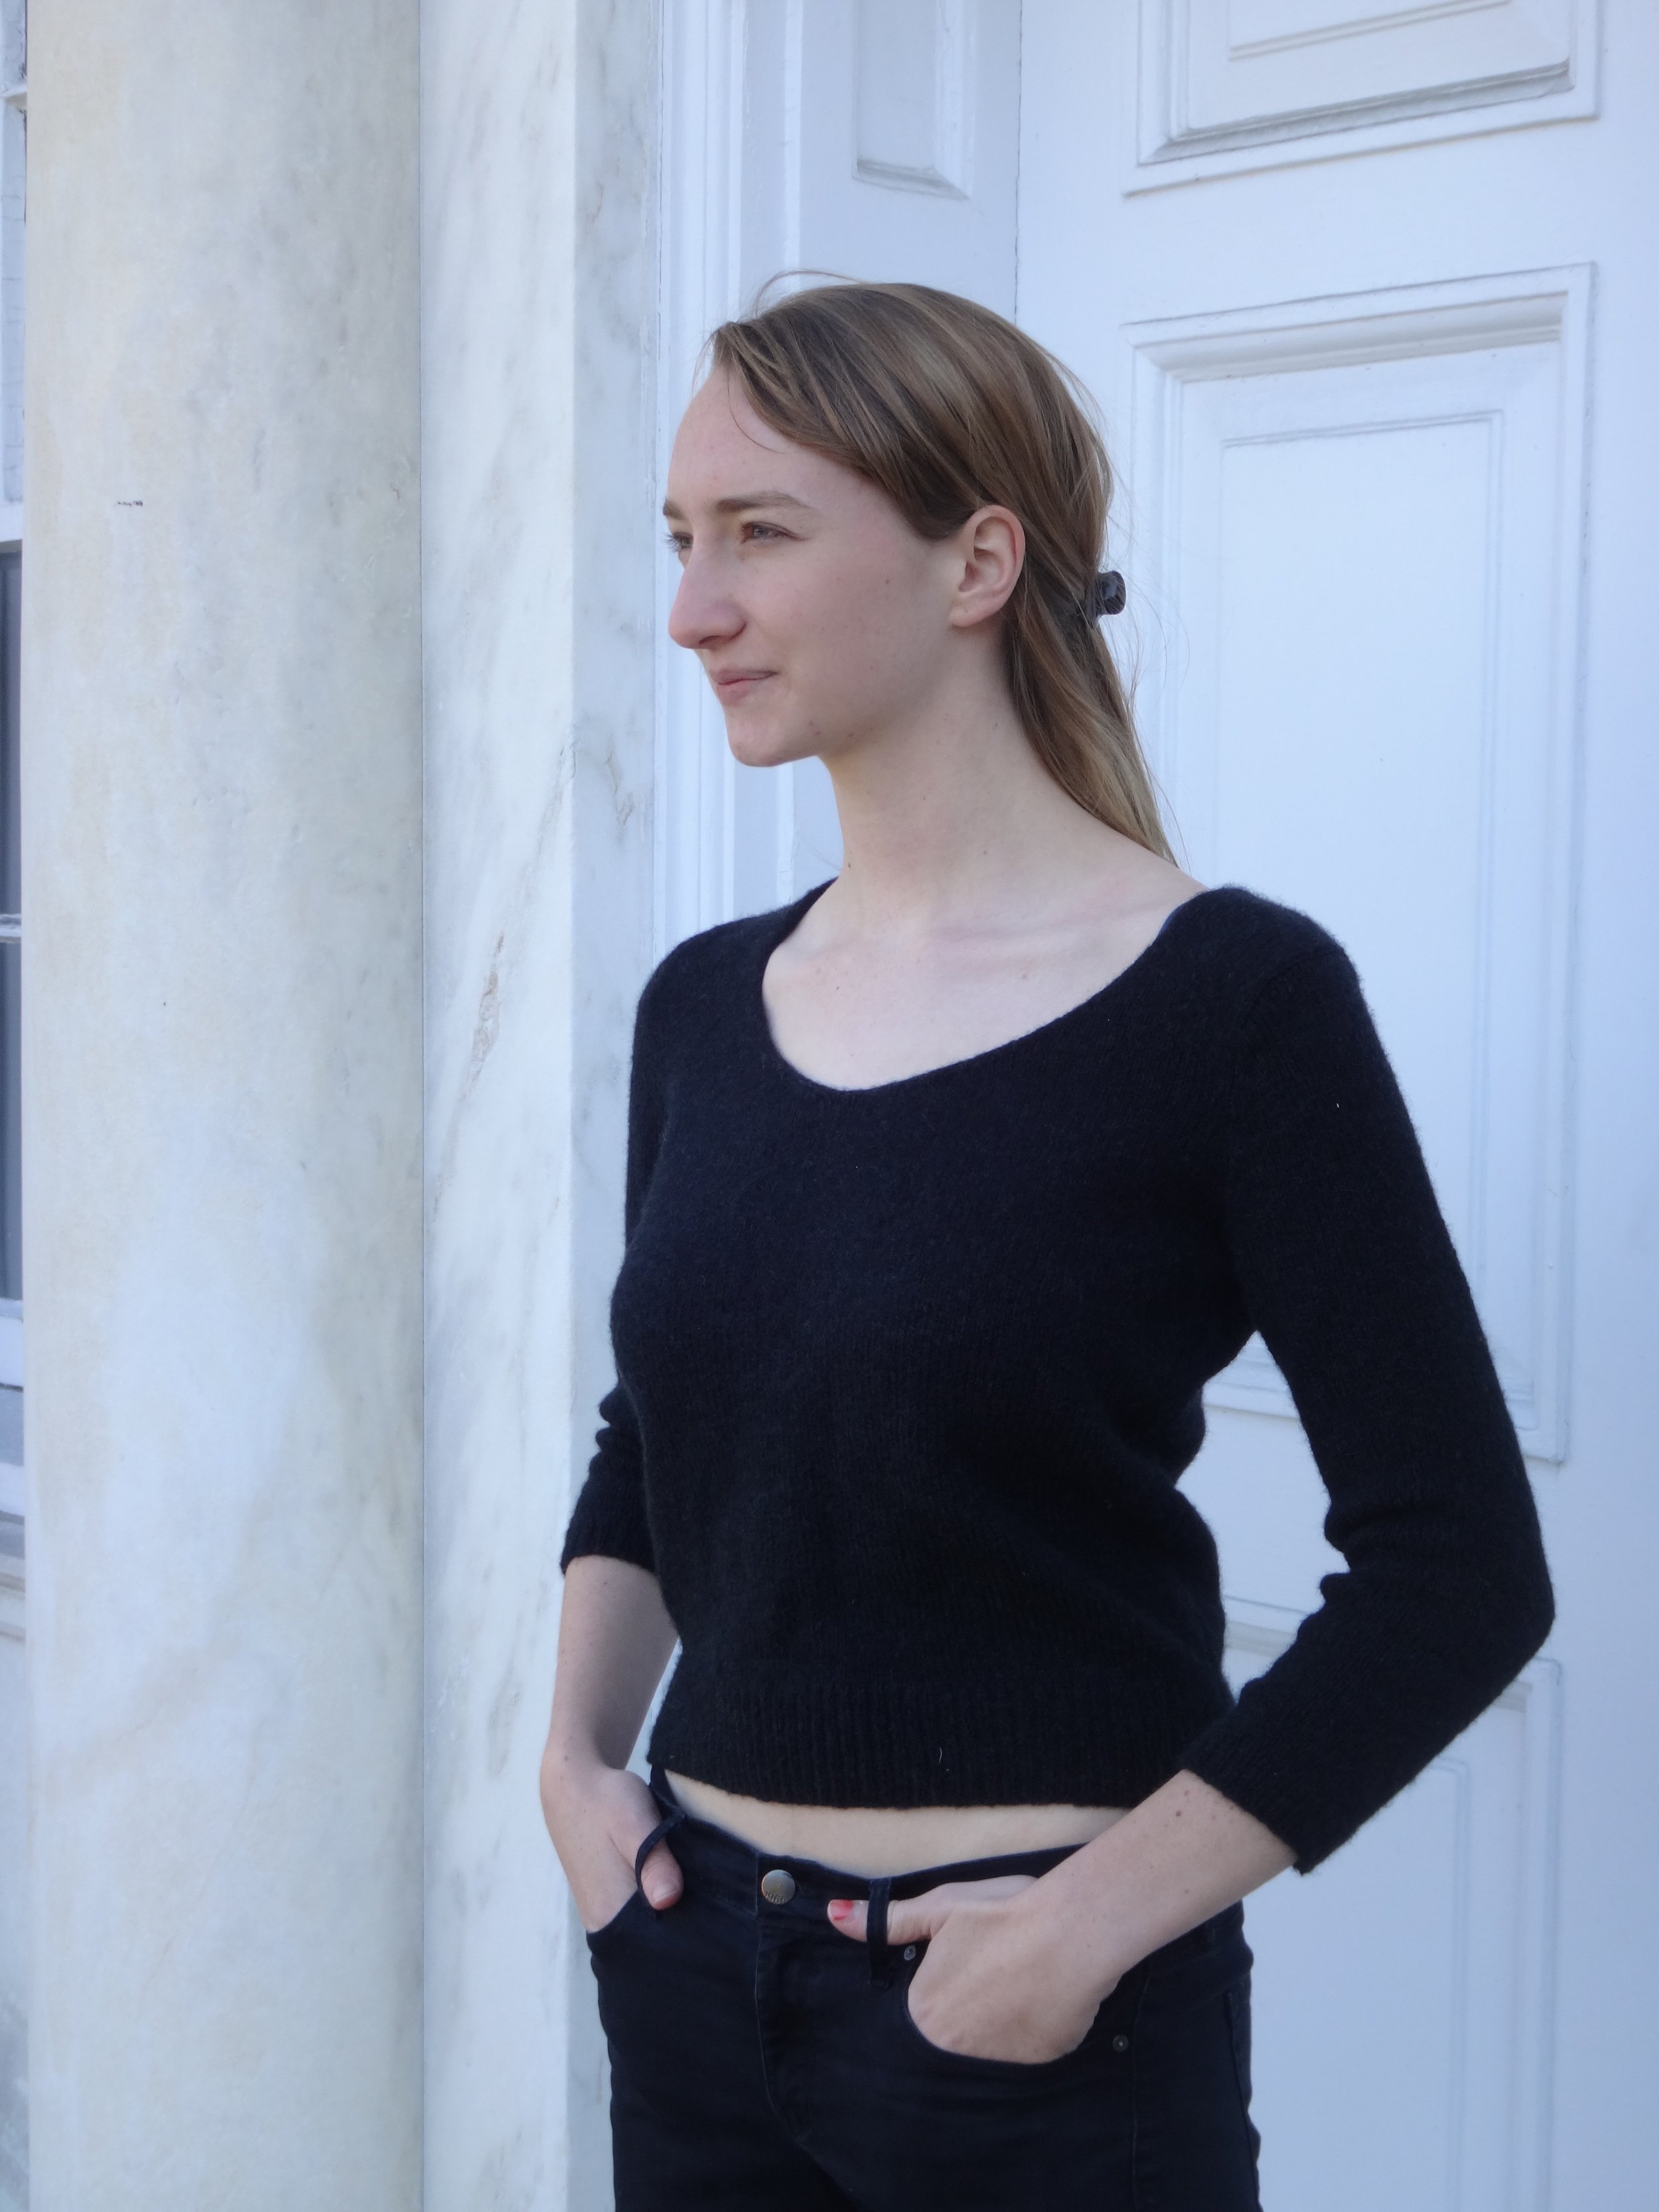

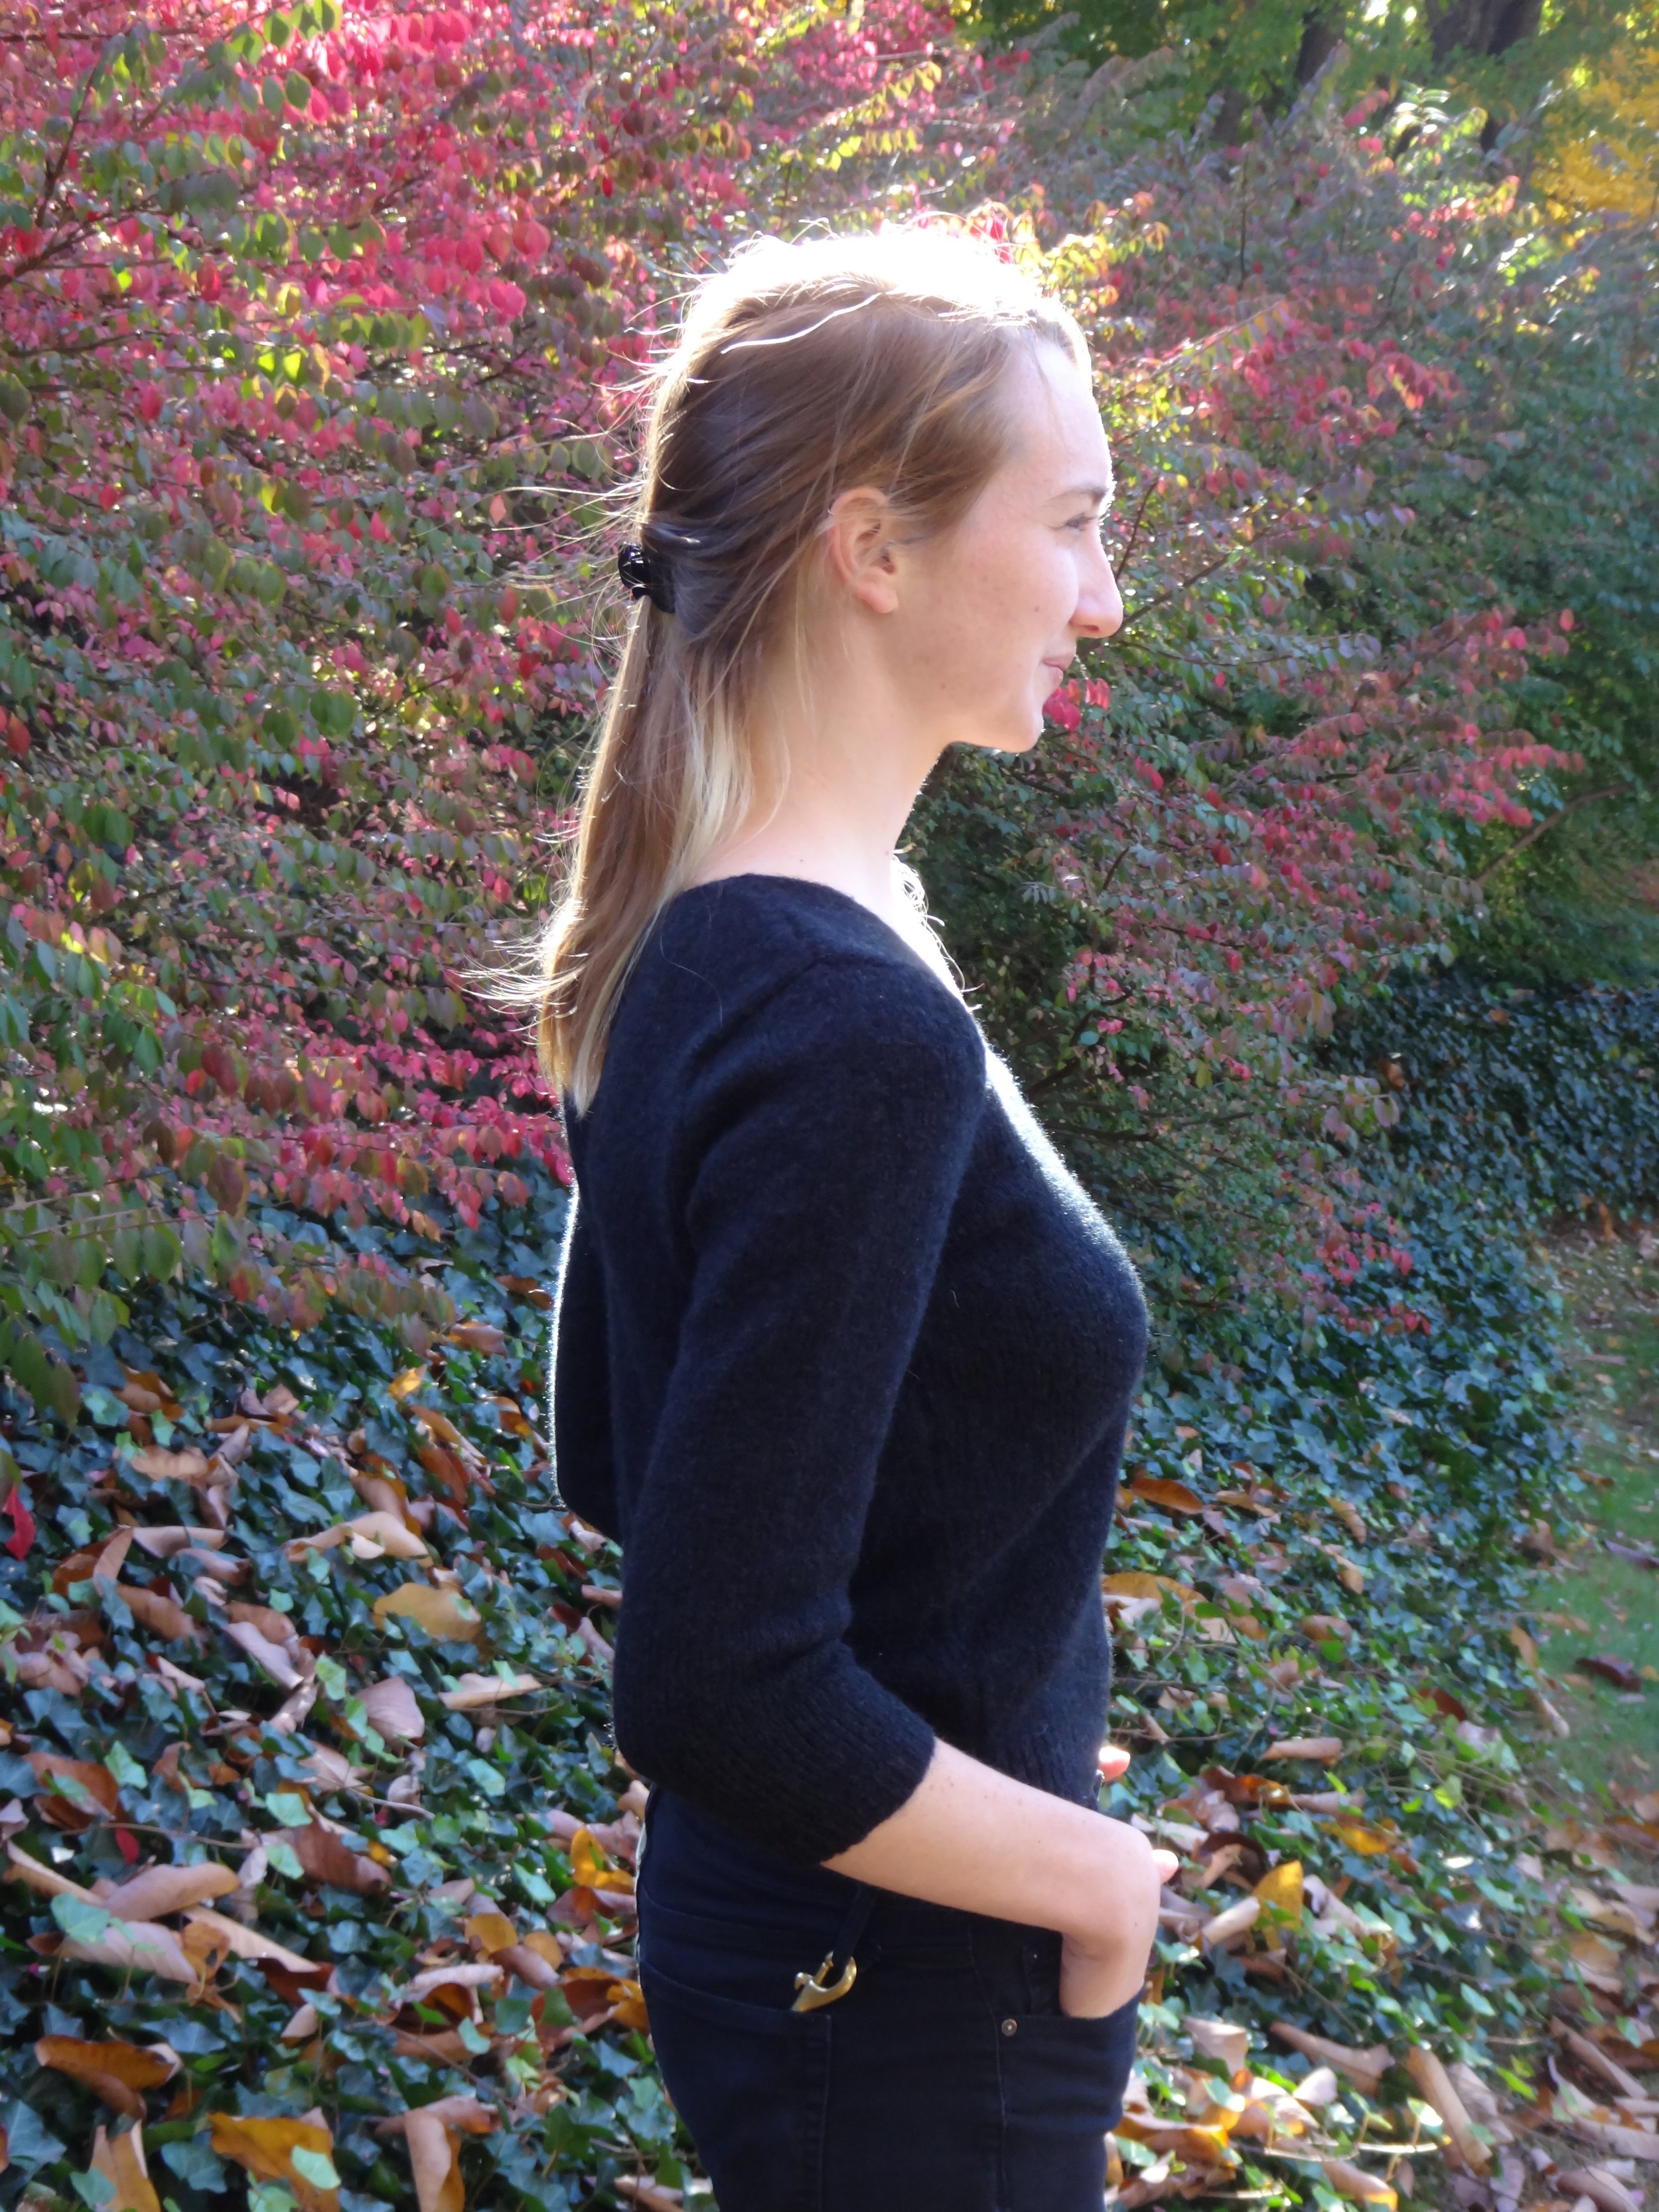
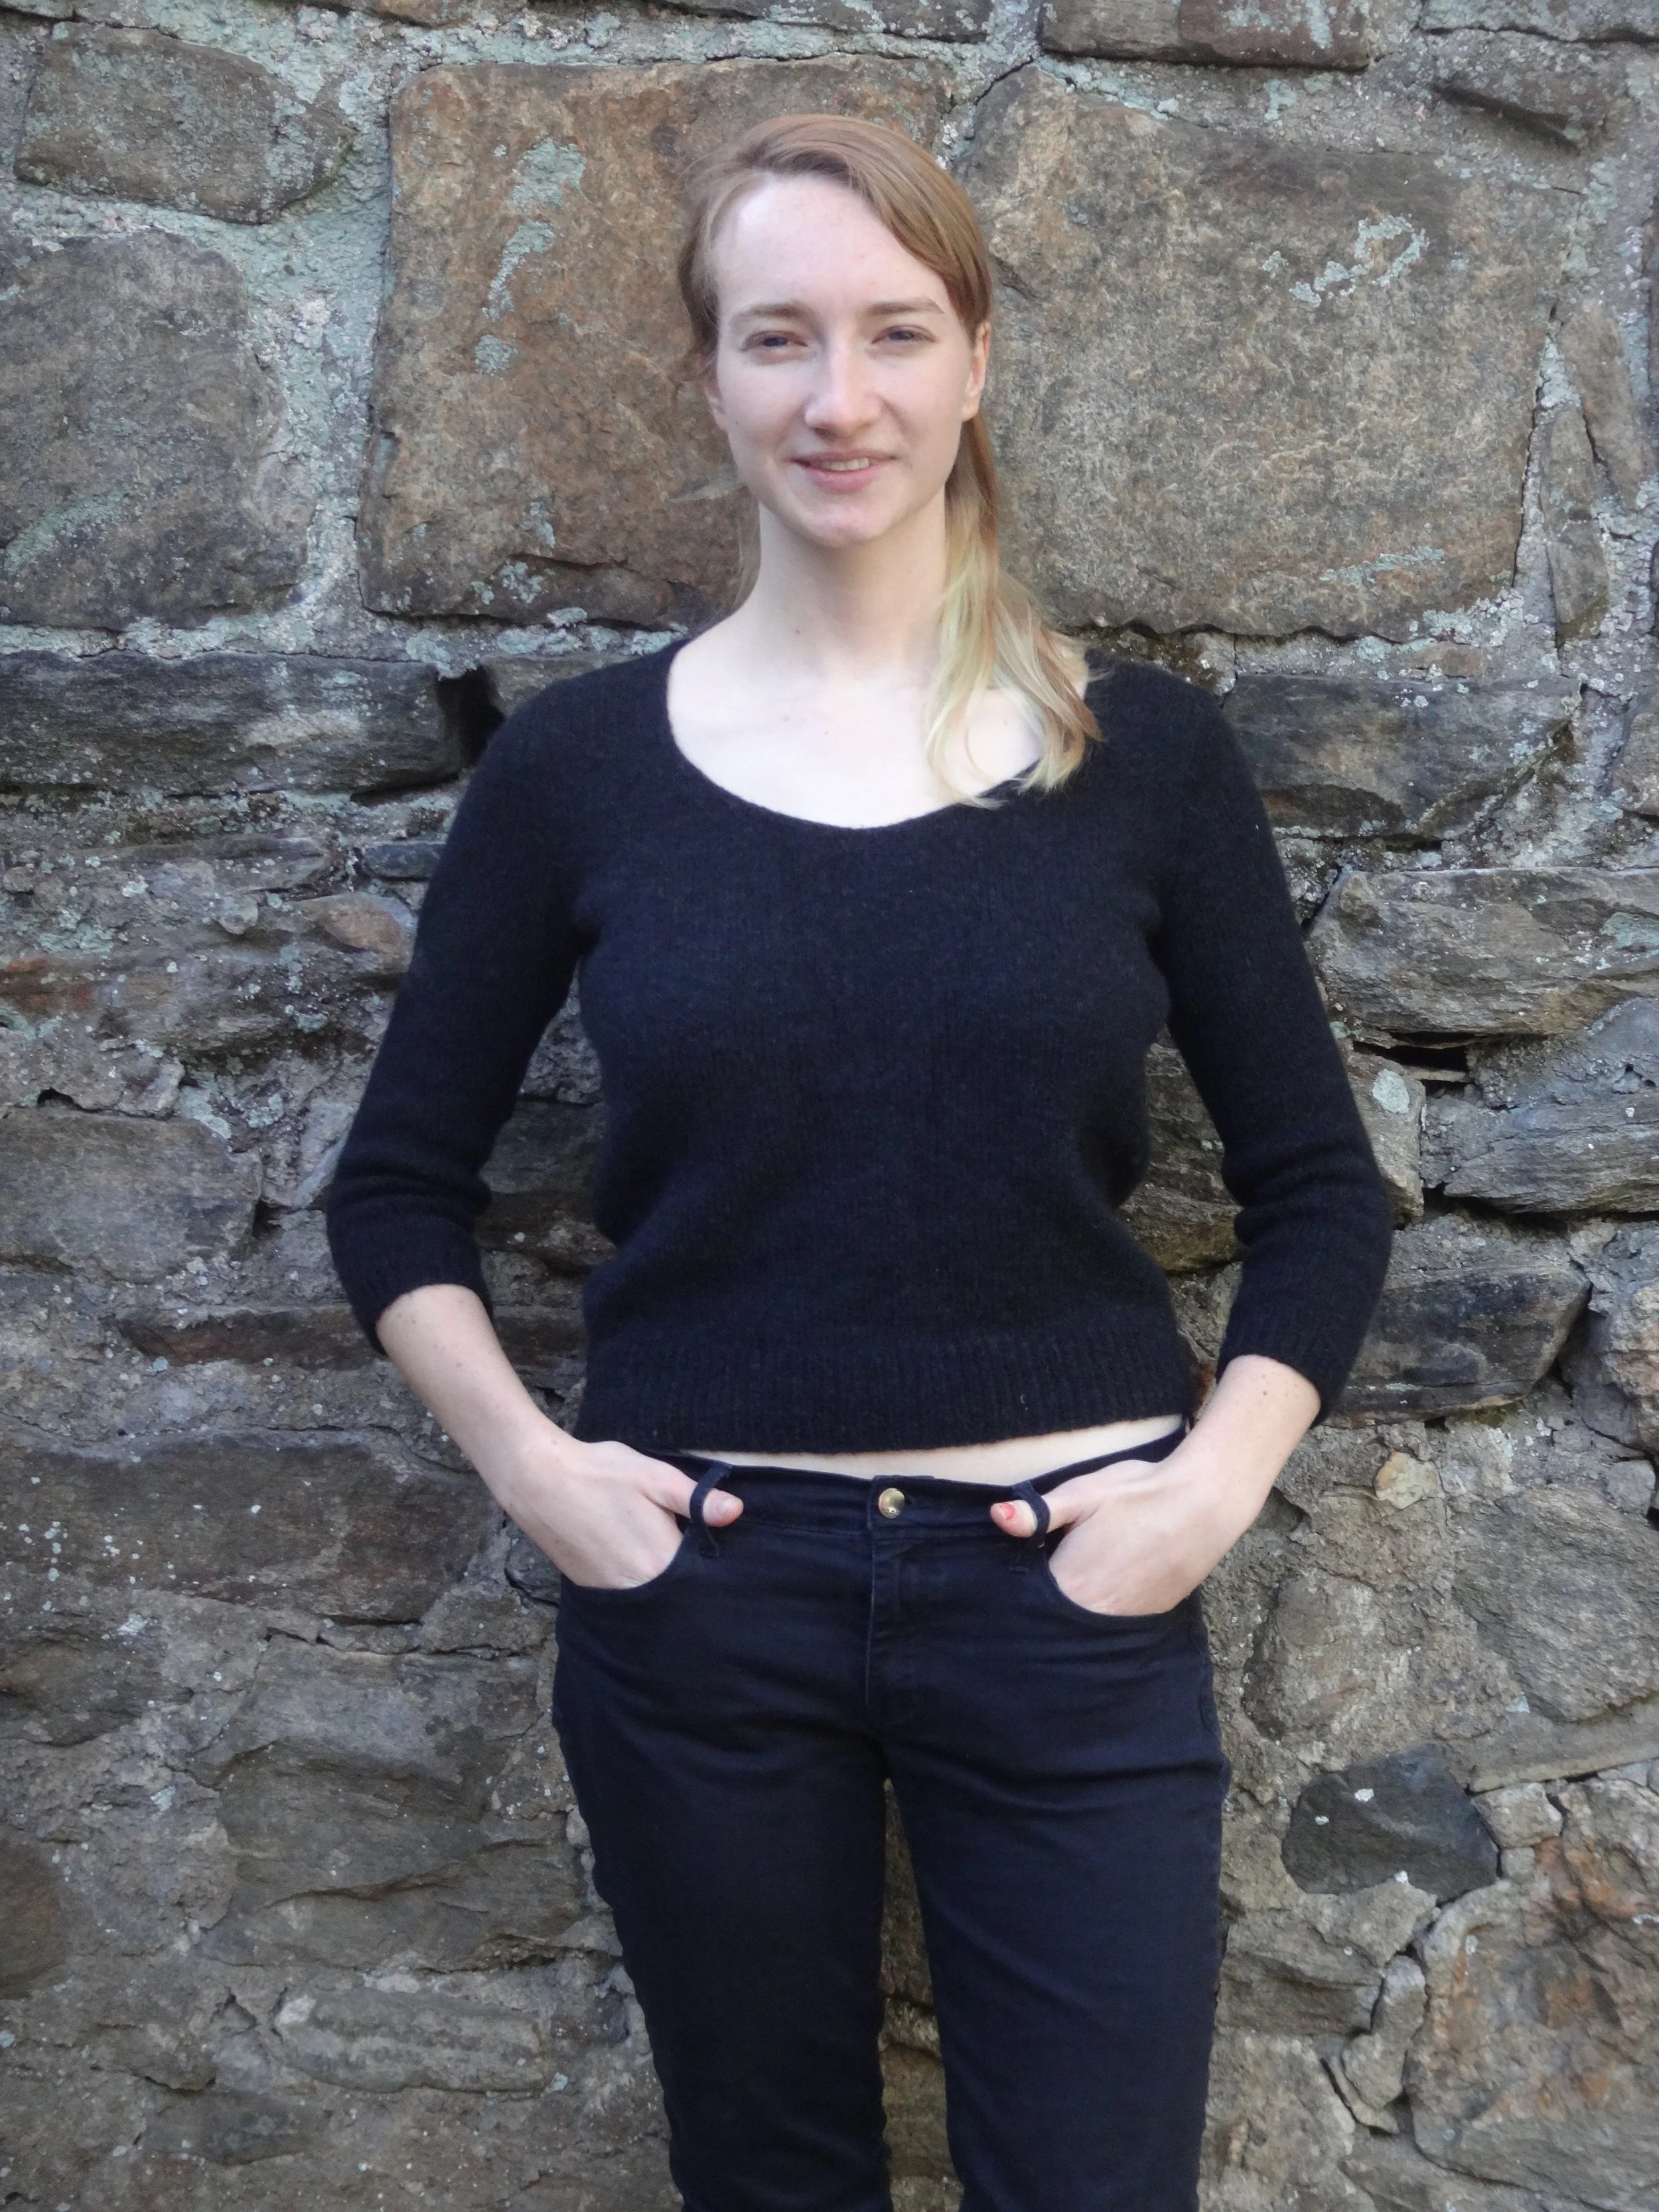

I love these too! I think it shows the versatility of such a simple piece. Dress it up or dress it down, it all works.
One big difference you’ll notice is the sweater length on each model. The length to the underarm is 14 1/2″. I’m rather short waisted and on me this hits at the hip and would definitely cover the waistband of most pants. But personally, if I looked at either of these photos I would probably question whether the length was right for me.
My first assumption would be that model 1 is much shorter waisted than model 2, but then when you look at what they’re wearing you see that there’s more to it. Model 1 is wearing a high-waisted skirt with the sweater sort of tucked up at the waist and model 2 is wearing low-slung pants, and that affects how you perceive the sweater. Whether you saw one or the other of these photos would give you drastically different ideas about how the sweater fits and whether you would want to knit it or not. Anyone who has ever combed over the finished projects of a sweater on Ravelry knows how difficult it can be to tell what a sweater looks like, or more importantly how it’s going to look on you. If you look at a few more pictures of model 1 you see just how much the sweater has been bloused in the photo. Whether it’s done to fit the model or the stylist’s idea of how the sweater should be worn, the end result is that we think that’s how the sweater is supposed to look and we immediately start evaluating whether it’s right for us based on that one image.
So how do we really know? The best method I have for analyzing how a sweater will look on me is to examine the schematic. Sleeve and body length are not usually very difficult to adjust and can go a long way towards how the sweater looks and feels on you. First, get familiar with what sort of length you think flatters you. Measure successful sweaters you’ve knit or items in your closet that have a similar fabric or weight to them. Just be sure they are a similar construction (raglan, set-in sleeve, dolman, etc).
Measure the sleeve length from cuff to underarm and the body length from hem to underarm and record those numbers. It is also important to measure the armhole depth (from underarm seam to where the shoulder meets the sleeve cap) and the garment’s total length (from where the neck meets the shoulder seam to the hem)–on a schematic this would equal the body length plus the armhole depth plus any shoulder shaping. The reason to take these measurements as well is that the armhole depth can affect where the sleeve and side seam hit on your body, so it’s a good idea to compare these measurements to the schematic to insure that the two sweaters you are evaluating have similar overall dimensions. The sleeve on both the sweater you’re measuring and the schematic may be 18″ but if the armhole depth is 7.5″ on one and 8.5″ on the other, those sleeves could actually end at a different part of your arm.
If you find you need to add length you can probably do so at the beginning or end of the body piece or sleeve (or divide the extra between both sections) without affecting the overall shaping aversely. If you need to subtract length or if you need to add or subtract a significant amount, you may need to recalculate the rate of increase or decrease for the body shaping. So how do we do that?
If your sleeve increases are what needs to be recalculated and you’d like a little help with the math, check out this terrific calculator for increases (along with many other useful knitting tools.) This program will take some basic information from you and then calculate evenly spaced increases over the number of rows you specify using the Magic Formula.
If you’re interested in getting a detailed explanation of how to make shaping calculations yourself, I highly recommend Shirley Paden’s book, Knitwear Design Workshop. This book is an invaluable resource for anyone looking to delve further into the world of knitwear design and a good place to start taking control of your knits is with shaping sequences. Paden’s book uses a formula based on the “More or Less Right” Formula in Cheryl Brunette’s book Sweater 101 (another valuable resource) and she explains variations of the formula that can be used for calculating sleeve increases, stitch pick ups, body shaping, raglan shaping, v-neck shaping and buttonhole placement. Paden also includes a variation that will place decreases only on right or wrong side rows. If you’re interested in the math and planning that forms the foundation of sweater design, this book is for you.
One thing to be aware of if you are altering an existing pattern; this formula will space your increases or decreases evenly but the results of your calculations may not exactly match your written instructions. Don’t panic–this doesn’t necessarily mean that either you or the designer are wrong (although checking your math or drawing out the sequence on graph paper never hurts). There is usually more than one way to shape a piece so even if you calculate based on the same numbers as a pattern you have, the resulting sequence exactly as it’s determined by the formula may not be what you see in the pattern. The designer may have chosen to alter the shaping sequence so that it’s not perfectly even either to control the shape of the sleeve or to accommodate a stitch pattern. For example, I often like to begin my sleeve shaping after 4 or 5 inches of sleeve has been knit and then have more frequent increases towards the bicep. It creates a flattering shape to the sleeve and I like the way it looks. If you compared my shaping sequence to one generated by the “More or Less Right” Formula you would be struck by the difference, but as long as you get to the right number of stitches in the right number of rows, you have some flexibility on how you get there. As you become more experienced with playing around with these sequences it can be helpful to draw yourself a little schematic on graph paper to see how the same number of increases placed at different intervals create different shapes. Then you can take even more control of your knitting, placing waist shaping exactly where you would like it or creating a sleeve that suits the shape of your arm.
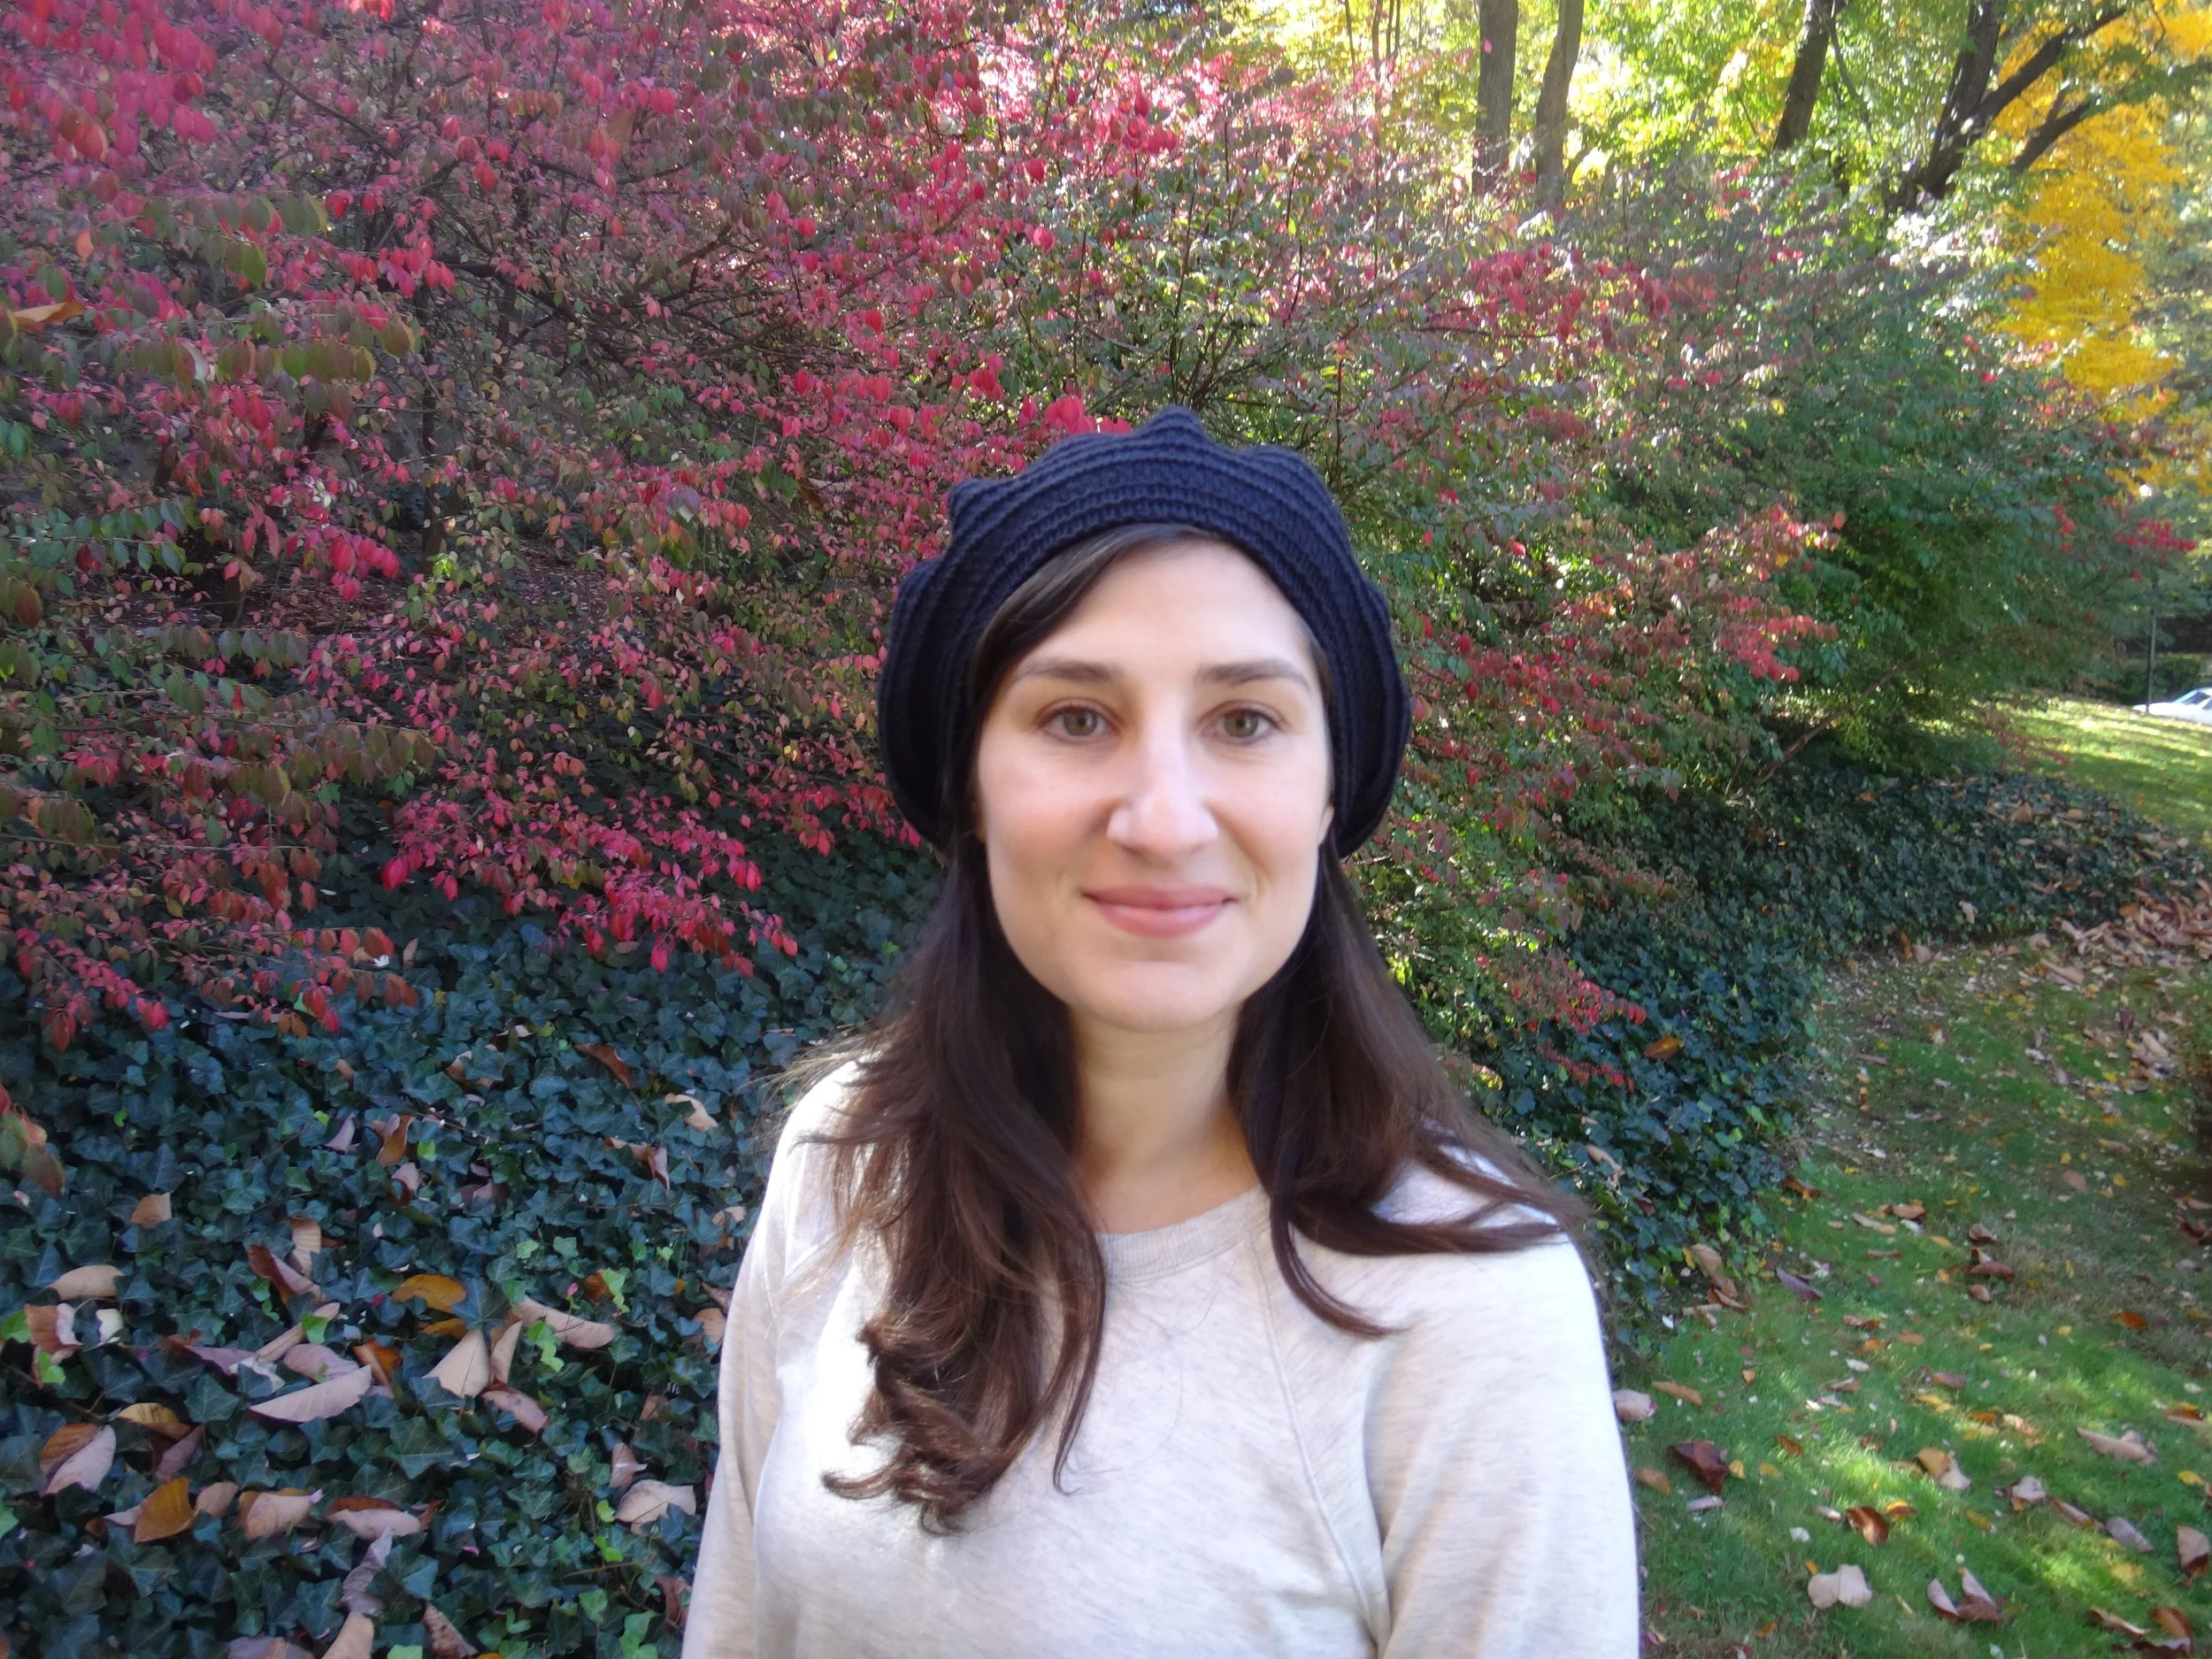
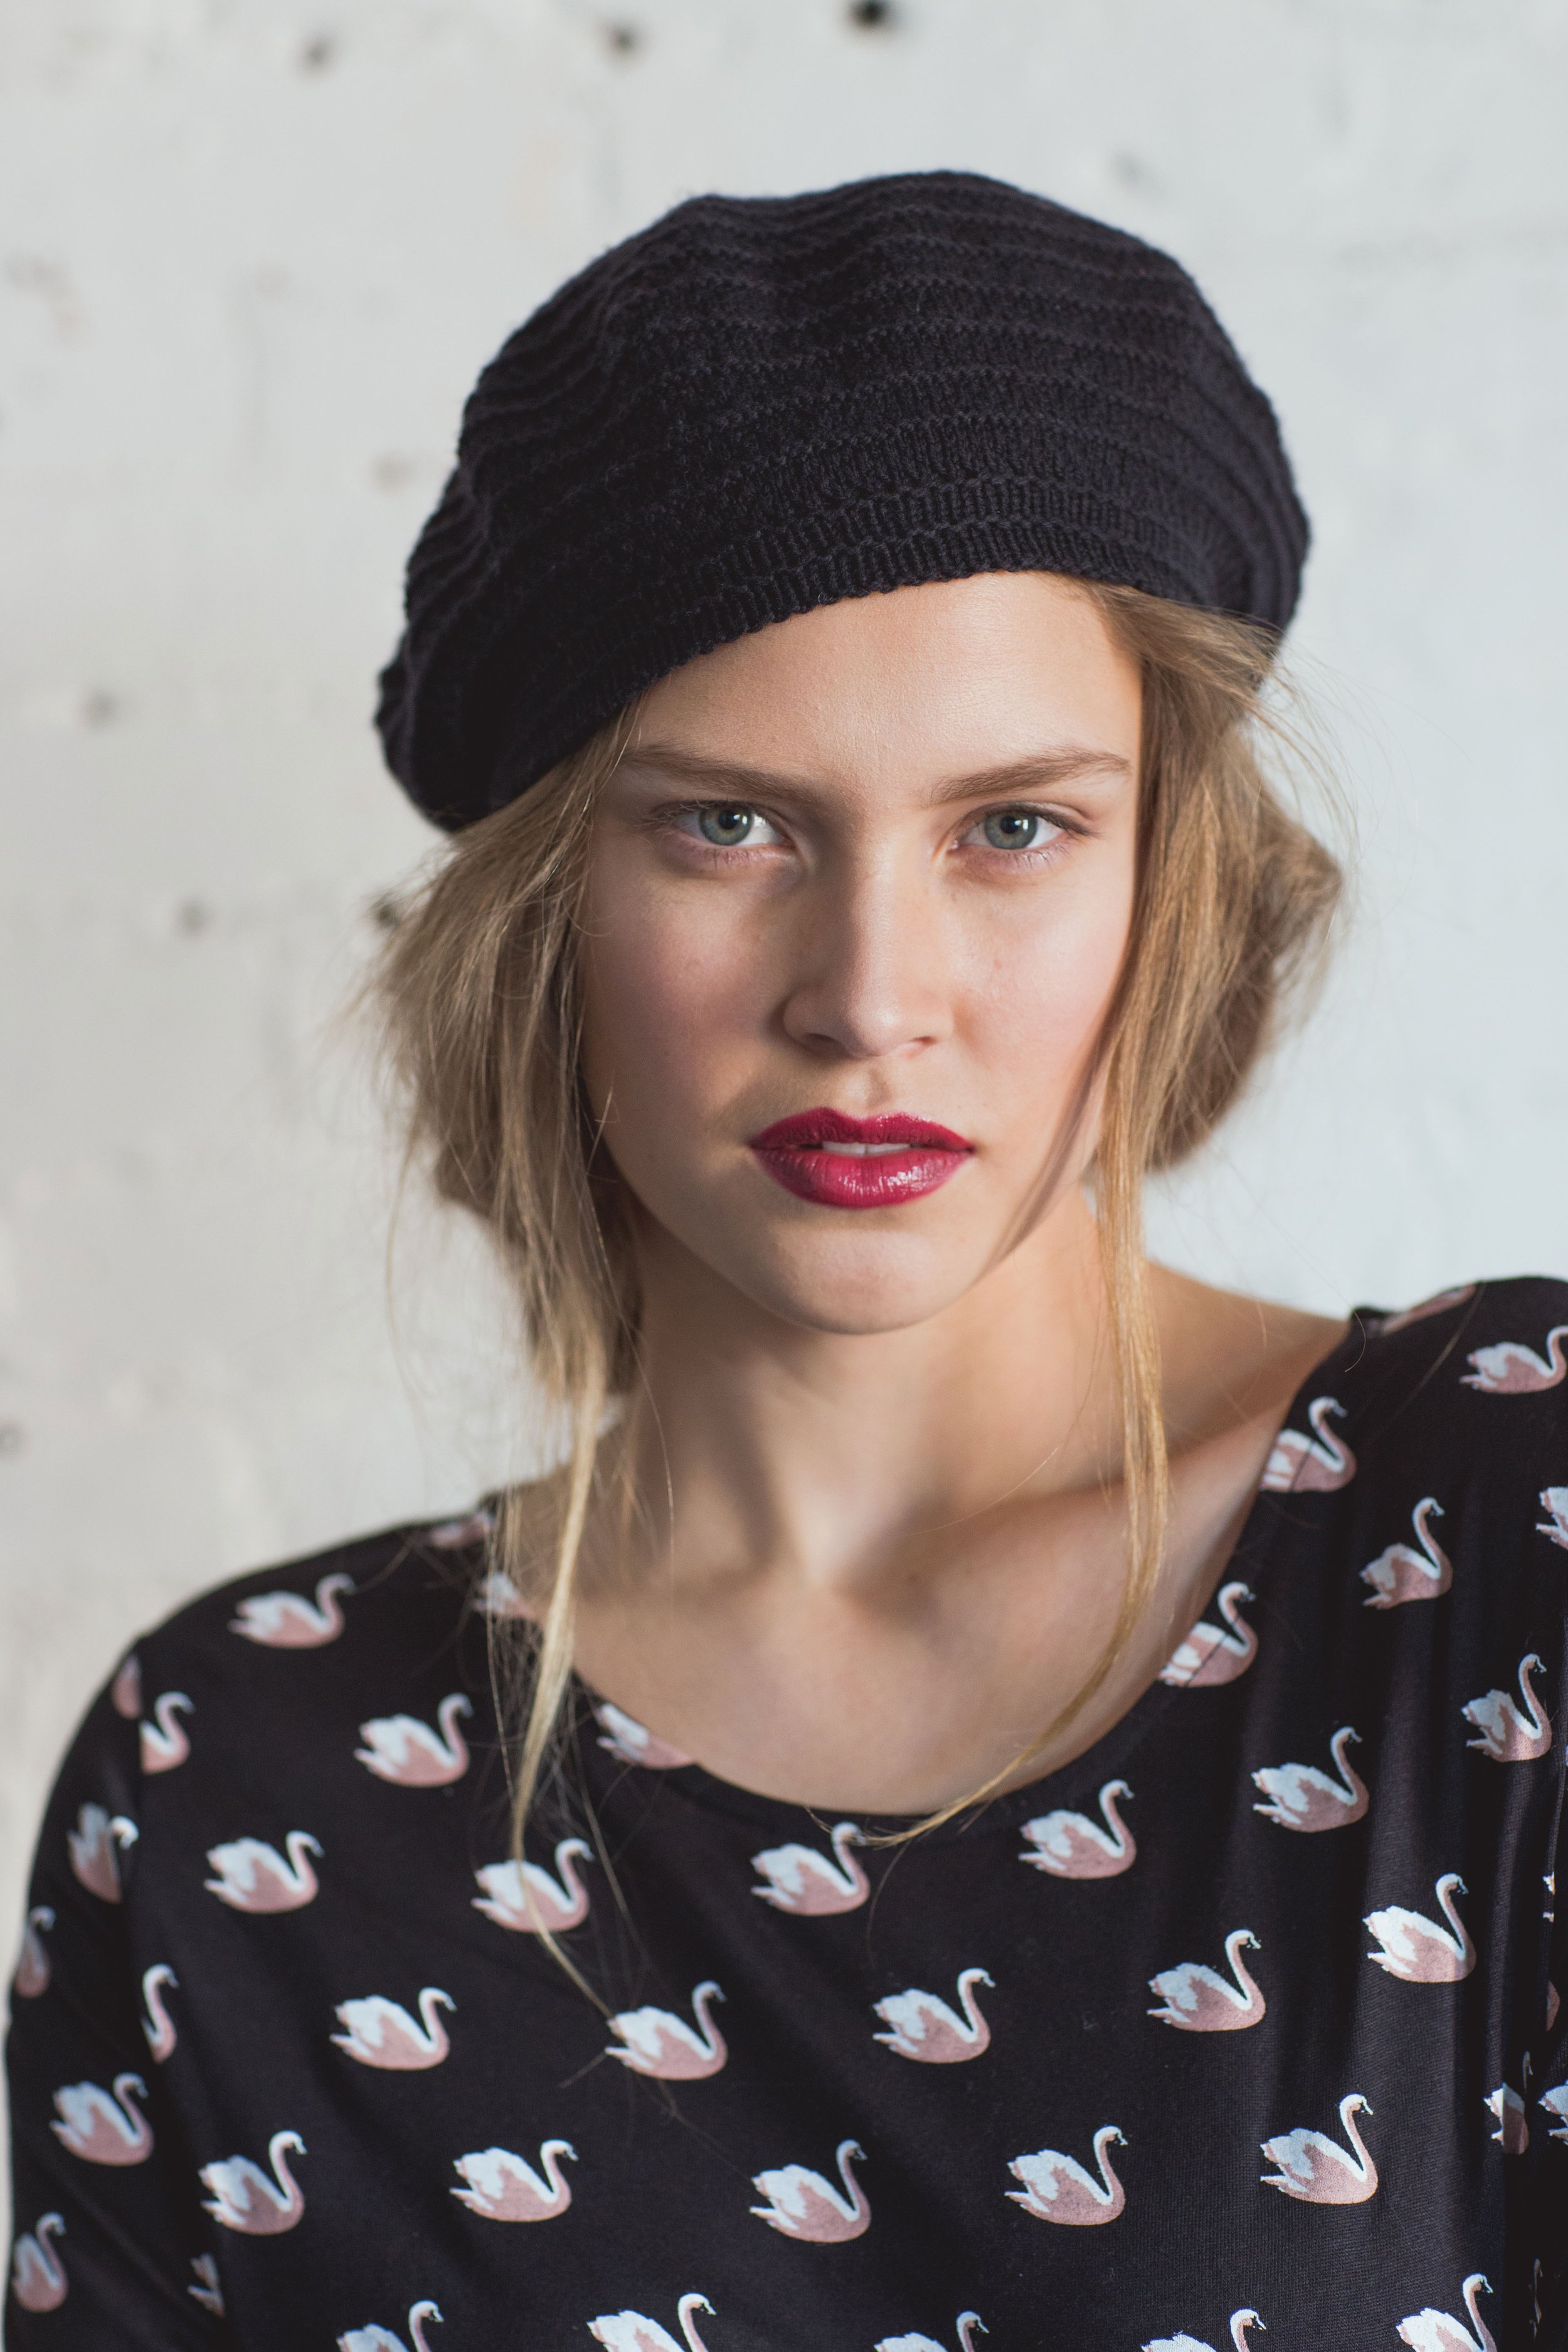
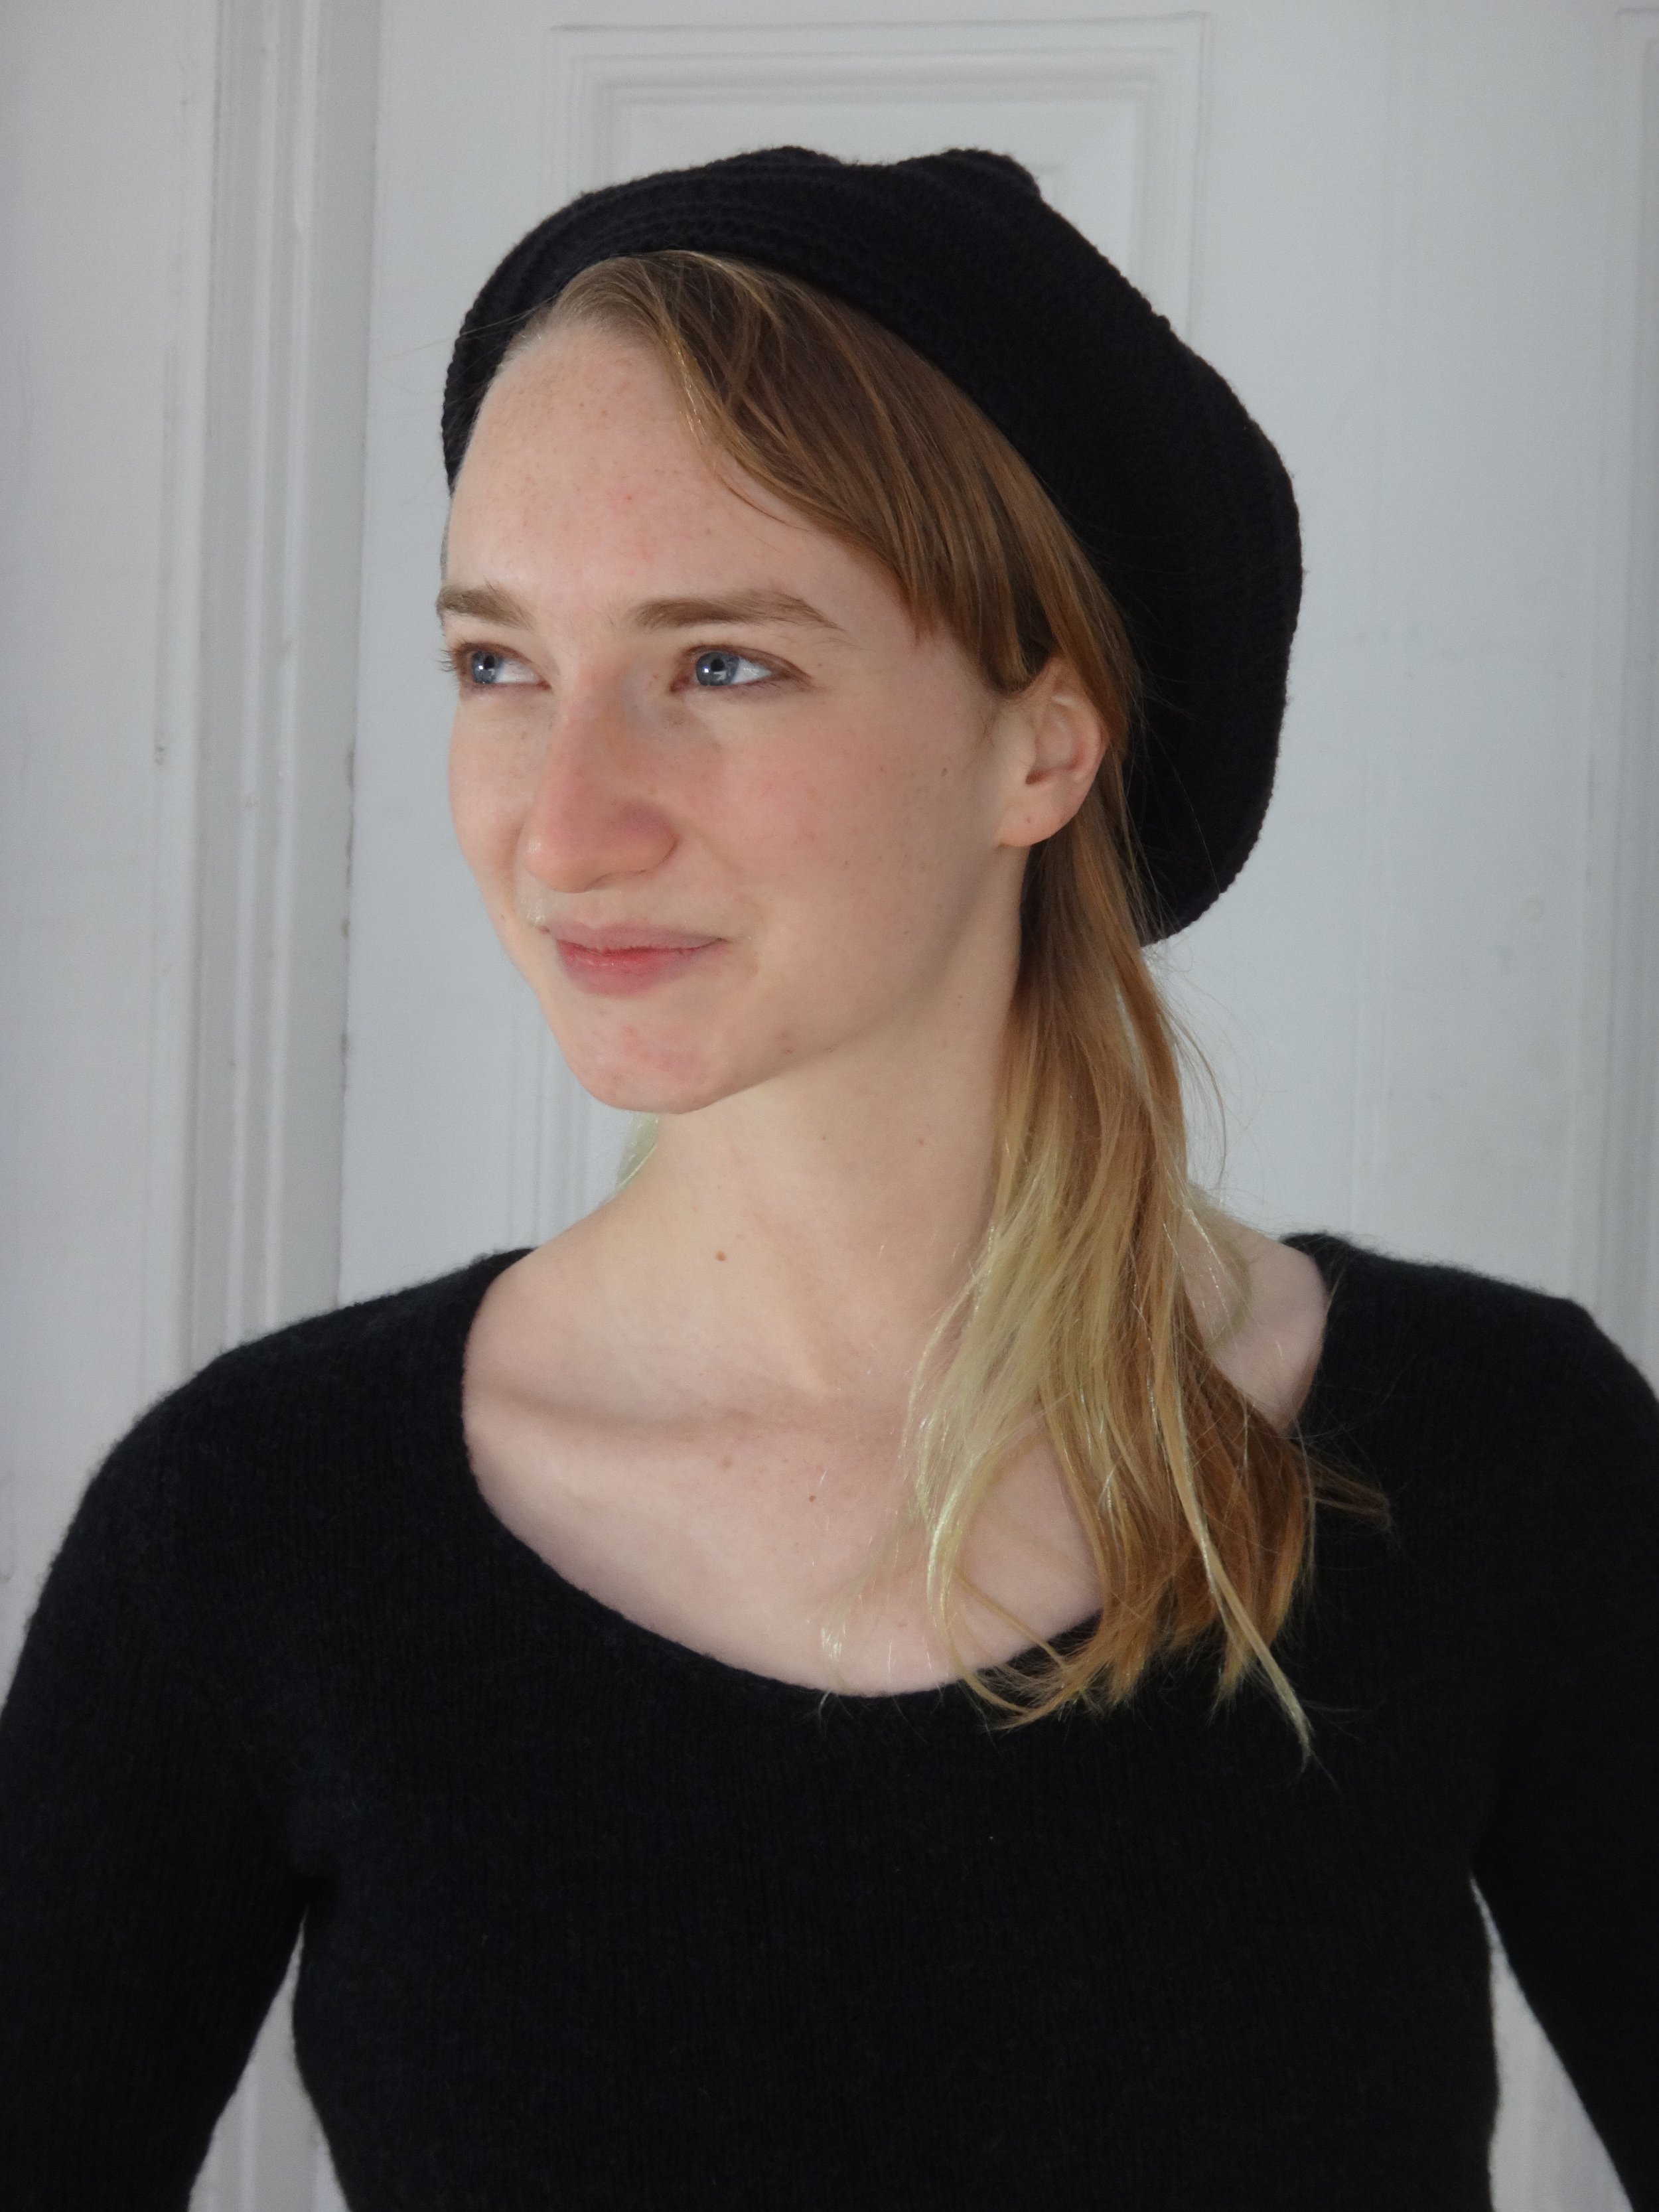
Just to round out this post let’s take a look at the Phryne Beret from the same issue of knit.wear. I just want to show how different it looks in the two sets of photos. Fierce v. demure.

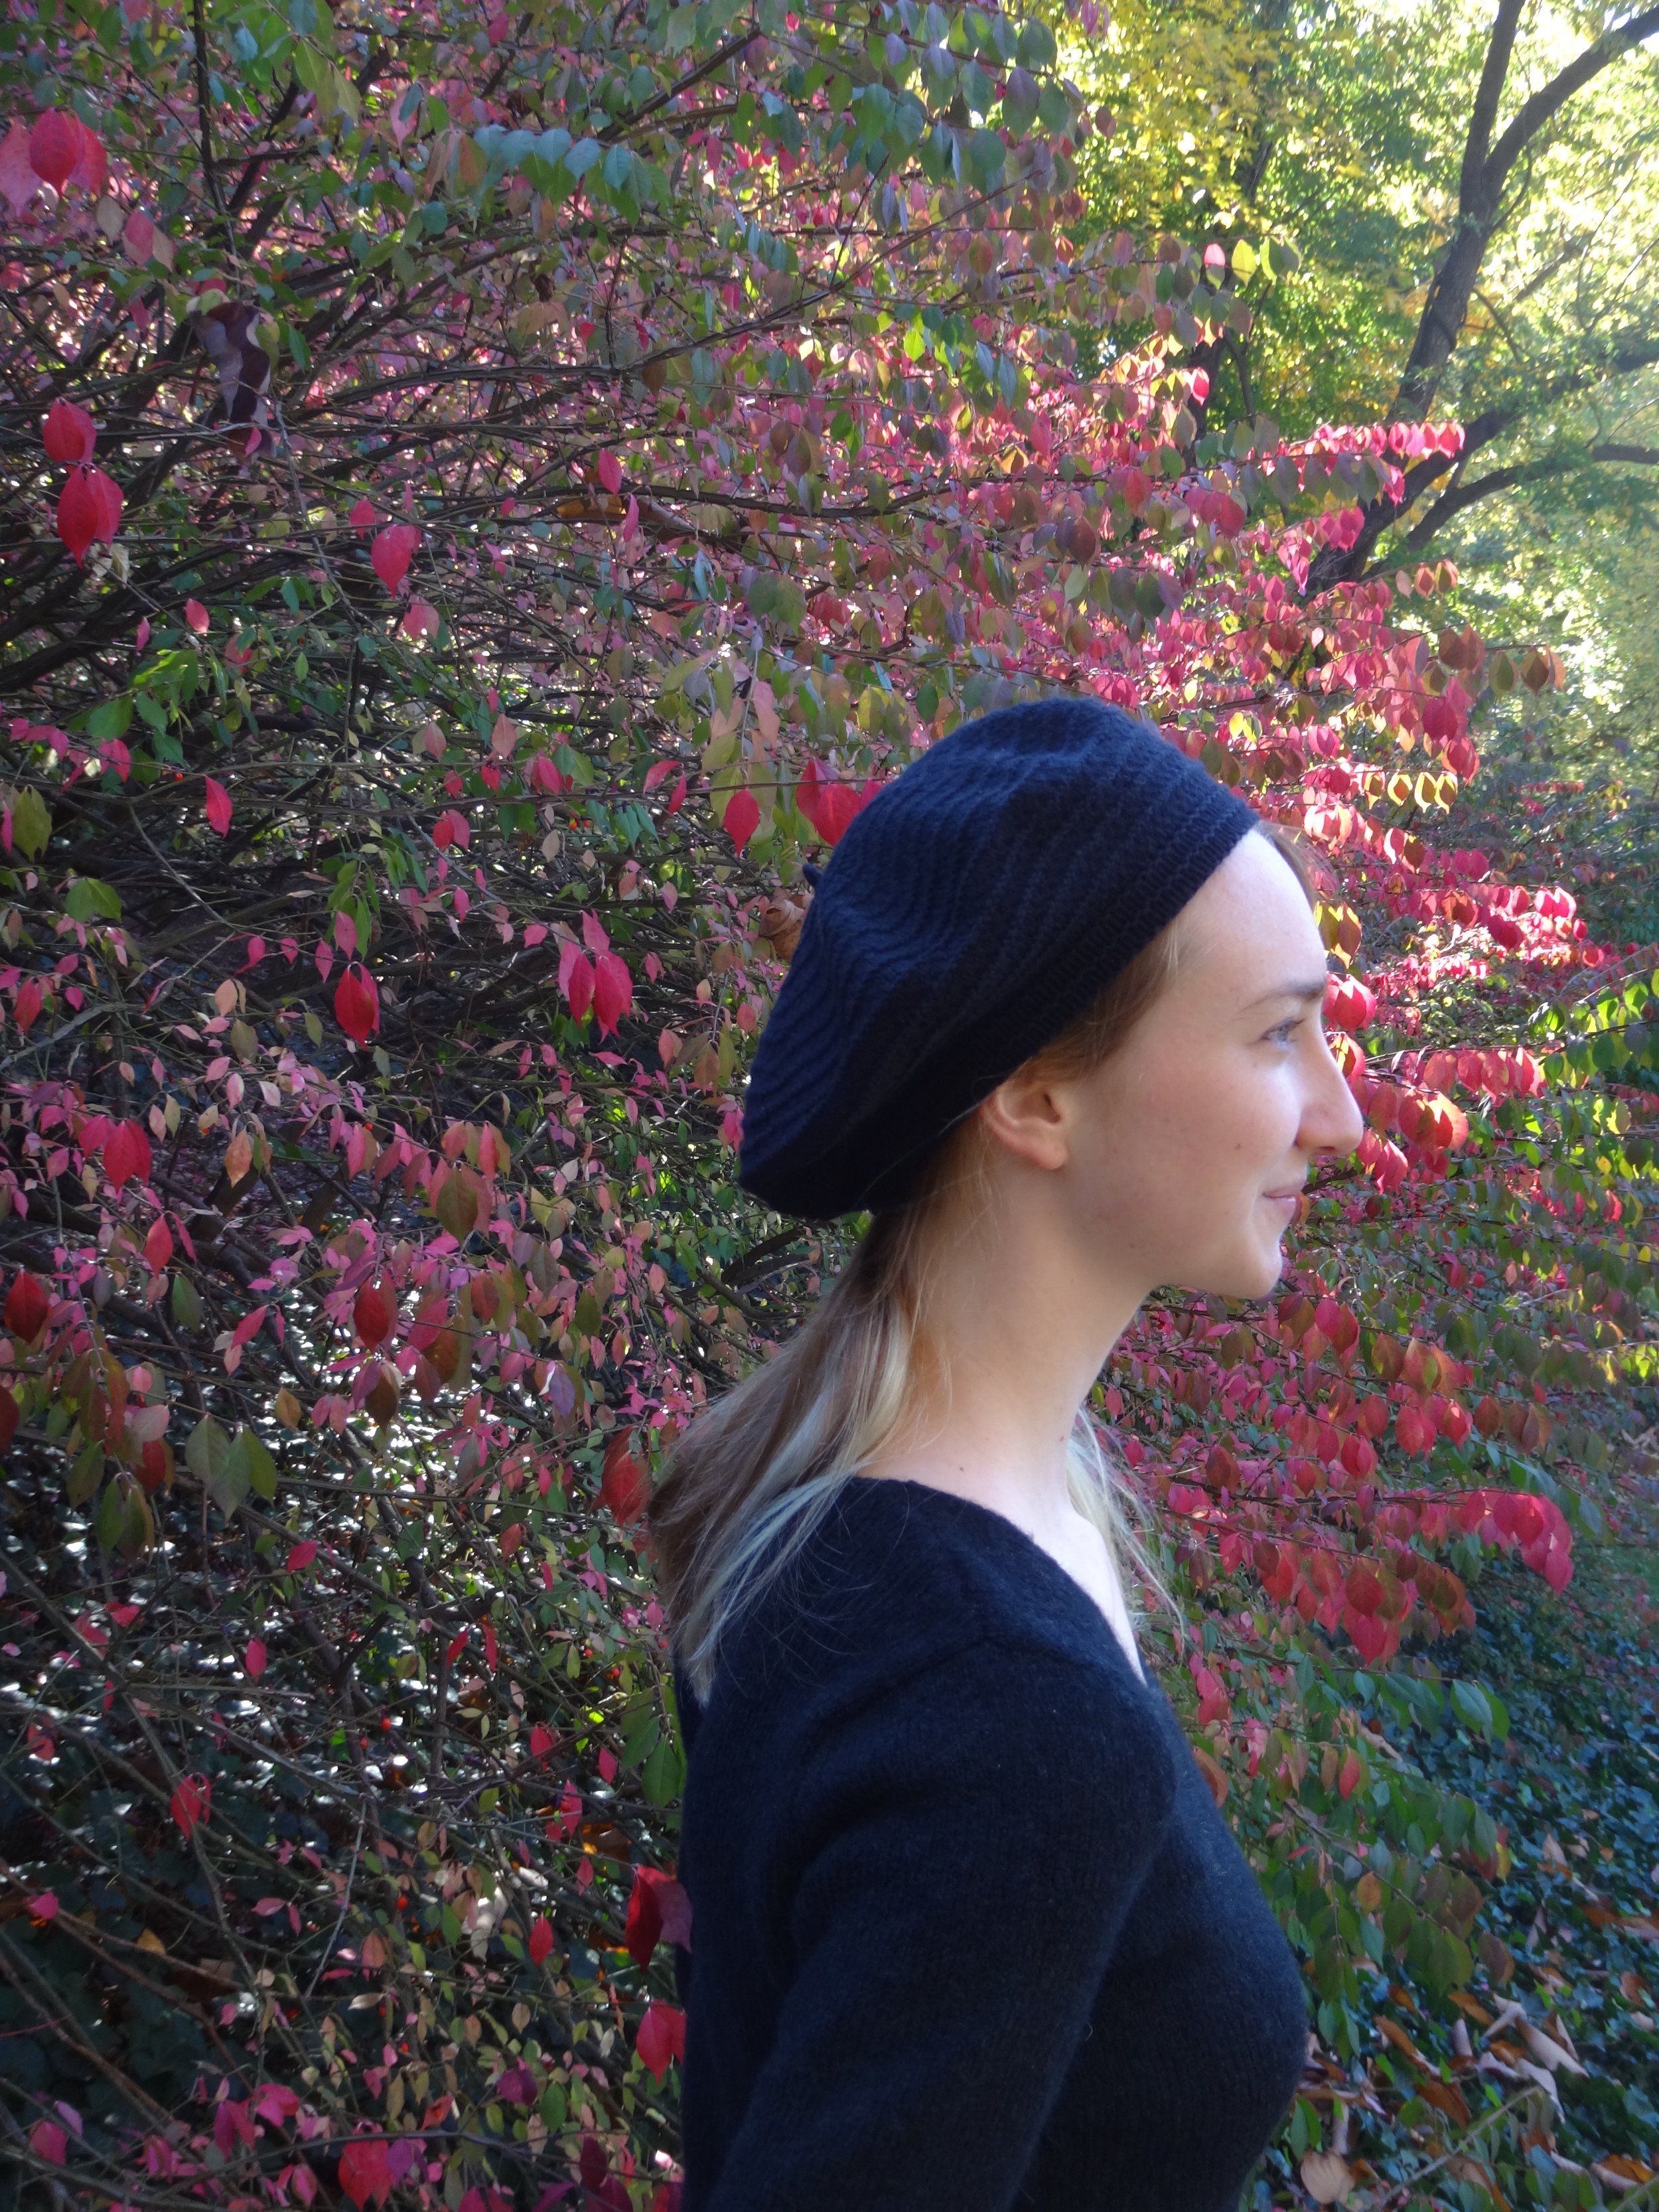
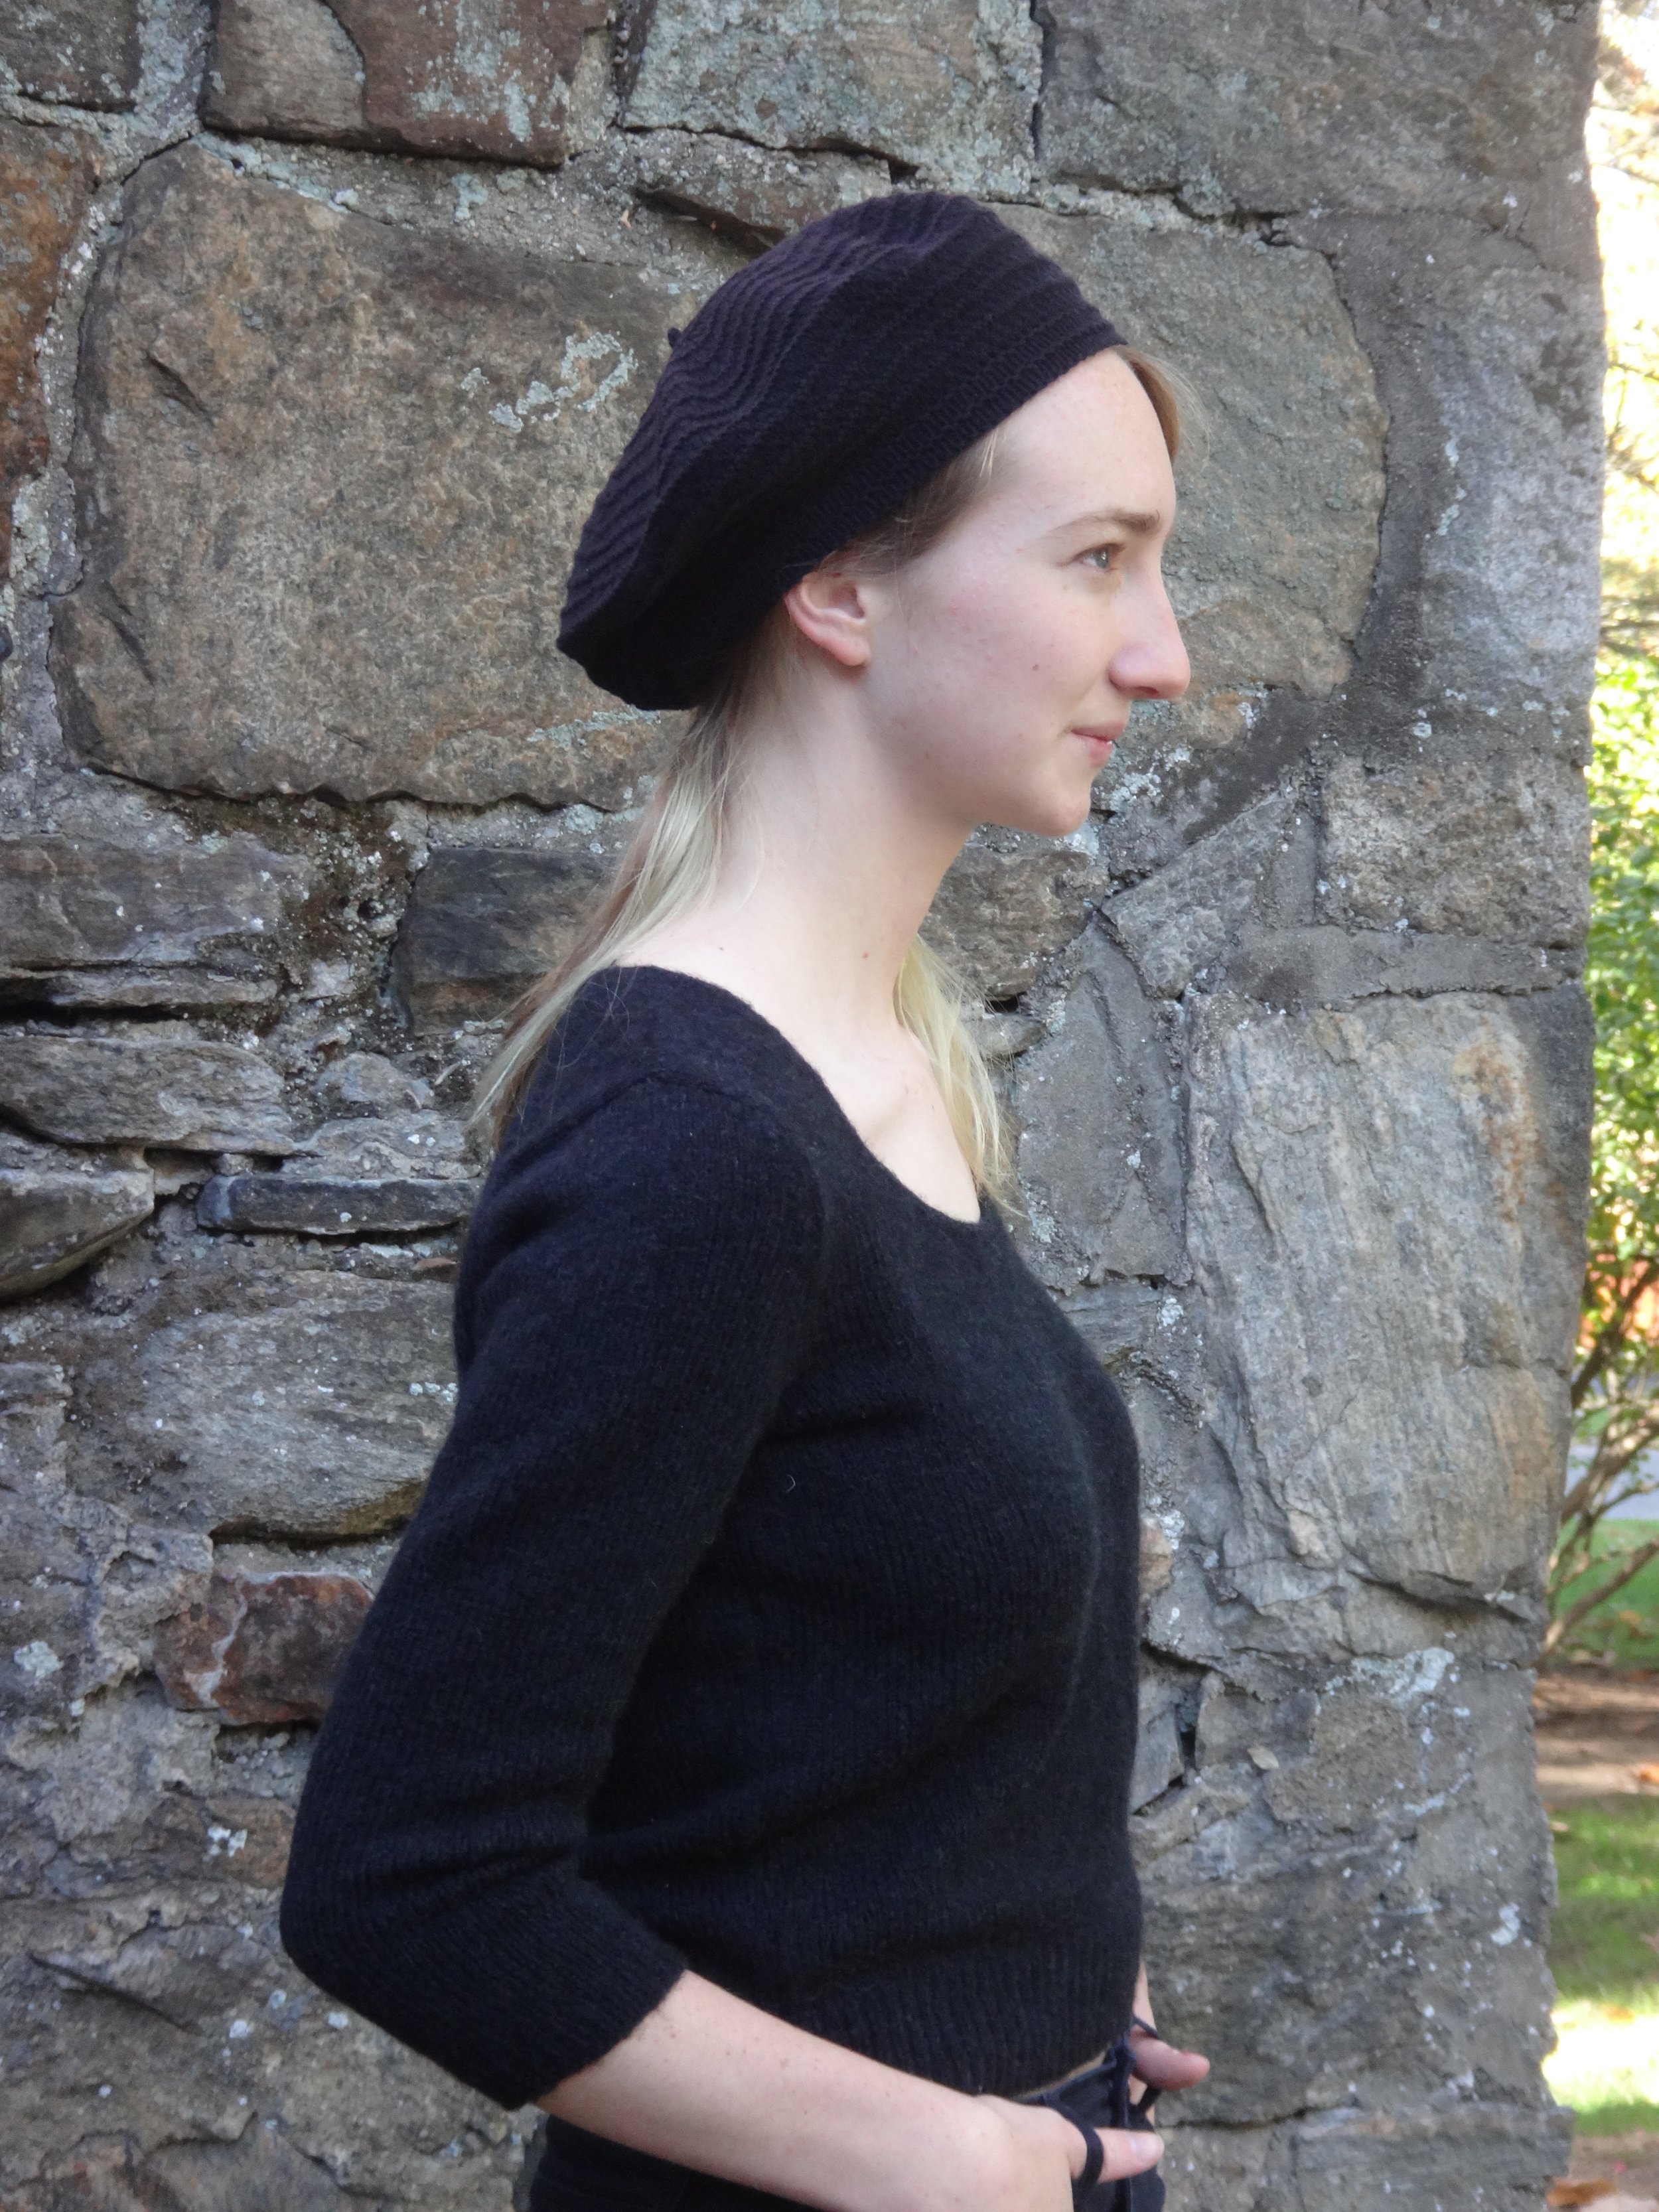
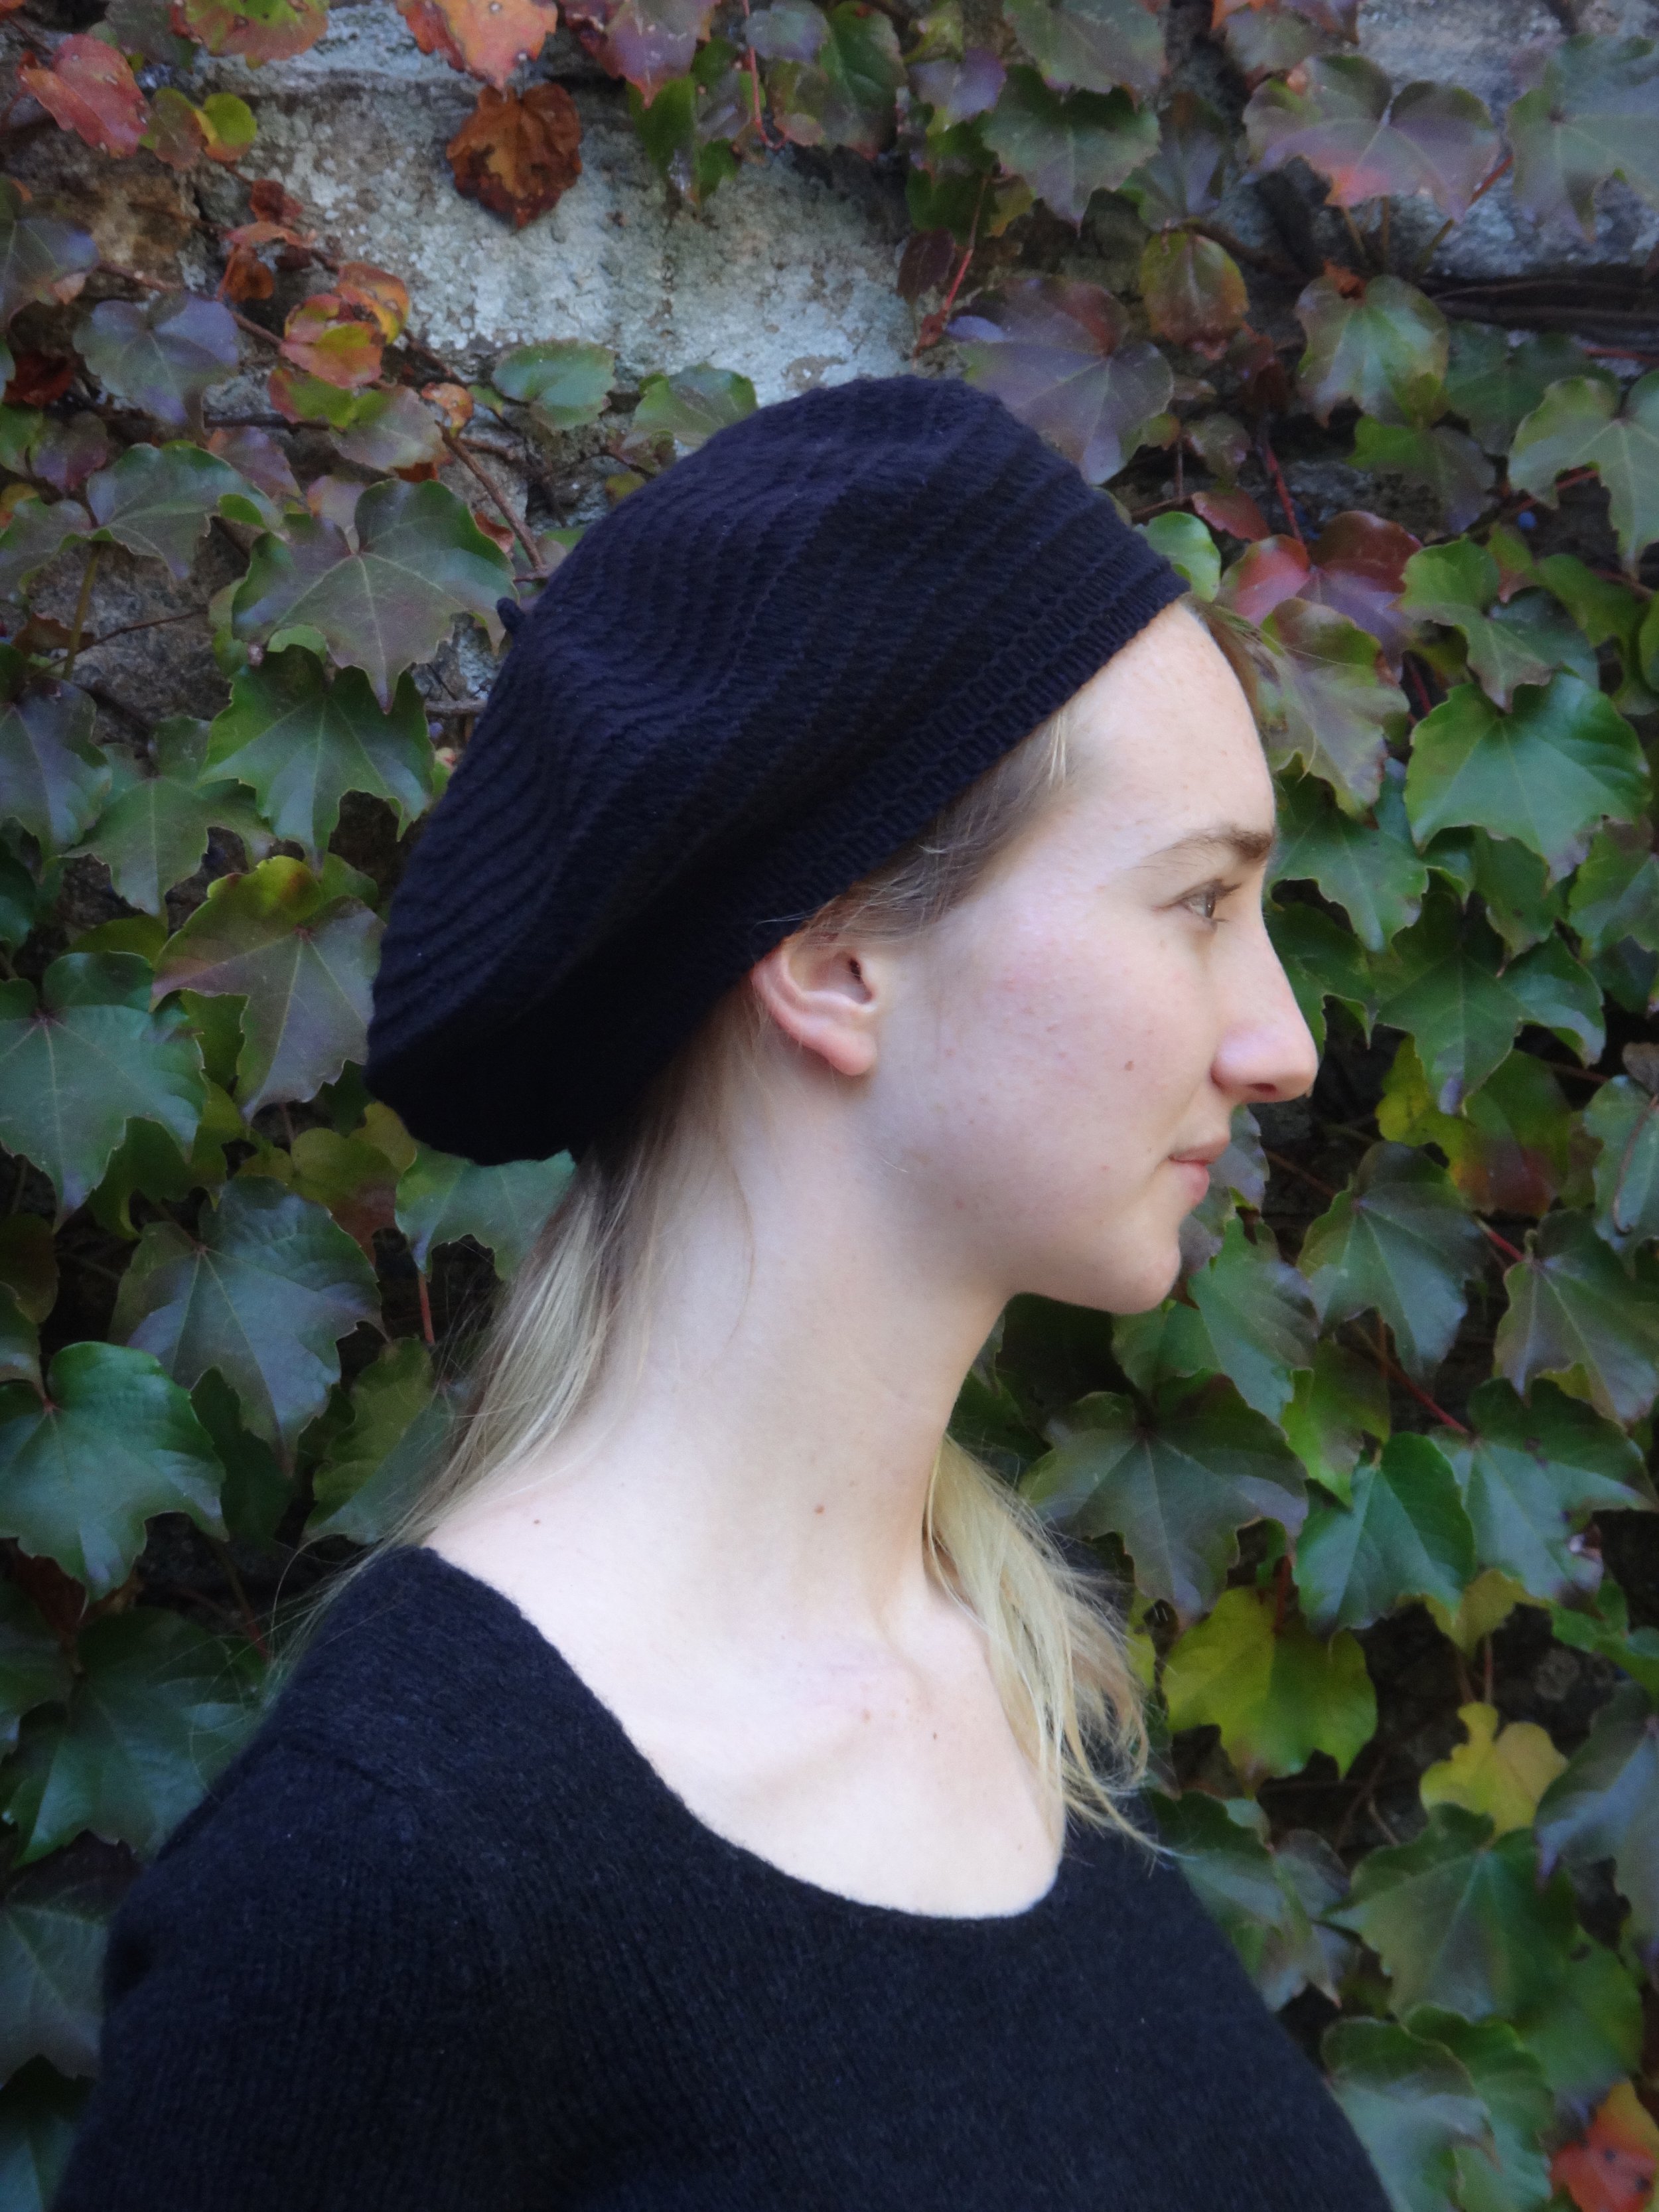
And just for one more perspective, here it is on me. I can't wait to get this sample back actually. I think it's going to be a great piece for fall.