Talking About Technique
The Fall issue of knitscene has just been released and I’m delighted to say that it includes an article I wrote on methods of decreasing in garments.
Knitscene/Harper Point Photography
The is the second technique article I’ve done for knitscene ––the first one, featured in knitscene Summer 2016, covered the most common decreases used in lace knitting and how to work them (including some alternate methods and shortcuts). This latest article covers the appearance of different decrease methods and how they function when shaping a garment.
It was interesting for me to revisit this topic from the standpoint of a designer and teacher. When I learned to knit, instead of finding a pattern and following it, my Mom and I analyzed sweaters in my closet and she taught me how to identify which decrease was being used where. Looking at ready-to-wear highlighted the decorative function of decreases, since machine-knit sweaters are often rather plain and use decreases as much for their appearance as their function. So when I set about knitting my first plain, stockinette sweaters, I used high twist merinos with loads of stitch definition and spent a lot of time playing with decreases and observing how much they changed the appearance of a garment. The article uses swatches to demonstrate the slanted appearance of the most common decreases and then discusses how the choice of decrease and its placement affects the look of the garment. Here are a few garments that show some of the possibilities.

Decreases leaning in the same direction as the raglan.
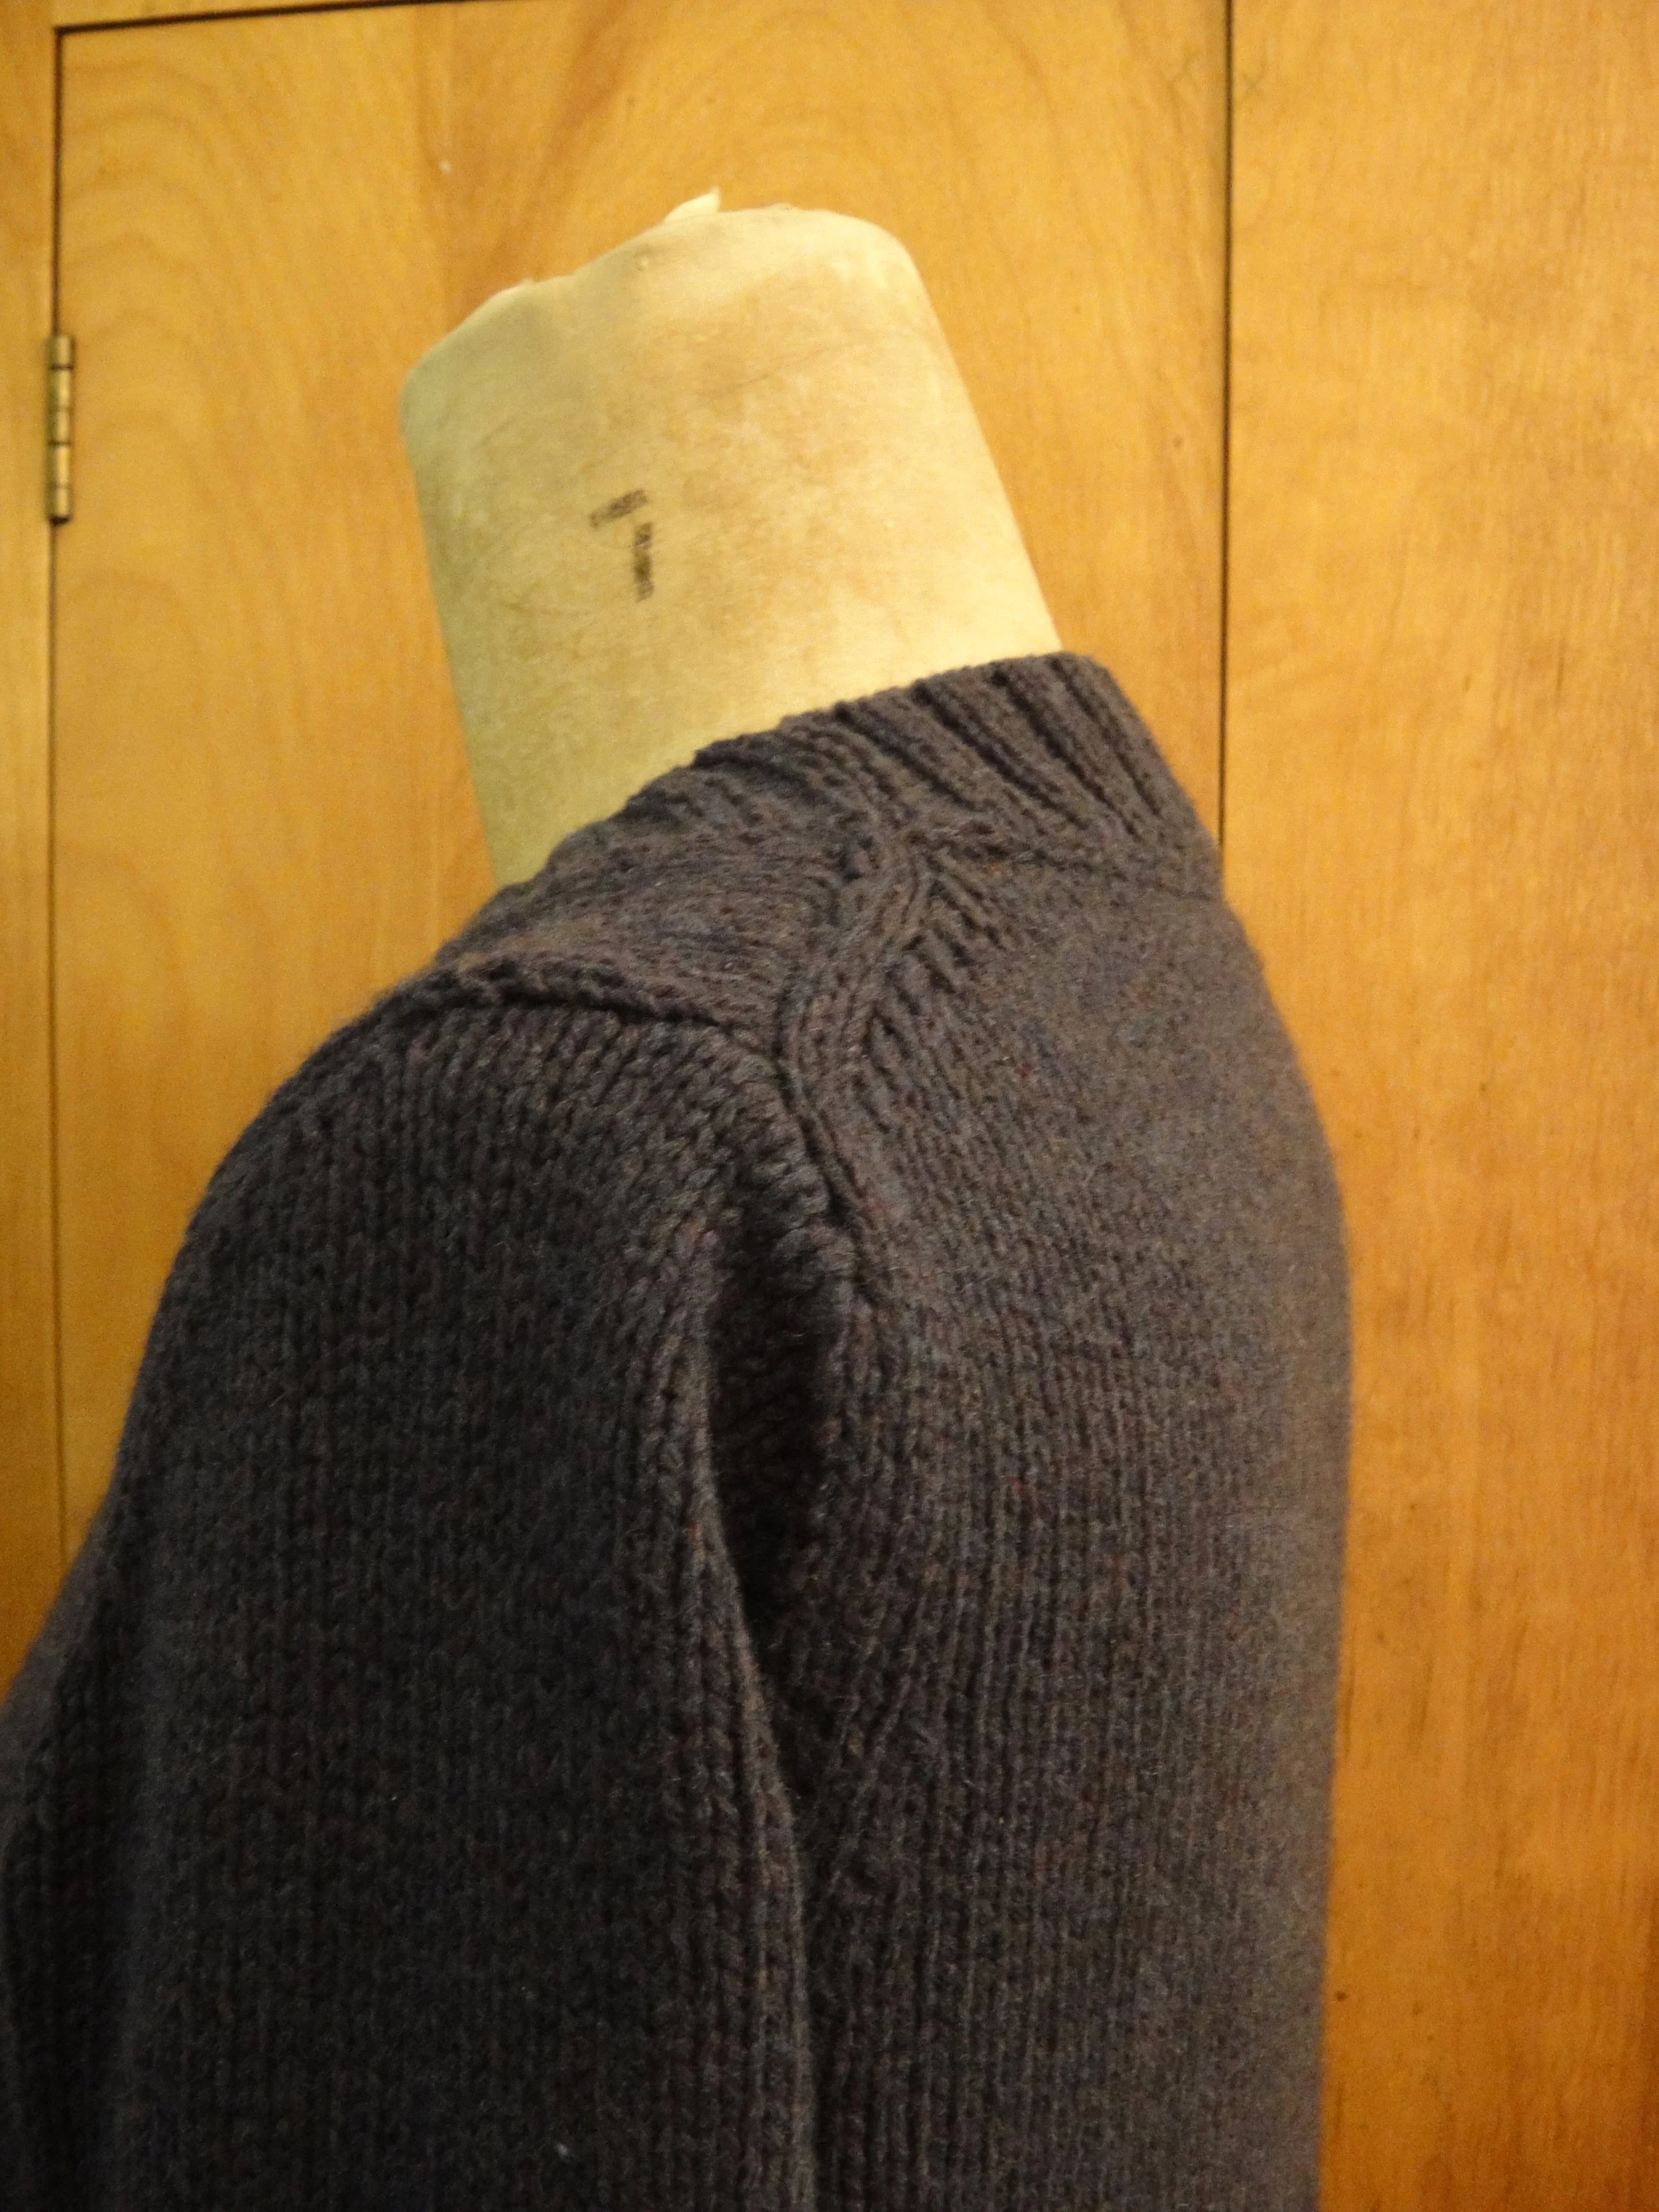
Full-fashioned shoulder shaping featuring enhanced decreases.

Decreases that oppose the raglan angle.
I wanted this article to give knitters two things: first, an appreciation of the design process. Sweater design involves making literally hundreds of practical and aesthetic decisions and I think the work that goes into that process can be mysterious to most knitters. As someone who puts a LOT of thought into even the tiniest details of a pattern I wanted knitters to understand that when they are reading a pattern, even something as simple as the type of decrease used and where it’s placed within the garment, has been thoroughly considered by the designer. This satisfied the part of my brain that designs and writes patterns. I wanted to shed some light on this very solitary process and I thought this might be a good place to start.
The other part of my brain, the part that made me become a designer in the first place, is what drives me to question everything I read and decide for myself. I’m actually quite incapable of knitting a pattern exactly as it’s written. In fact, apart from when I was working as a sample knitter and it was absolutely required of me to do so, I can’t think of a time when I’ve followed a pattern to the letter. I ALWAYS have a question –– is that the cast on I want to use, can the decreases lean the other way, should I cast on more for the rib, should I change the shaping sequence? This constant questioning is what made me realize that I might just be better off writing patterns from scratch. And then of course, when I started doing that I realized how incredibly difficult it is to make all of those tiny decisions! So it was very eye-opening and it gave me a real respect for the designers and tech editors out there who produce clear, accurate patterns. The part of me that is the questioner remains, however, and I think a lot of knitters are the same way. So I wanted to explain how decreases actually function so that if you want to replace them you know how to do so. Know the rules, know what’s most commonly used, then decide when you want to do something different. It’s part of the joy, freedom and challenge of making something yourself. You can make it exactly as you like.
So I hope the article lends a hand to some fellow questioners; I know you’re out there!